How To Rebuild The Forks On Your 1998-2001 Yamaha YZ125.
This service is for the 1998 through 2001 Model years. If I find a 94-97 bike, I’ll also do those forks.
Fork Service Notes:
- When removing the forks, loosen the fork cap while the bottom pinch bolts are tight.
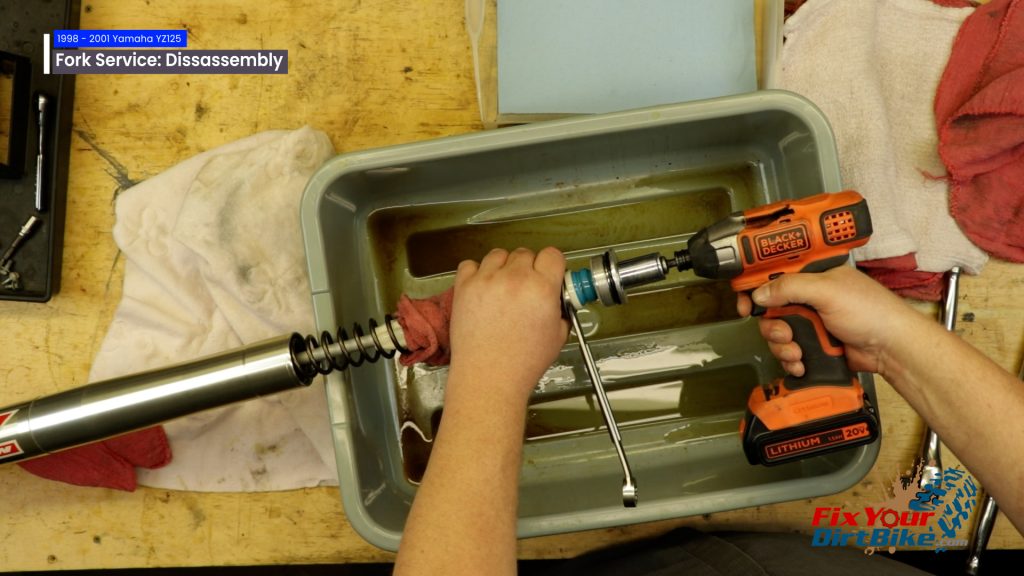
- During disassembly, you must fit a wrench under the spring. It is an absolute bastard, and you’ll see me struggling with it, but put the fork up against something solid and pull that spring back with all your weight to install that wrench.
- In this video, you will see me using an impact driver. It is perfectly safe to use power tools when servicing forks; you just can’t be a moron while you do it.
What Tool Do I Need For This Suspension Service?
- 18mm Socket
- 17mm Box Wrench
- 14mm HEX socket → https://amzn.to/40mugKW
- Torque Wrench → https://amzn.to/4gFXJoO
- Oil Level Guage → https://amzn.to/3DZjH7C
- Fork Seal Driver → https://amzn.to/406jY0e
- Calipers → https://amzn.to/3C2fXBQ
- Waste Oil Catch Pan
- Plastic Wrap
- Vise
- Pick
- Flathead Screwdriver
- Lots of Towels
- Safety Glasses → https://bulltru.com
- High-Pressure Grease
The only specialty tool you will need is a damper rod holding tool. → https://amzn.to/4h4hzKj

I don’t recommend trying to make a damper rod-holding tool yourself. It’s only $40 and will actually work!
Torque Specs For Your 1998 – 2001 Yamaha YZ125 Front Fork Rebuild:
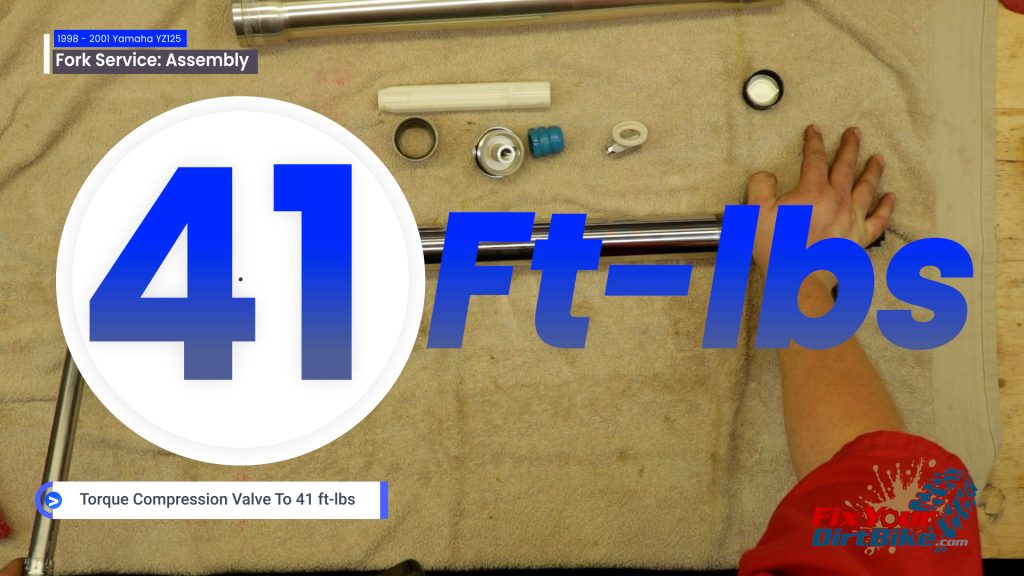
- Compression valve – 41 ft-lbs
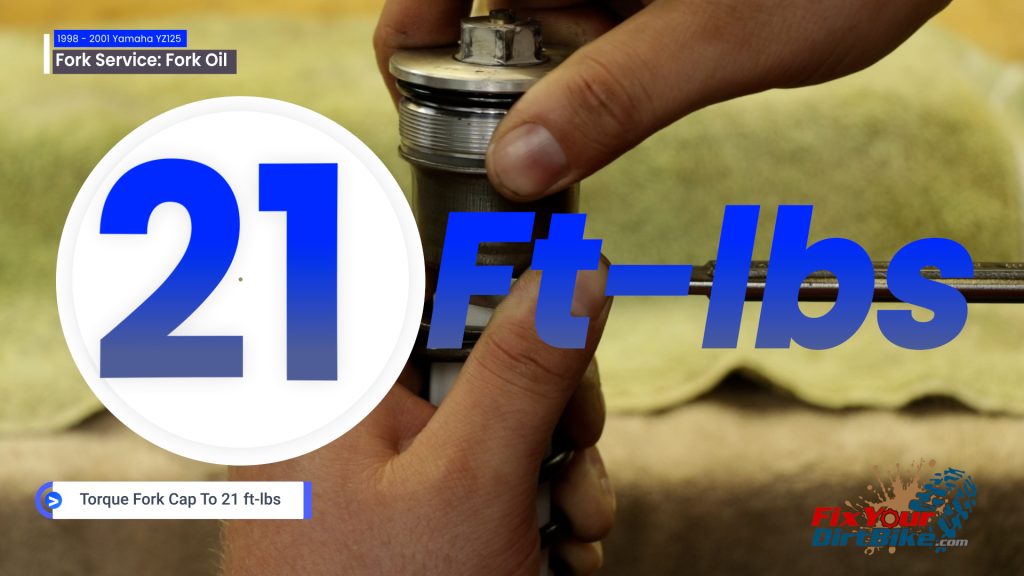
- Fork cap to damper rod – 21 ft-lbs
- Fork cap to fork tube – 22 ft-lbs
- Upper bridge bolts – 17 ft-lbs
- Bottom bridge bolts – 15 ft-lbs
Kayaba Fork Service Specifications:
- Fork oil – Kayaba O1 – or equivalent (Maxima) → https://amzn.to/40rncwo
- Max spring free length – 17.9 inches (455mm)
This is a straightforward service, but it will take time, so don’t do it at the last minute before a riding trip. Plus, you have to do it twice!
Here’s the video. Follow along below!
Yamaha YZ125 Fork Disassembly:
- Clean your bike before you start, don’t screw yourself from the jump by being lazy.
- Loosen the fork cap air screw to release air from the fork tube.
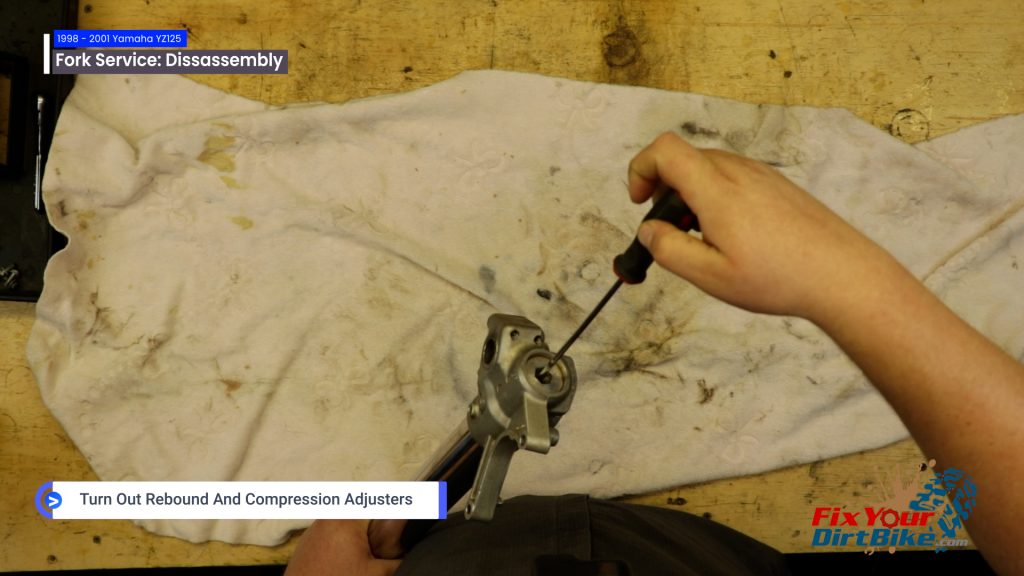
- Turn your rebound adjuster out so it’s at its softest setting;
- Do the same with the compression clicker.
- Get your fork nice and soft.
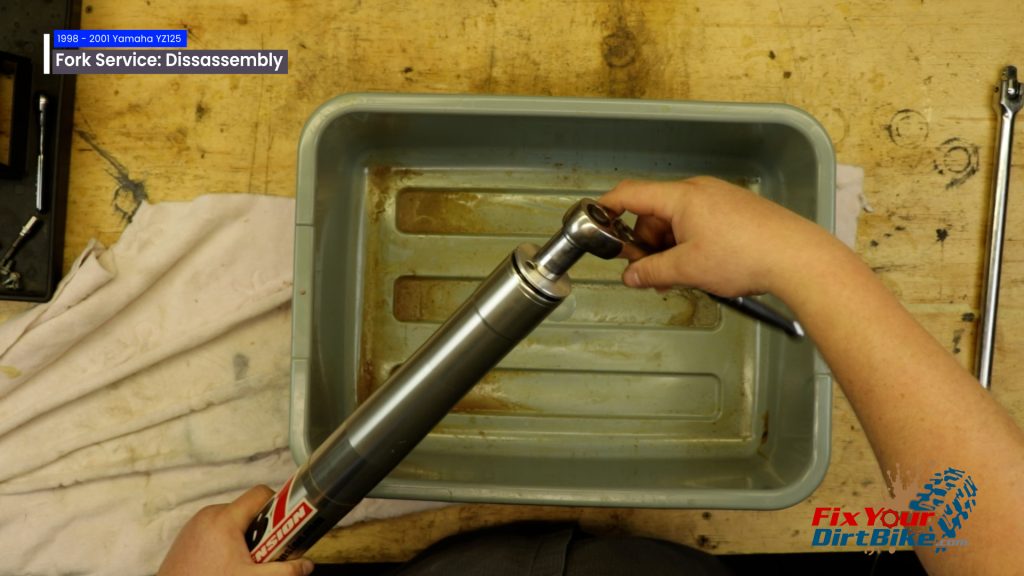
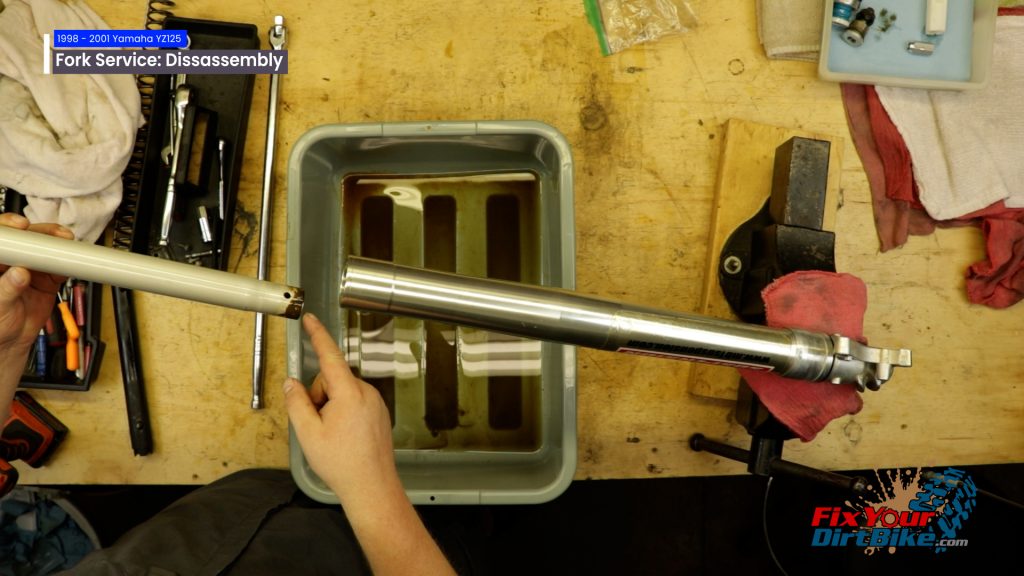
- Hold your fork over a catch pan and unscrew the fork cap.
- Hold the fork spring down with one hand, and fit your 17mm wrench on the piston rod lock nut. This is what I was talking about.
- Hold your wrench and remove the fork cap with your 18mm socket.
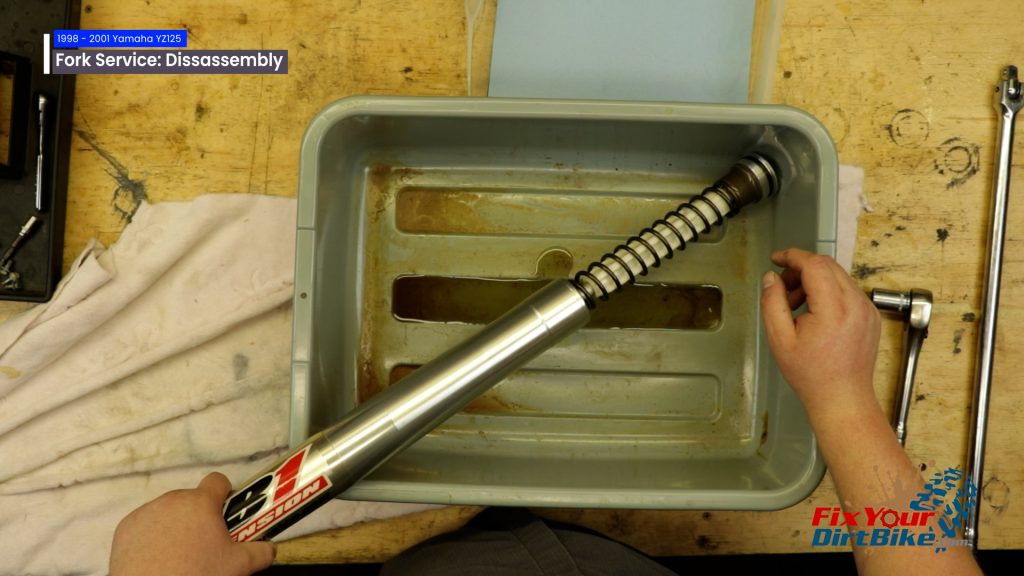
- Remove the fork cap, cushion, washer, and spacer as a single assembly.
- Remove the push rod from the cartridge.
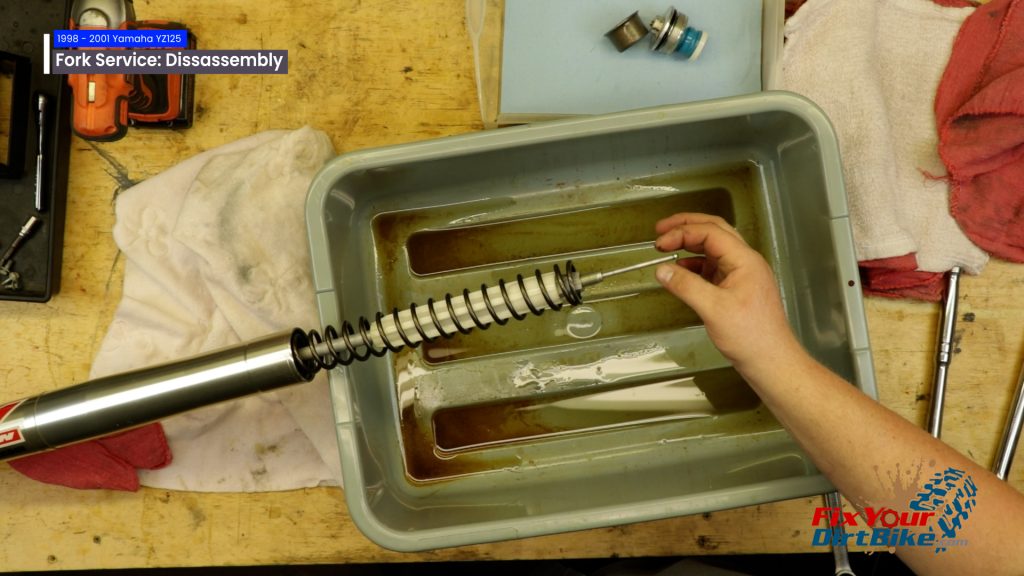
- Remove the spring.
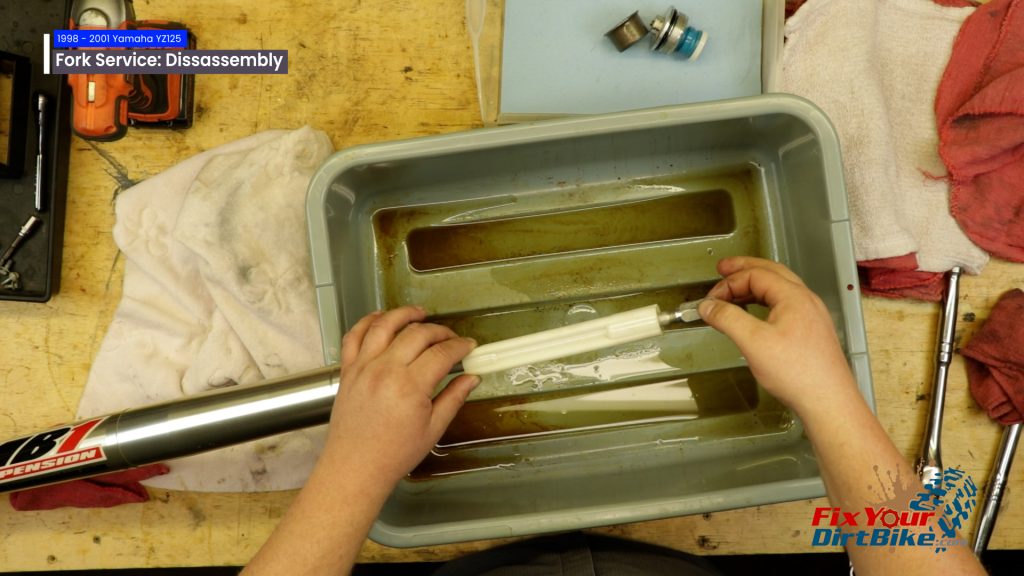
- Unscrew the nut from the damper rod cartridge, then remove the spring guide.
- To remove the compression valve:
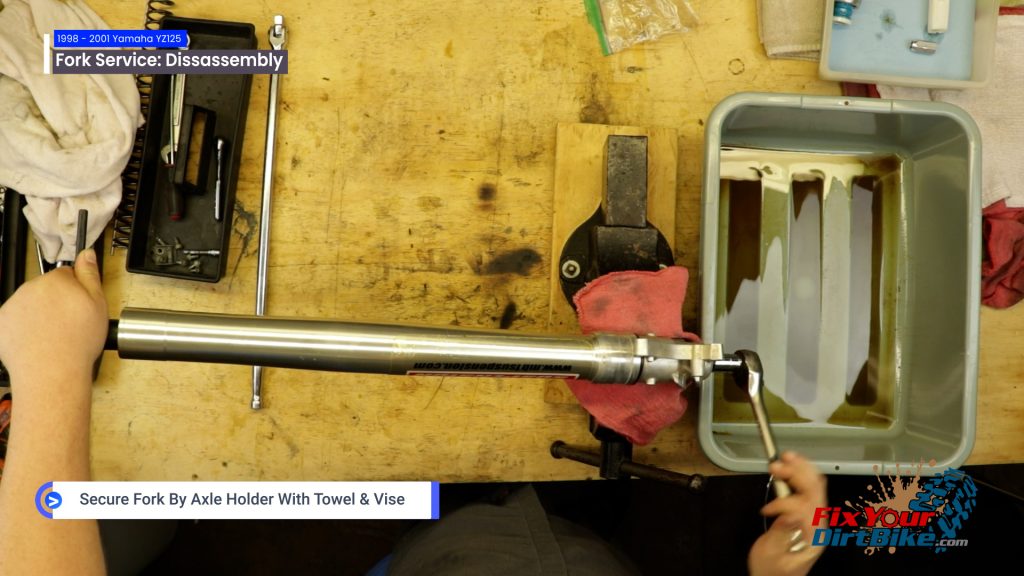
- Bottom out the outer fork tube, and clamp the axle holder in a vise with a towel.
- Push the piston rod into the cartridge until it stops.
- Insert your cartridge rod holder in the fork tube and lock it into the top of the cartridge housing.
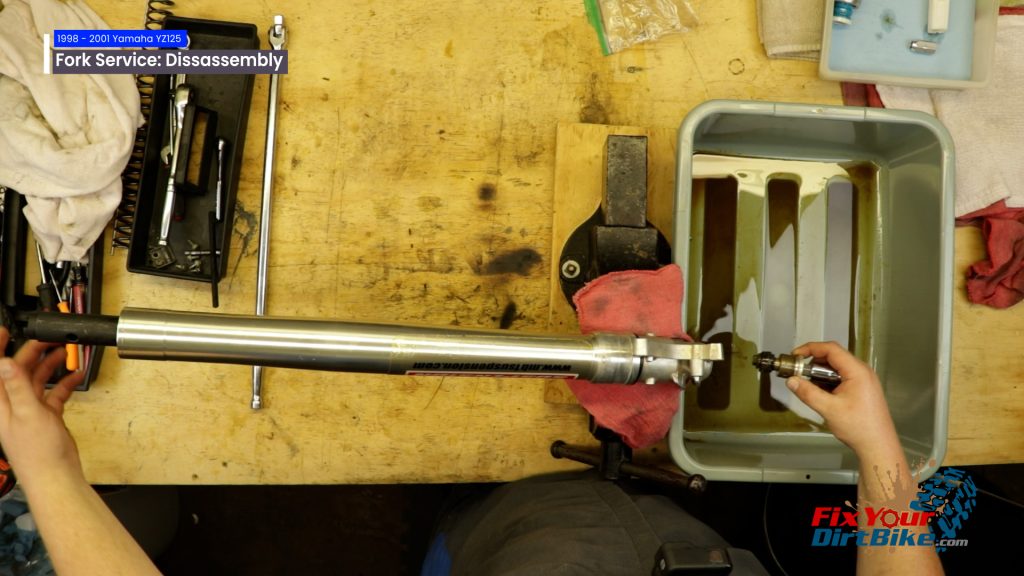
- Hold the damper rod holder, and loosen the compression valve with your 14mm socket.
- Remove the compression valve and the gasket.
- Remove the damper rod and pump it until dry
- Do the same with the fork tubes.
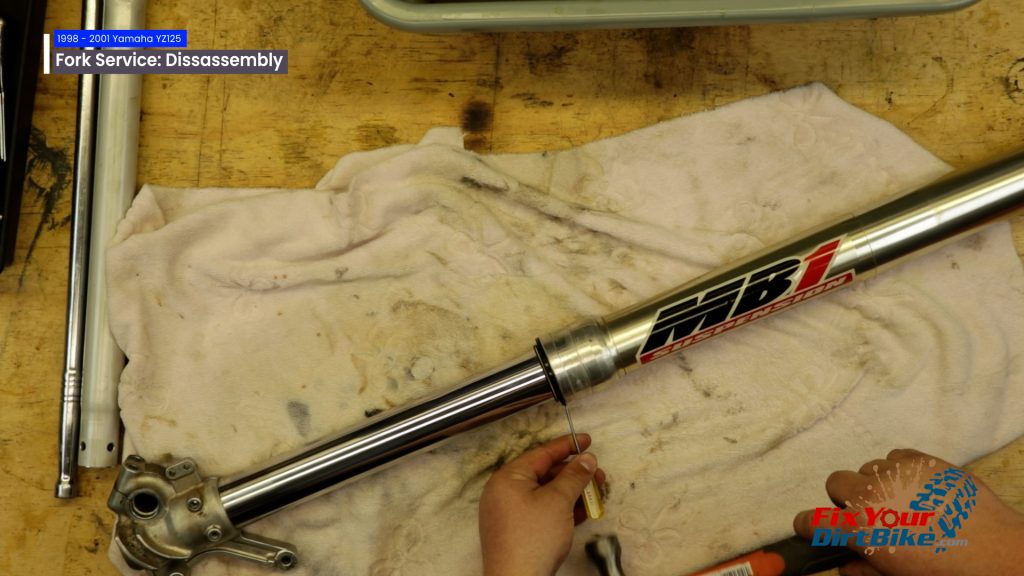
- Remove the slider protector.
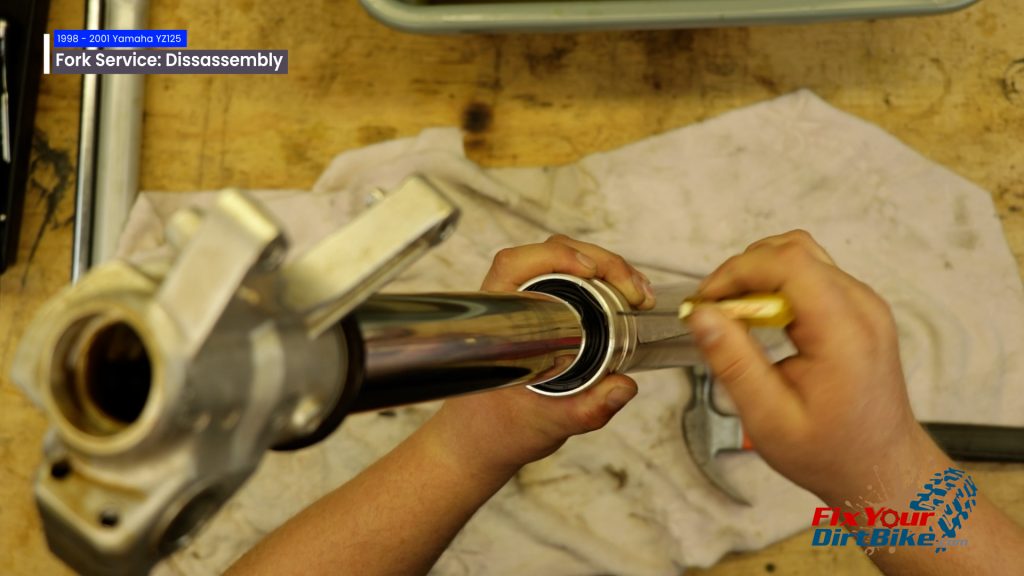
- CAREFULLY Pry the dust seal out of the tube.
- CAREFULLY Pry out the stopper ring.
- Hold your fork and slowly move the tube in and out. If it’s anything but smooth, you may have some gouges or deformation to address.
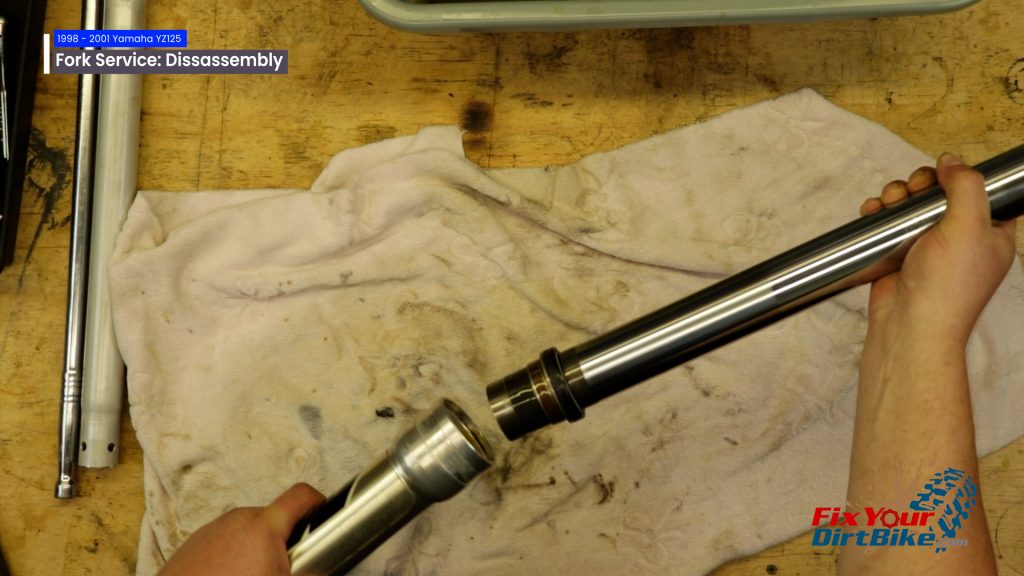
- Hold the outer fork and knock the inner fork against the bushings to separate the tubes.
- Remove the Guide bushing, backup ring, oil seal, stopper ring, and dust seal.



Clean And Inspect:
- Remove all the bushings and O-rings, then clean everything nice and deep.
- Make sure to remove any leftover thread lock and that all orifices are debris-free.
- Minor scrapes can be removed with 600-grit sandpaper when inspecting the fork slider. Anything more significant will require replacing the tube.
- Inspect the axle holder, file down any burs, and lightly smooth the bore with sandpaper.
- Check the compression valve inner bore diameter for anything that can damage the O-rings. Remove any rough spots.
- Inspect the outer fork tube for damage.
- Inspect the cap threads, oil seal bore, and stop ring groove.
- Inspect the damper rod assembly.
- Check for cracks or deformation.
- Make sure the oil control holes are clear.
- Check the bottom threads.
- Measure the fork spring free length.
- Replace both springs if one or both are beyond the service limit of 17.9 inches (455mm)
- Inspect the compression valve.
Yamaha YZ125 Fork Assembly:
- During assembly, ensure every fork component is lubed with the same fork oil you will use to fill the fork.
- *Cough* maxima (buy it).
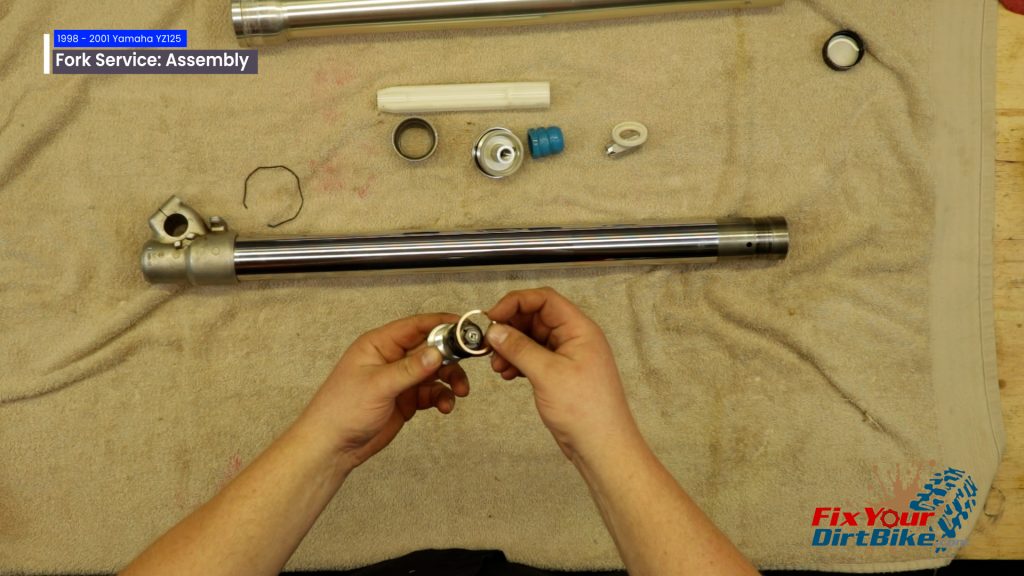
- Install the damper rod cartridge assembly into the fork slider.
- Make sure it seats correctly at the base.
- Install the new gasket and two new o-rings.
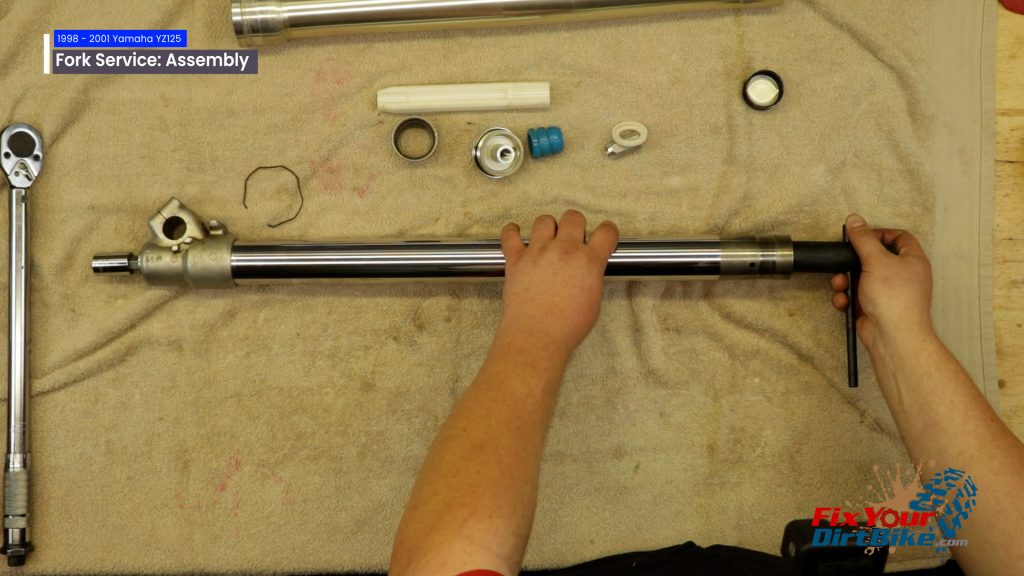
- Insert the rod holder into the fork tube and lock it into the top of the cartridge body.
- Double-check that the bottom end of the cartridge is still seated in the slider bore.
- Apply thread lock to the compression valve threads, not letting the thread locker touch the o-rings.
- Hold the rod holder and thread the compression valve onto the damper rod cartridge.
- Hold the holder, and tighten the compression valve with your 14mm socket.
- Torque the compression valve to 41 ft-lbs.
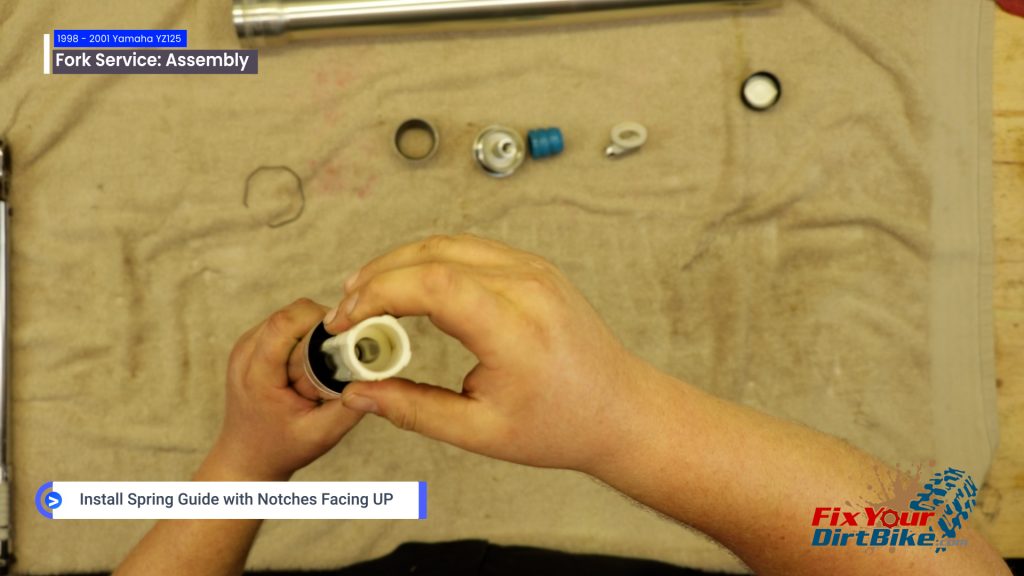
- Install the spring guide with the notches facing up.
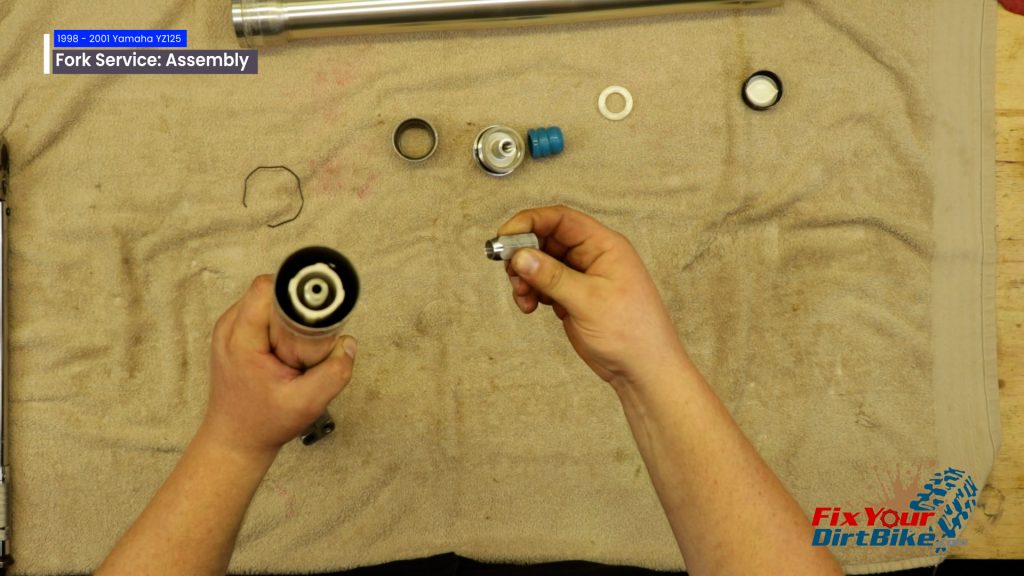
- Install the nut with the threaded end pointing up.
- Tighten the nut finger tight.
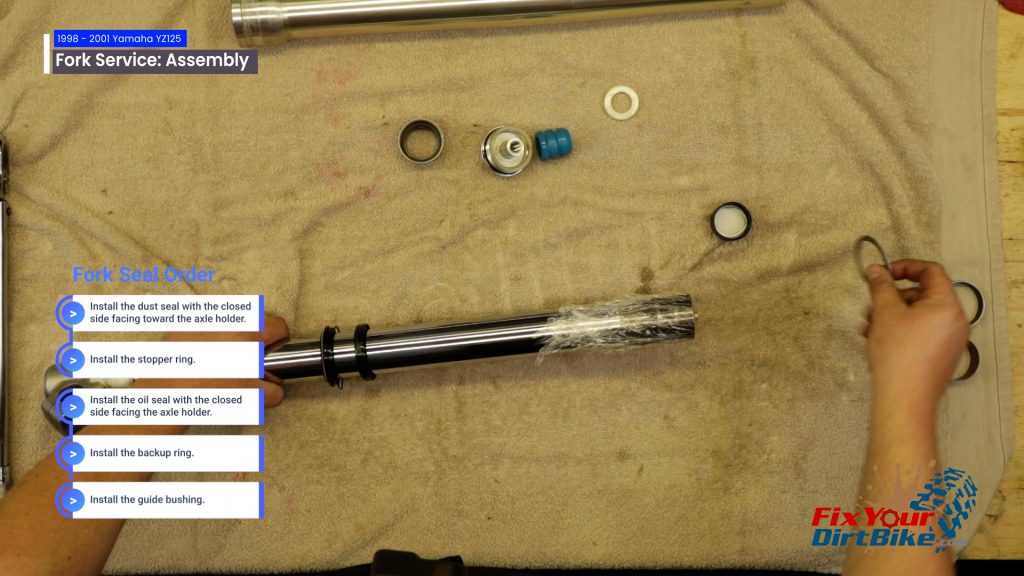
- Cover the end of the fork slider with plastic wrap and lubricate it with fork oil.
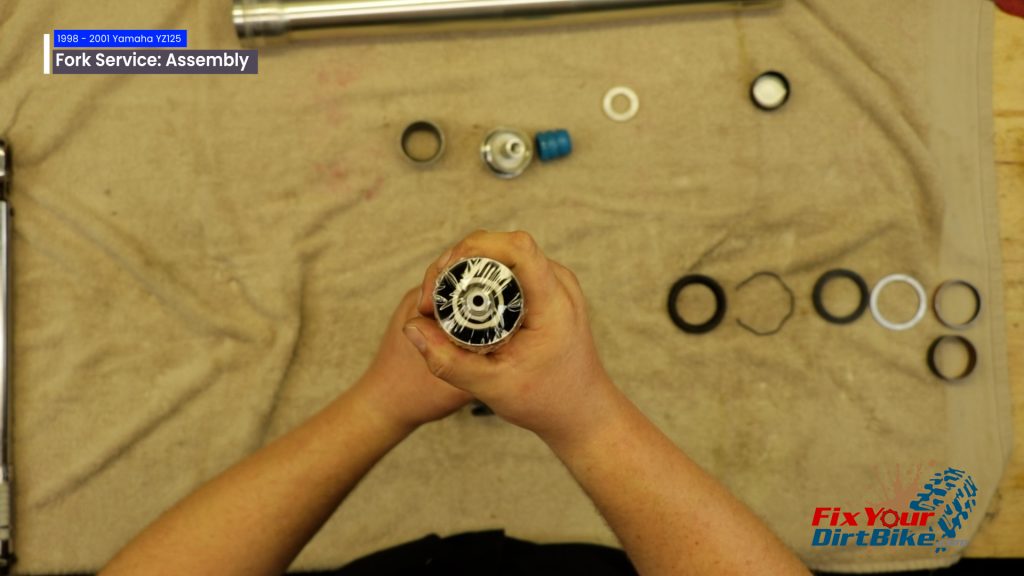
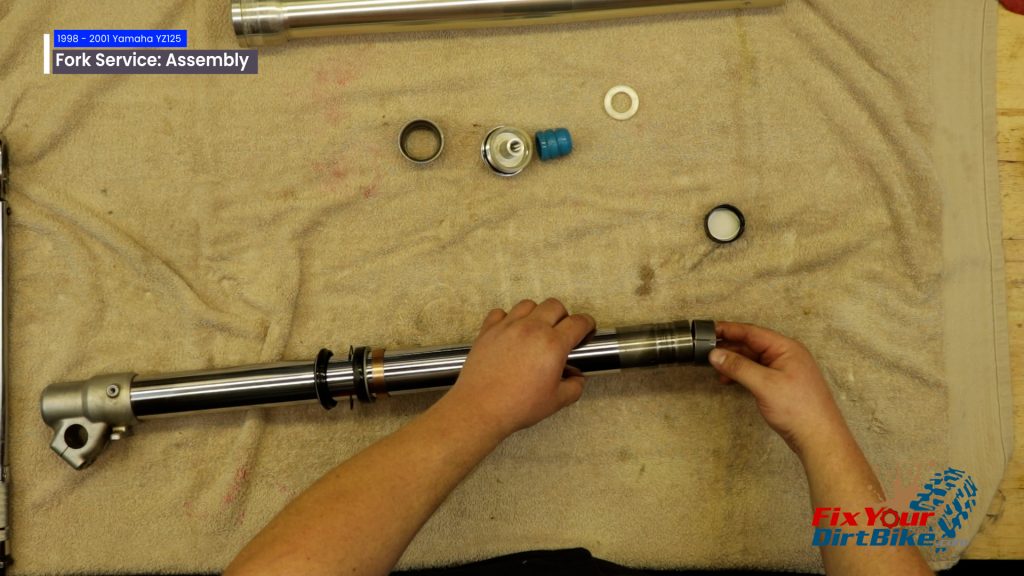
- Install the dust seal with the closed side facing toward the axle holder.
- Install the stopper ring
- Install the oil seal with the closed side facing the axle holder
- Install the backup ring
- Then, install the guide bushing.
- Remove the plastic.
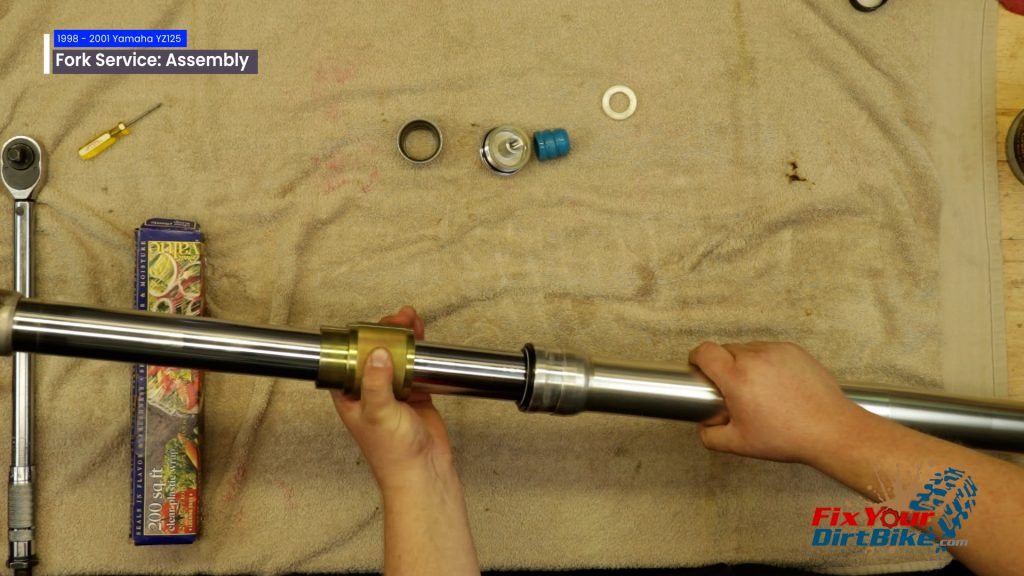
- Lubricate and install the fork bushing.
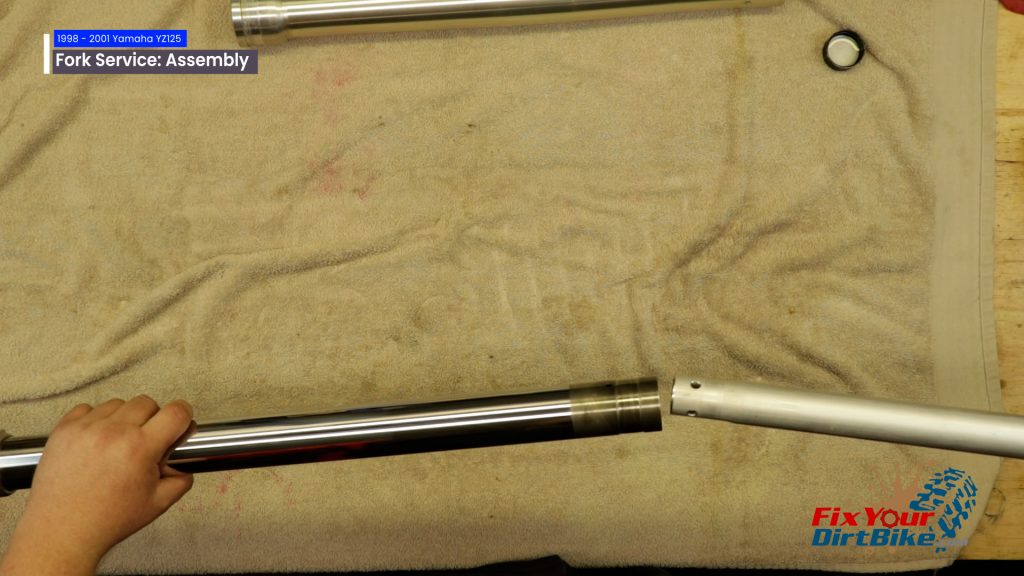
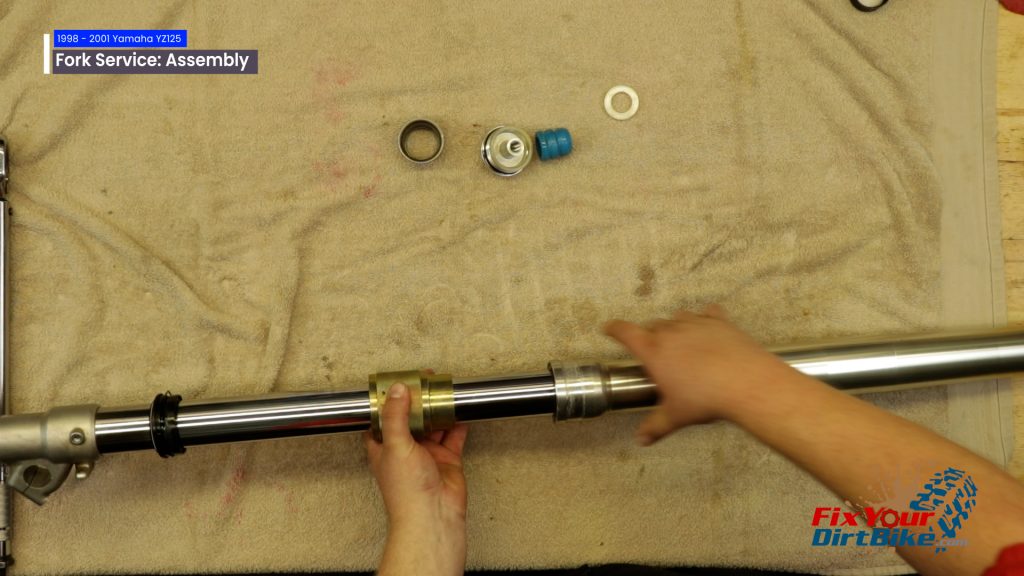
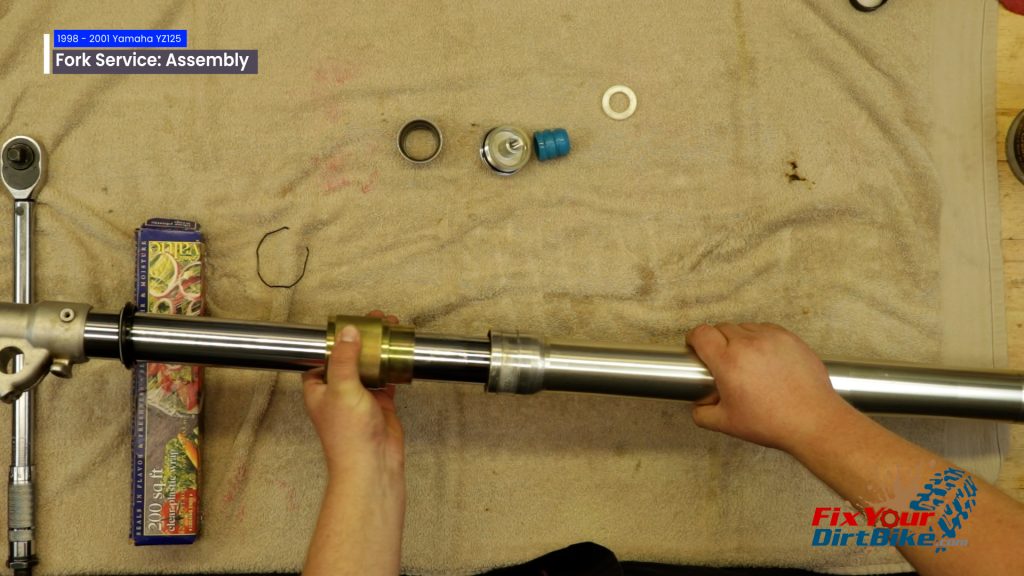
- Insert the slider into the fork tube.
- Install the bushing.
- Seat the bushing between the fork tube and slider.
- Seat the washer against the bushing.
- Using your fork seal driver, seat the bushing into the fork tube.
- You will hear a noticeable change when the bushing is seated.
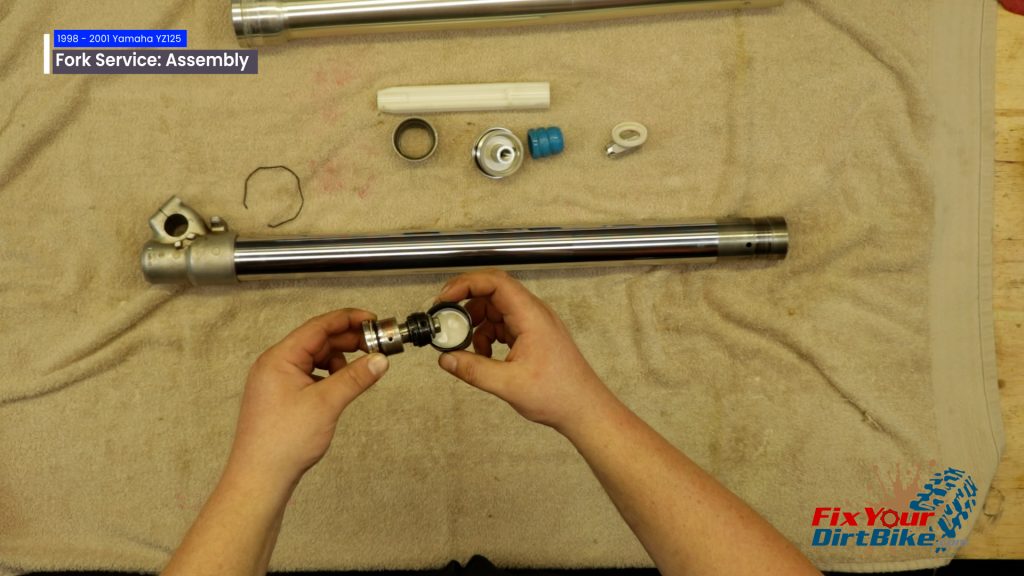
- Pack the dust and oil seal with high-pressure grease.
- Install the oil seal.
- Drive the oil seal into the fork tube with your seal driver.
- It is seated when you can see the stopper ring groove.
- Install the stopper ring.
- Make sure it is seated COMPLETLY into the groove.
- Install the dust seal.
- Slide the fork tube several times to check for binding.


Fork Oil & Final Assembly:
- Mount the axle holder vertically in a vise with a towel.
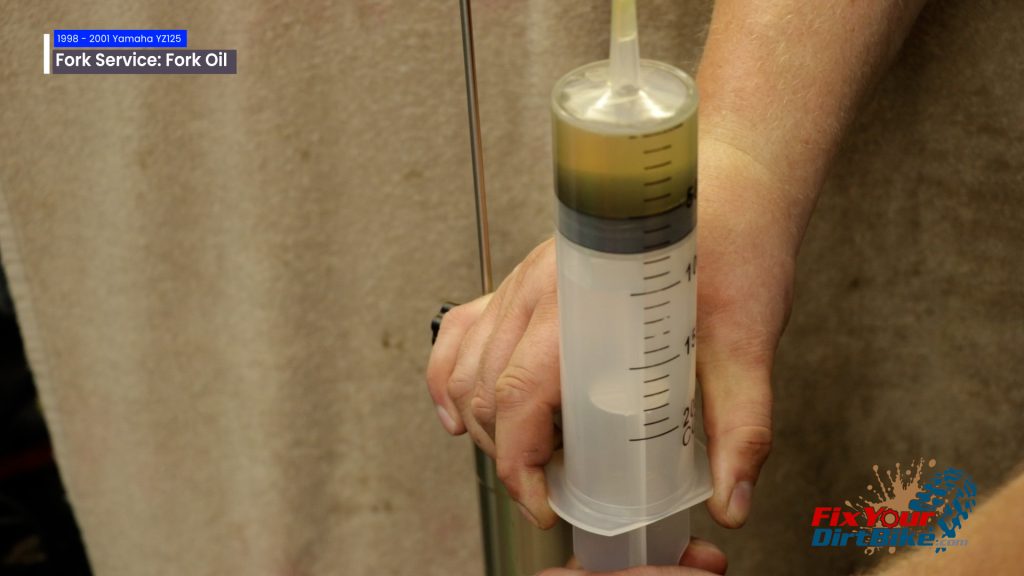
- Fill your fork with Kayaba O1 or equivalent *cough* Maxima *cough* (buy it, I’m serious).
- Slowly pump the piston rod up and down about 15 times.
- Keep topping off your oil as you bleed.
- Pump the fork tube up and down about 15 times to purge any air trapped between the fork tube and slider.
- Don’t extend the fork tube past 200 mm; air will enter the oil, and you will need to repeat this step.
- Leave your fork for at least 10 minutes to let air surface.
- With your fork assembly compressed, measure the oil level with your oil level gauge.
- Adjust the oil level between 80mm and 150mm.
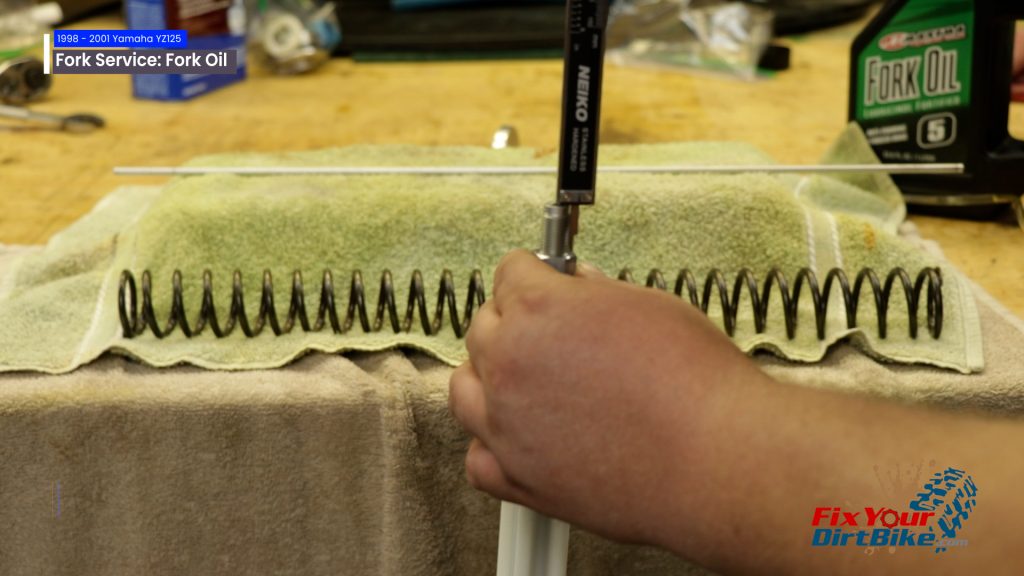
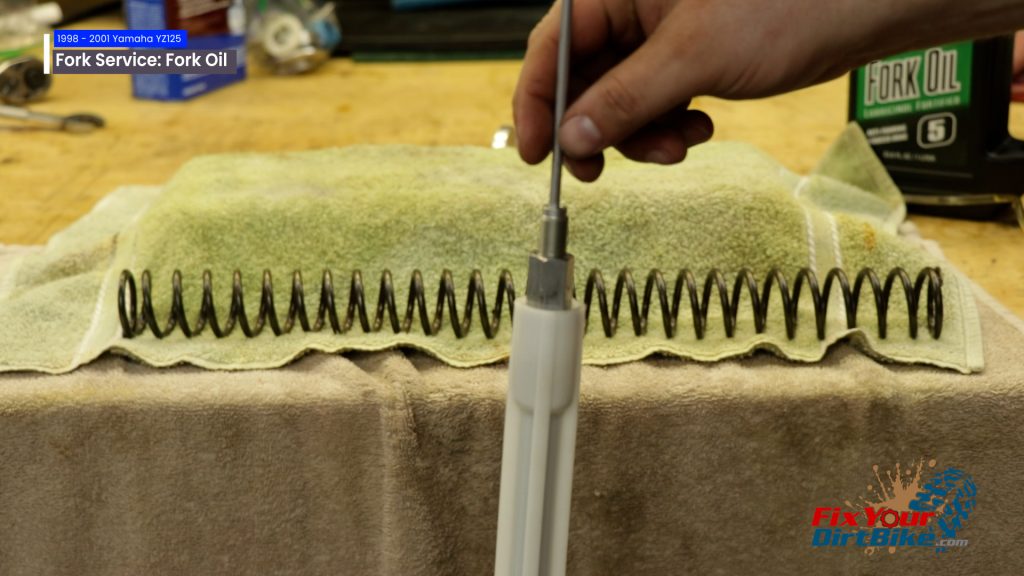
- Using your calipers, ensure the locknut is 20mm from the end of the rod.
- Slowly install the pushrod.
- Slowly pull the piston rod up.
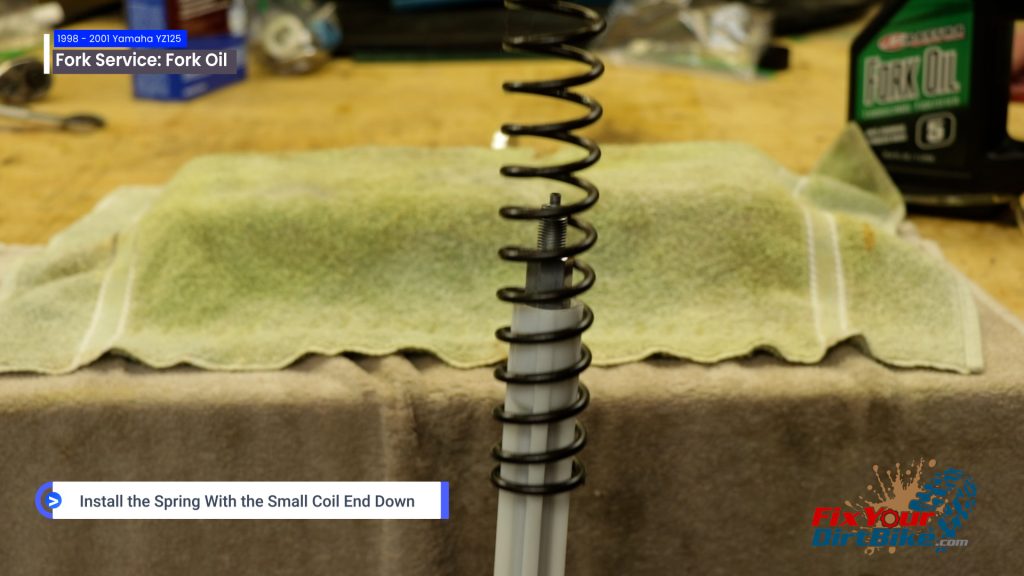
- Install the spring with the small coil end down.
- Install the cushion, washer, and spacer into the fork cap.
- Double-check that the rebound clicker is turned out.
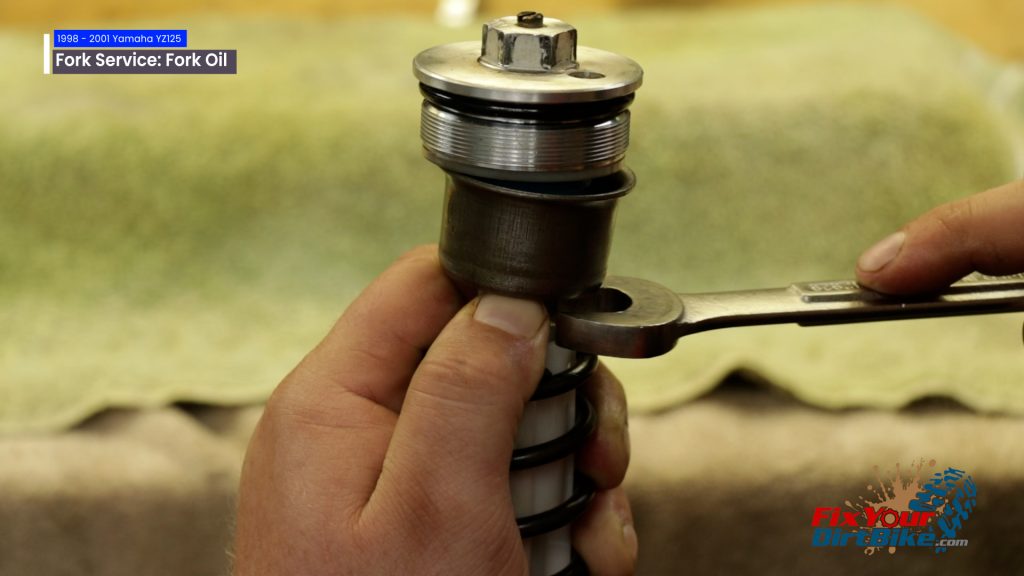
- Pull the spring down, and install the fork cap finger tight.
- There should be a gap between the fork cap and the locknut.
- Hold the locknut with your 17mm wrench and torque the fork cap to 21 ft-lbs.
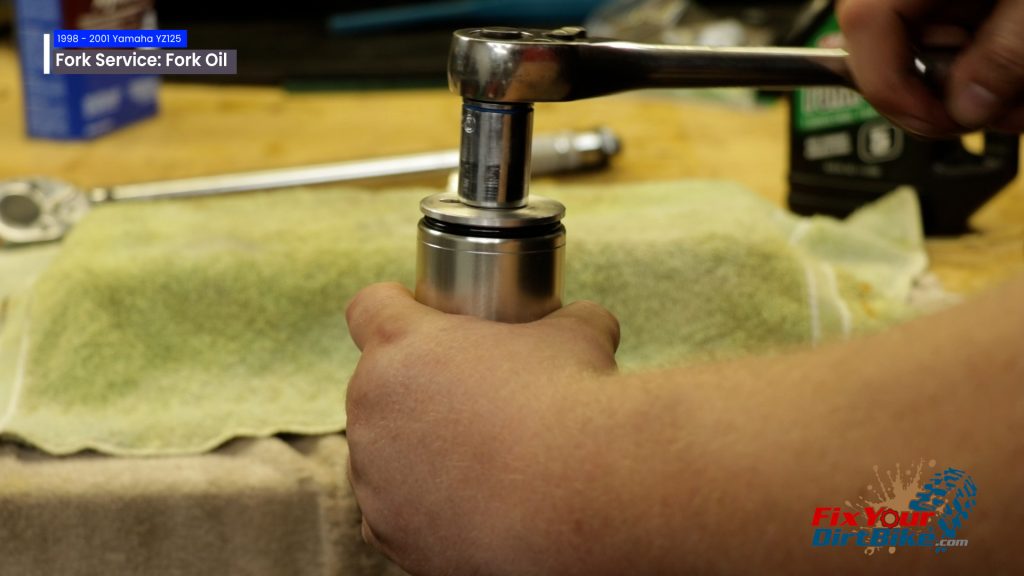
- Double-check the fork cap o-rings and thread the fork cap into the fork tube.

Yamaha YZ125 Fork Installation:
- Install your fork in the fork bridge and tighten the bottom pinch bolts only.
- Torque the fork cap to 22 ft-lbs.
- Loosen the bottom pinch bolts so they are loose but still hold your fork.
- Turn your fork so the air screw faces forward.
- Set the top of your fork 5mm above the top of the upper fork bridge.
- Torque the lower fork bridge pinch bolts to 15 ft-lbs.
- Torque the upper fork bridge pinch bolts to 17 ft-lbs.

This fork rebuild can take some time, so don’t do it if you are in a hurry!
If you have any questions or comments, please let me know!


