
I Put A Hole in My Crankcase Cover Because I Crash A Lot!
I’ve cracked a few crankcase covers over the years, but this is the first time I’ve managed to crack one from the inside of the cover.
Of course, I didn’t notice the crack until after I got back to my truck, meaning I put another half hour on my internals with no oil. Yay, because now I get to replace the 5-hour-old bearings.
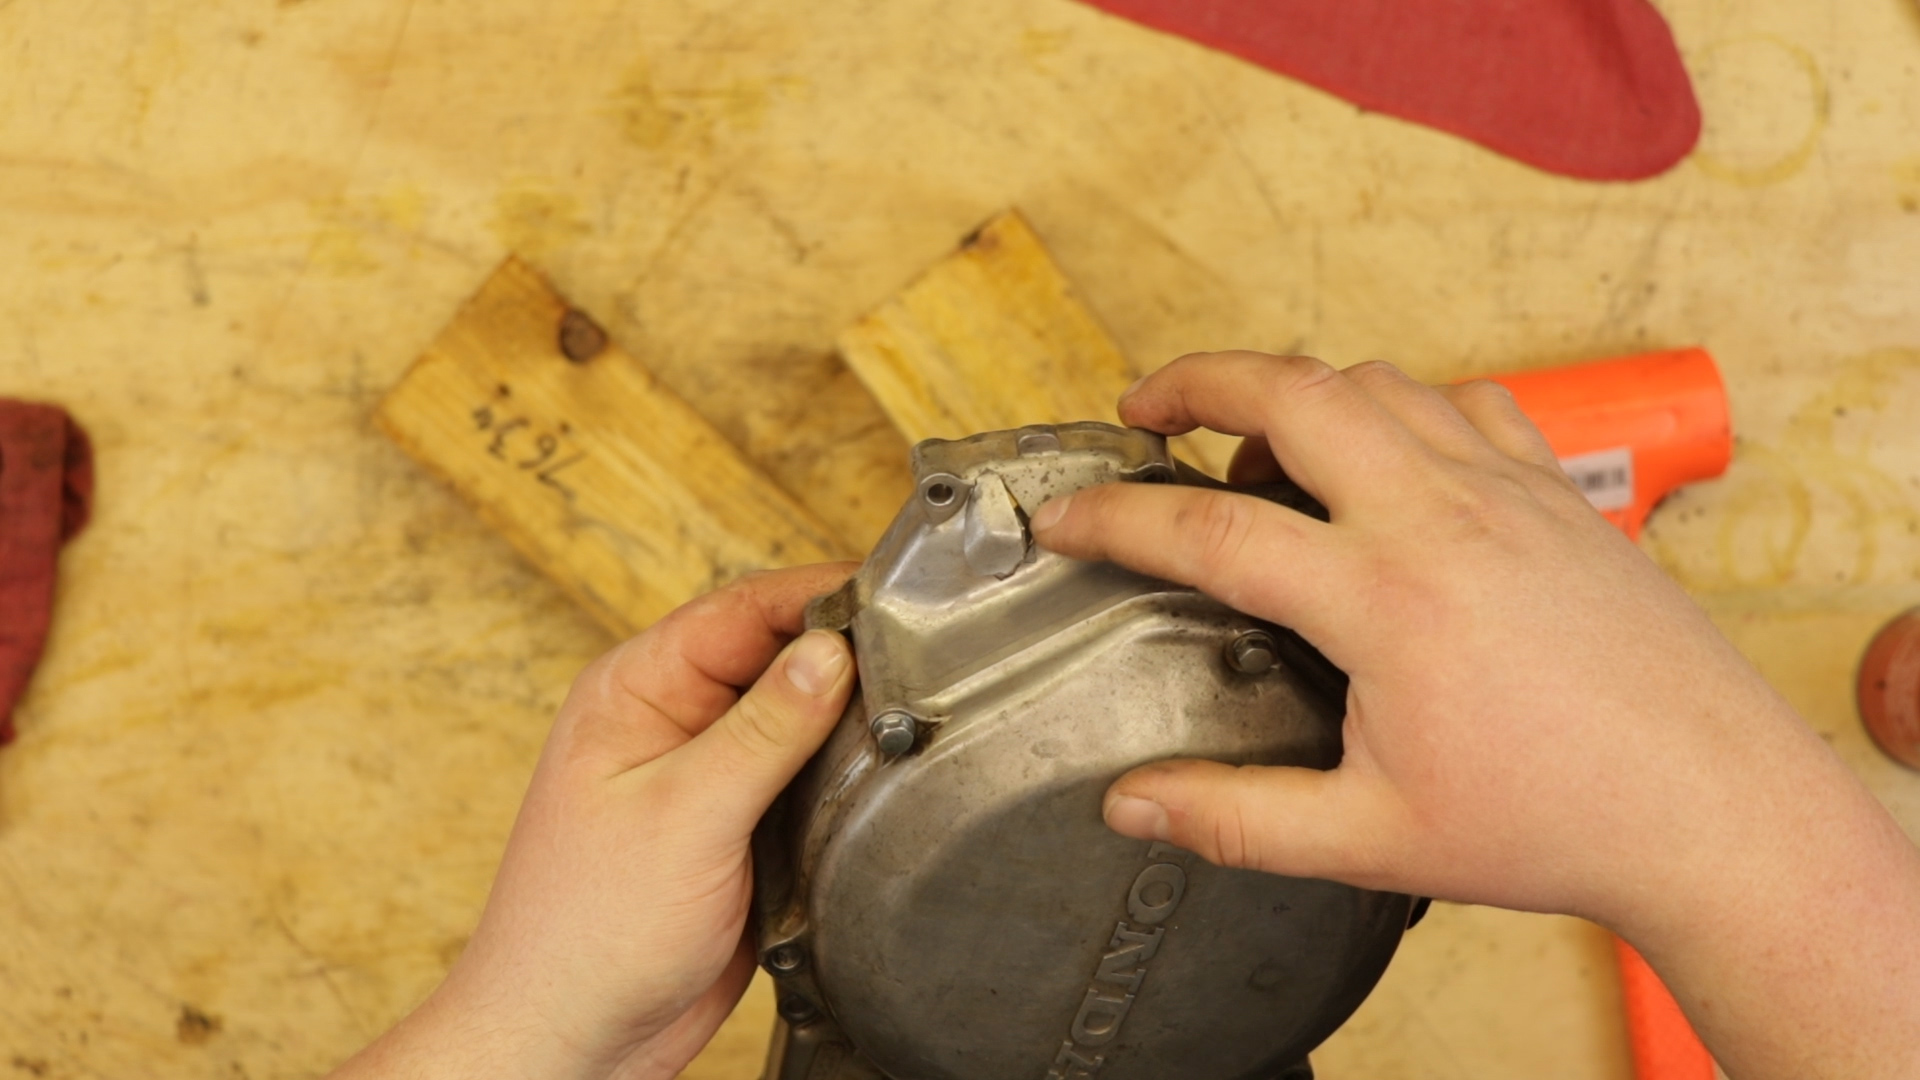
I pulled the cover and found that the shift shaft was the cause of my new case breather. I must have laid my bike down at just the wrong angle to punch the shaft hard enough against the case to break it.
So, if you find yourself with a fresh crack in your cover, here’s how to fix it.
The tools you need to fix your crankcase cover:
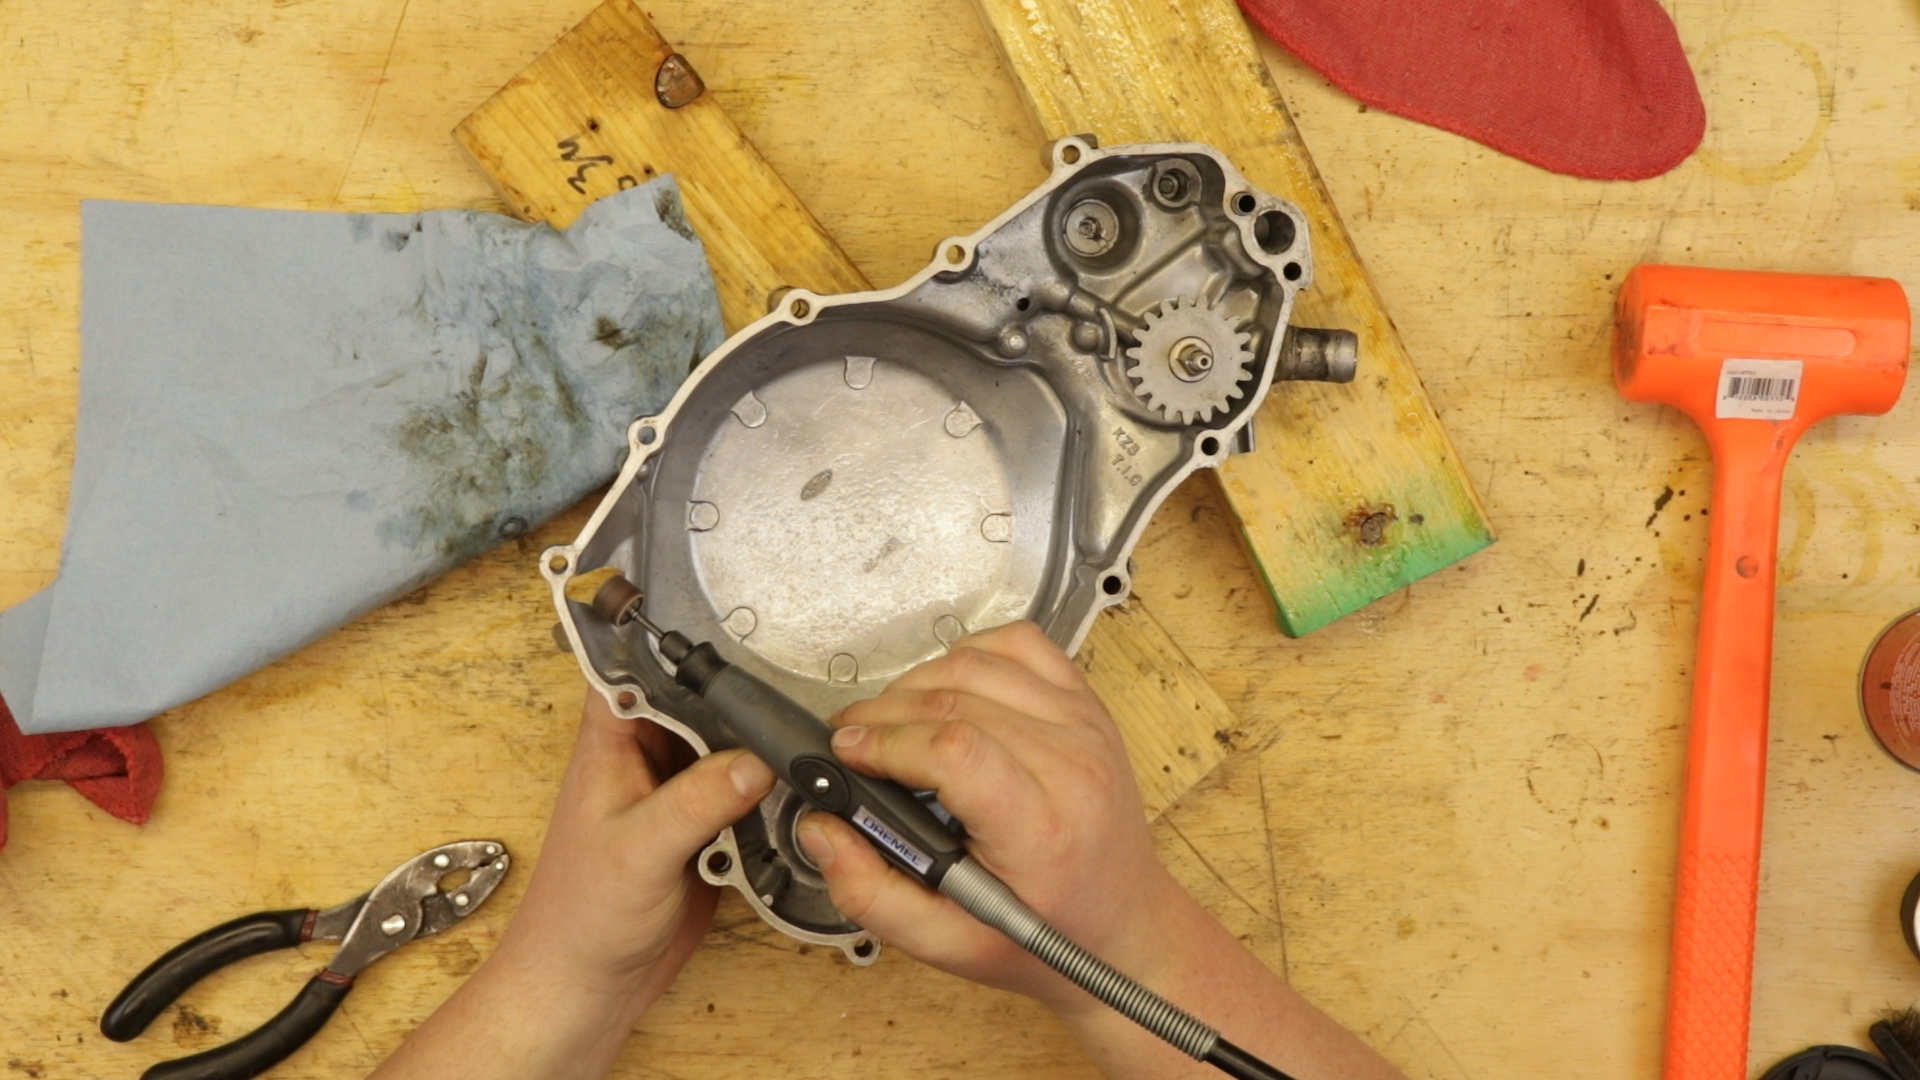
– Dremel → https://amzn.to/40HS7EV
– JB Weld → https://amzn.to/40H3NrD
– Scouring Pad
– Denatured Alcohol
Pre-Service Notes
- If you need parts and tools, make sure to buy them here! → https://amzn.to/40uWvWN
- Pictures with captions are after the steps below.
- If you need any help, don’t hesitate to ask!
Crankcase Hole Repair
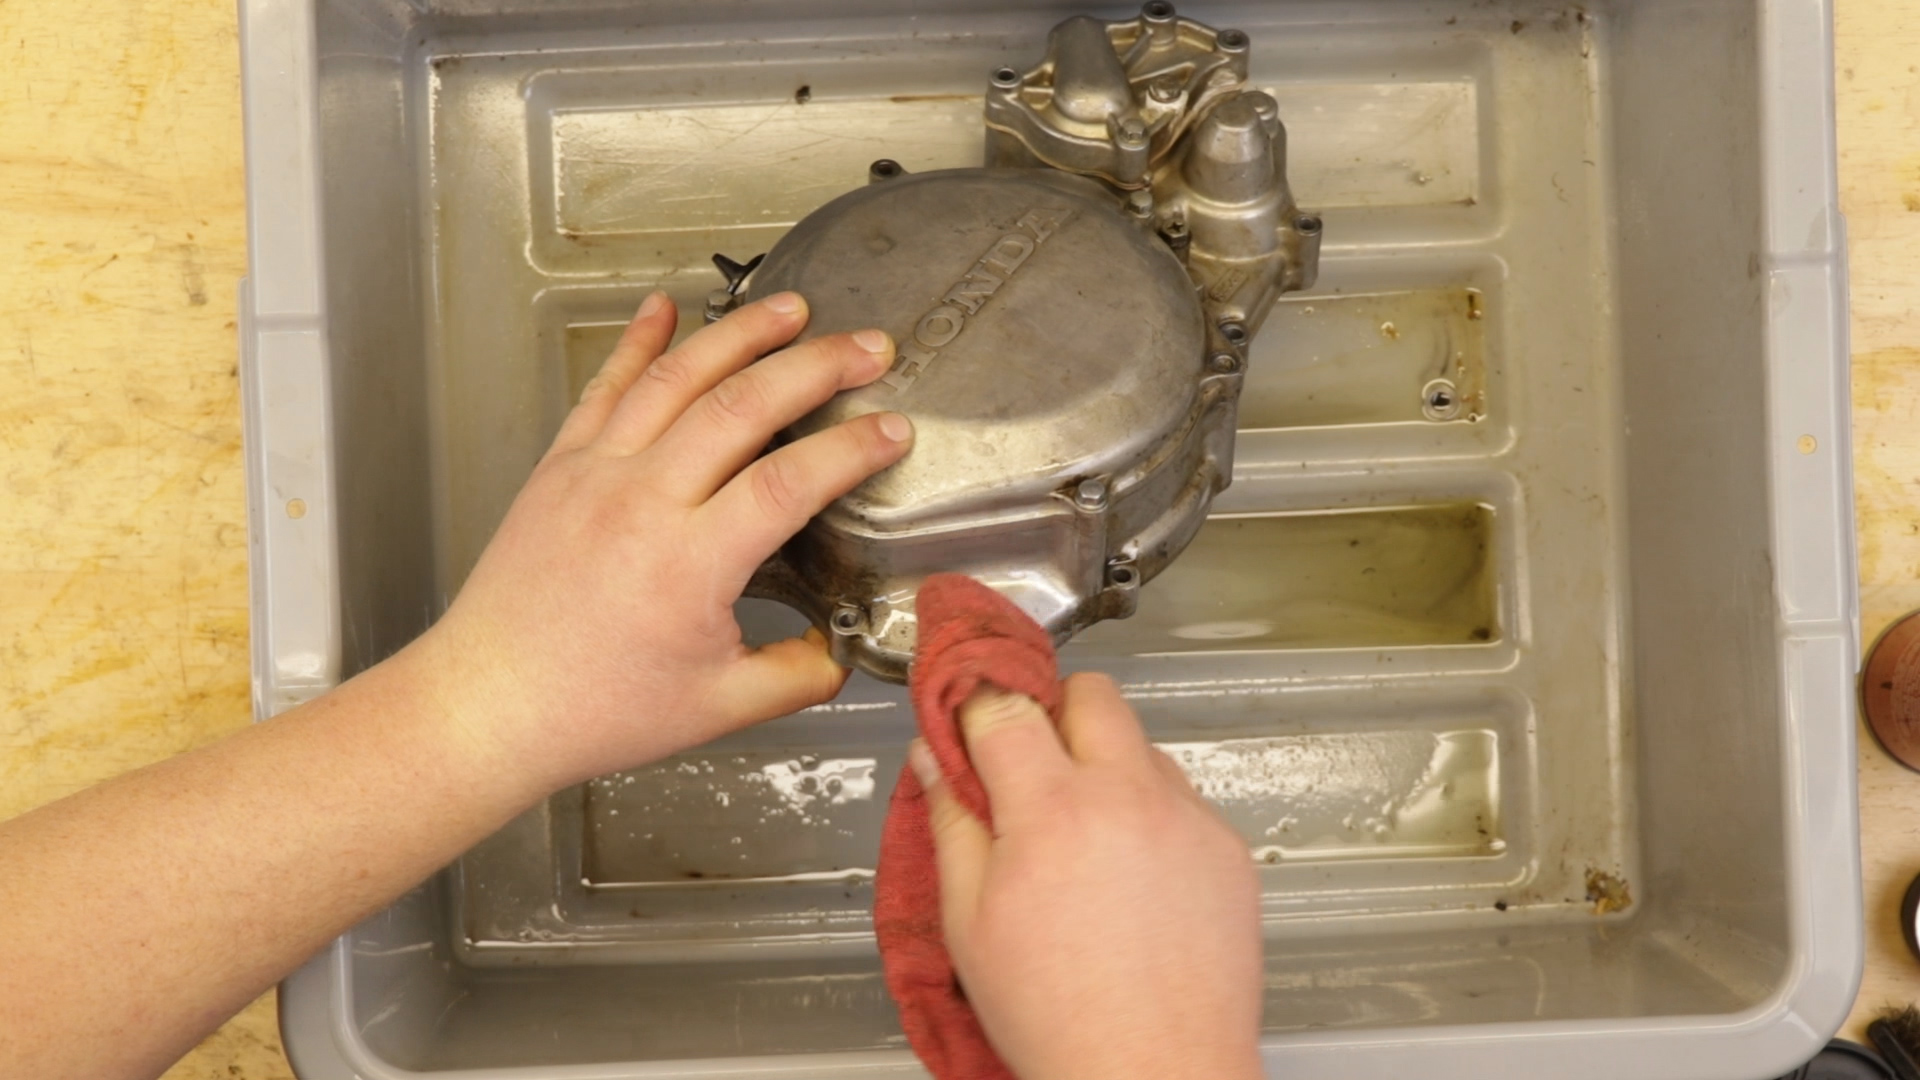
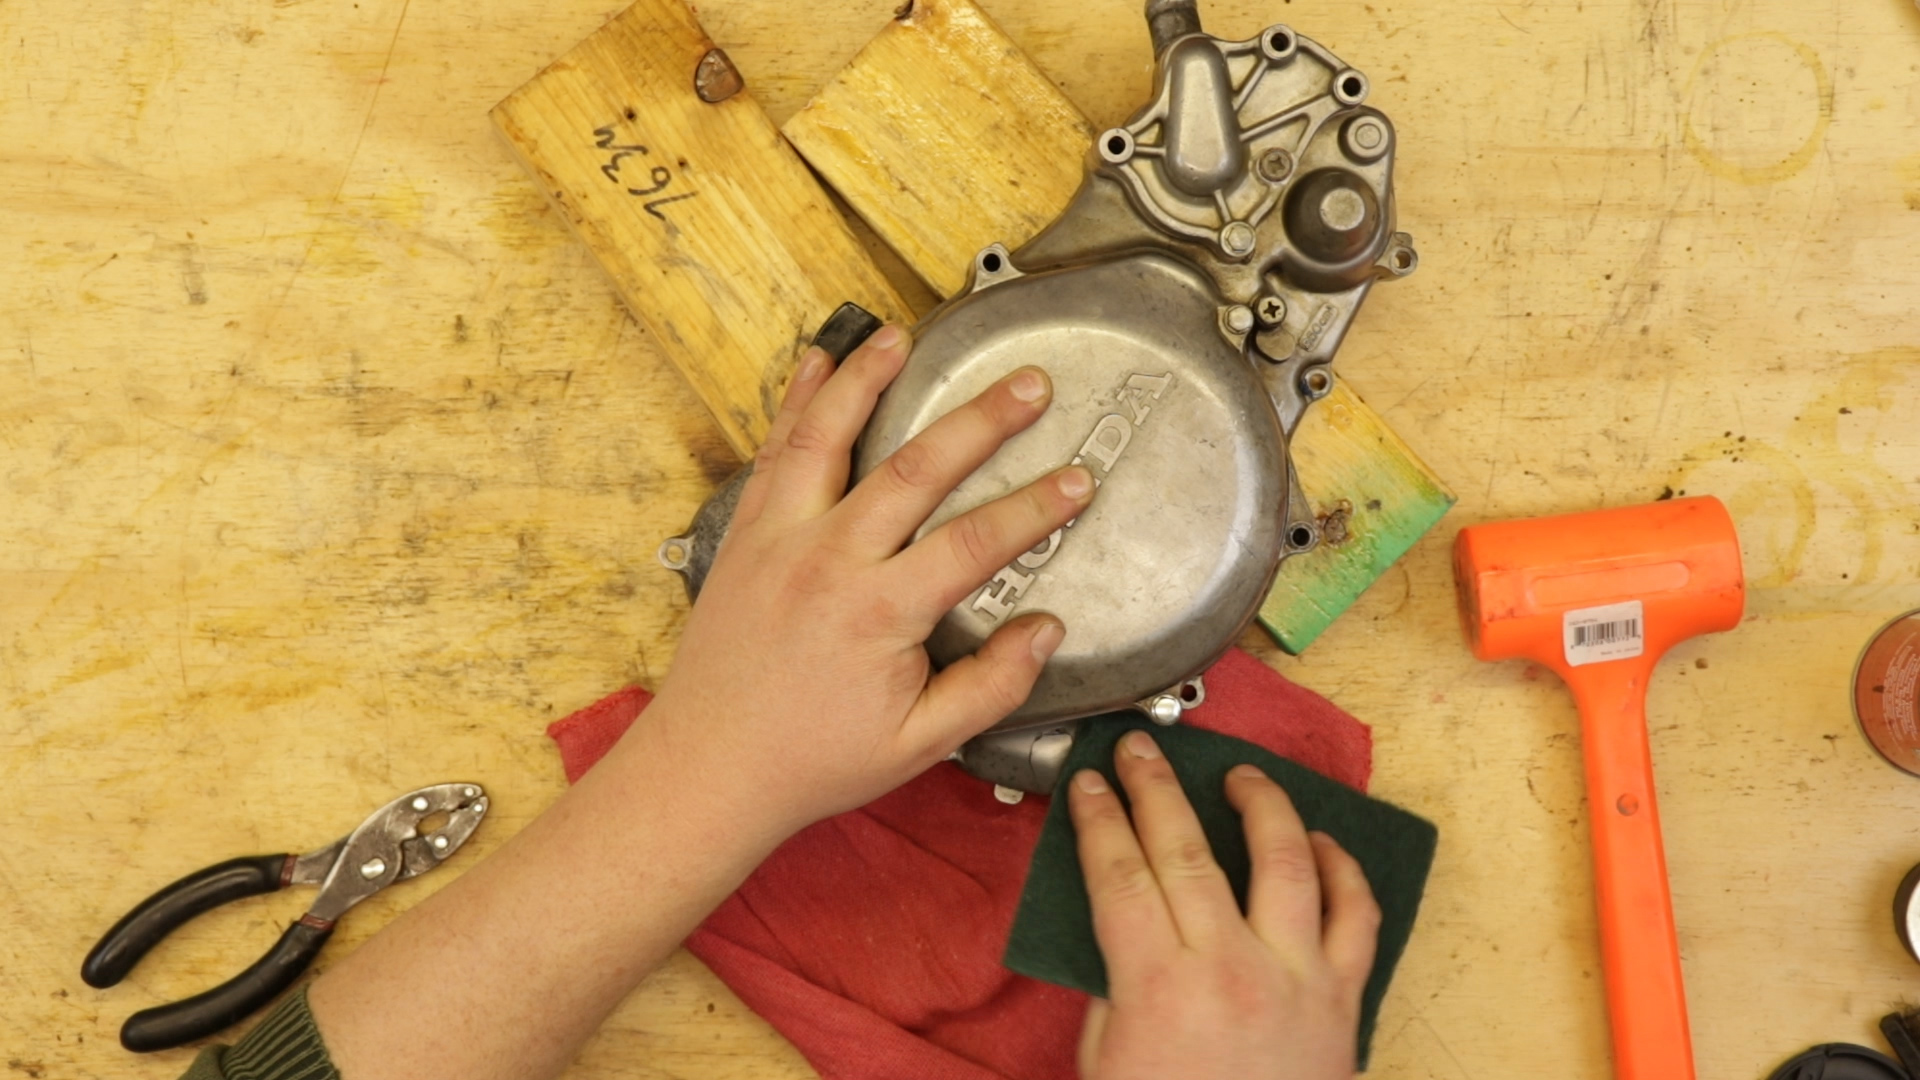
- Clean the surface as well as you can.
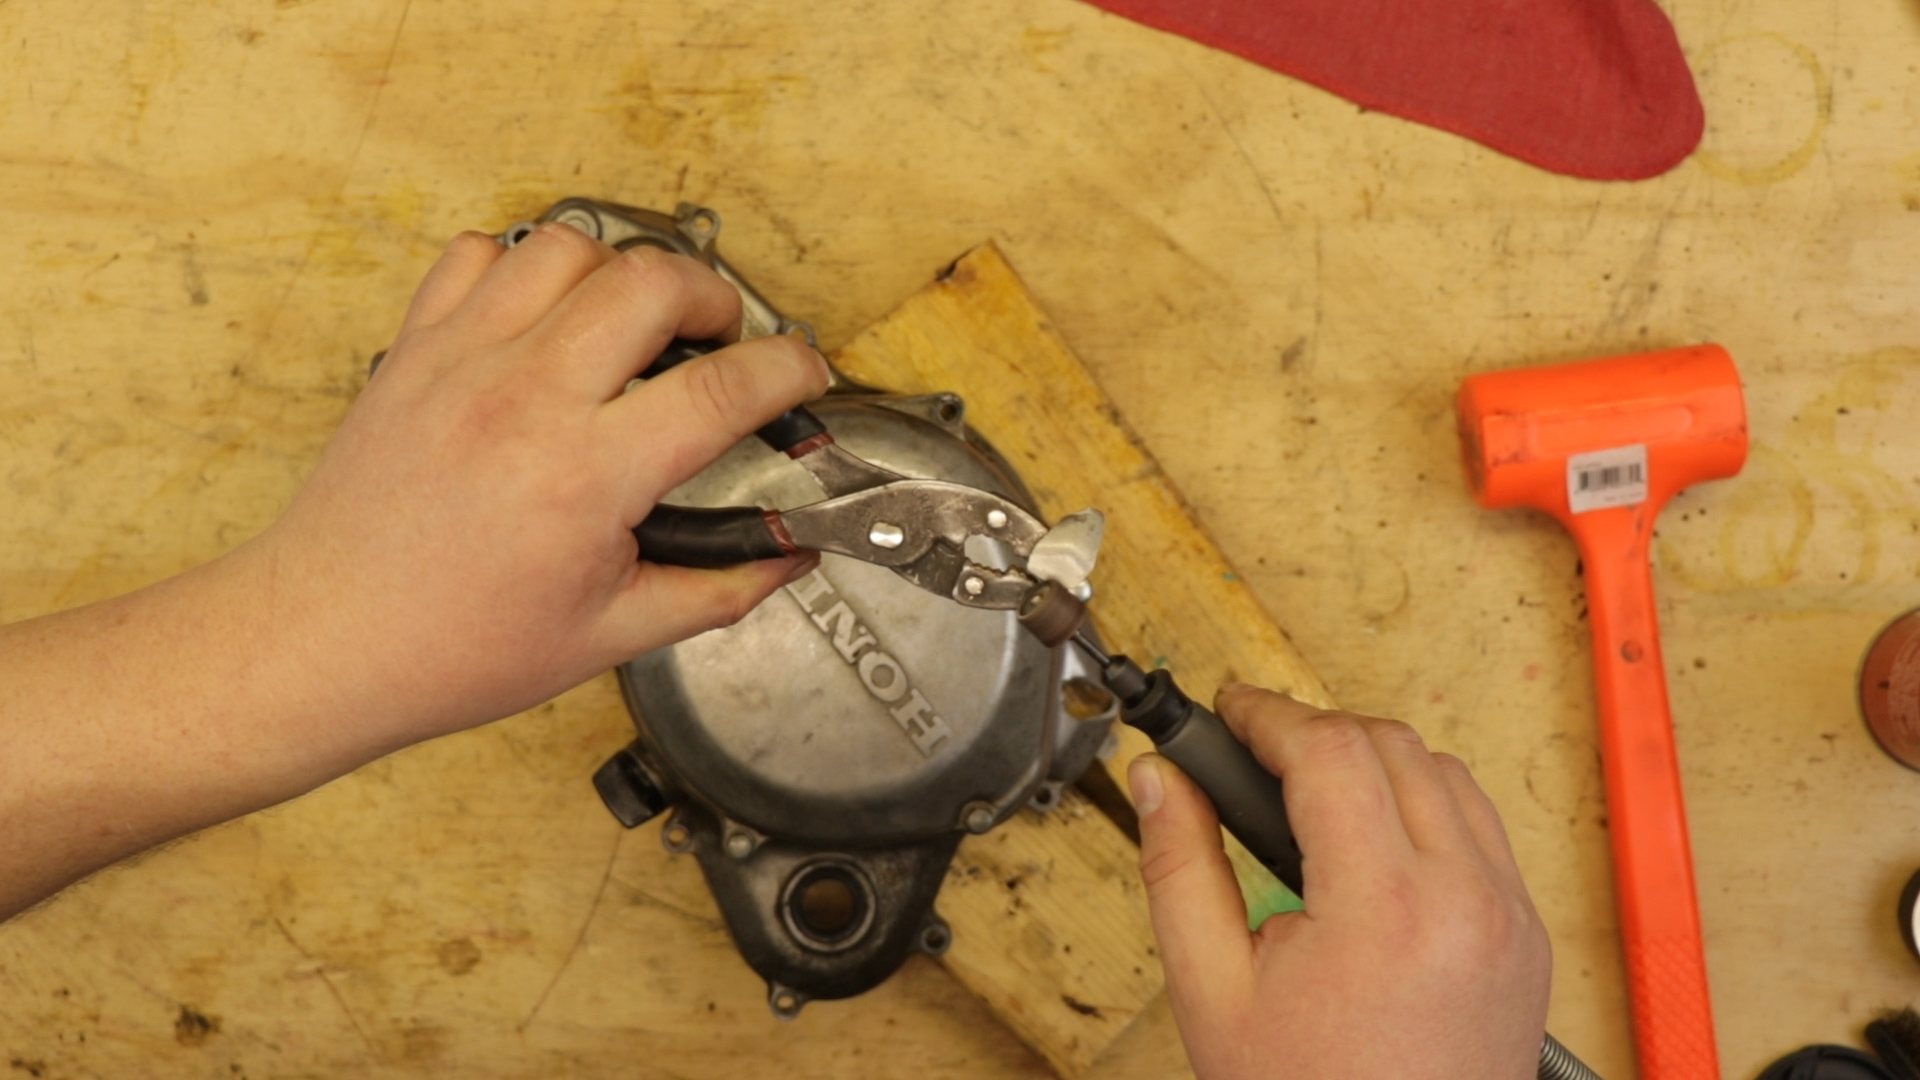
- In my case, the crack was big enough that I needed to remove the broken piece from the case.
- I would have just patched the crack as is, but the case holds the shift shaft in place, so I needed to repair it flush.
- Prep the area by scouring the surface with a brillo pad or steel wool to give the patch material something to grab onto, then follow with alcohol to remove any dust.
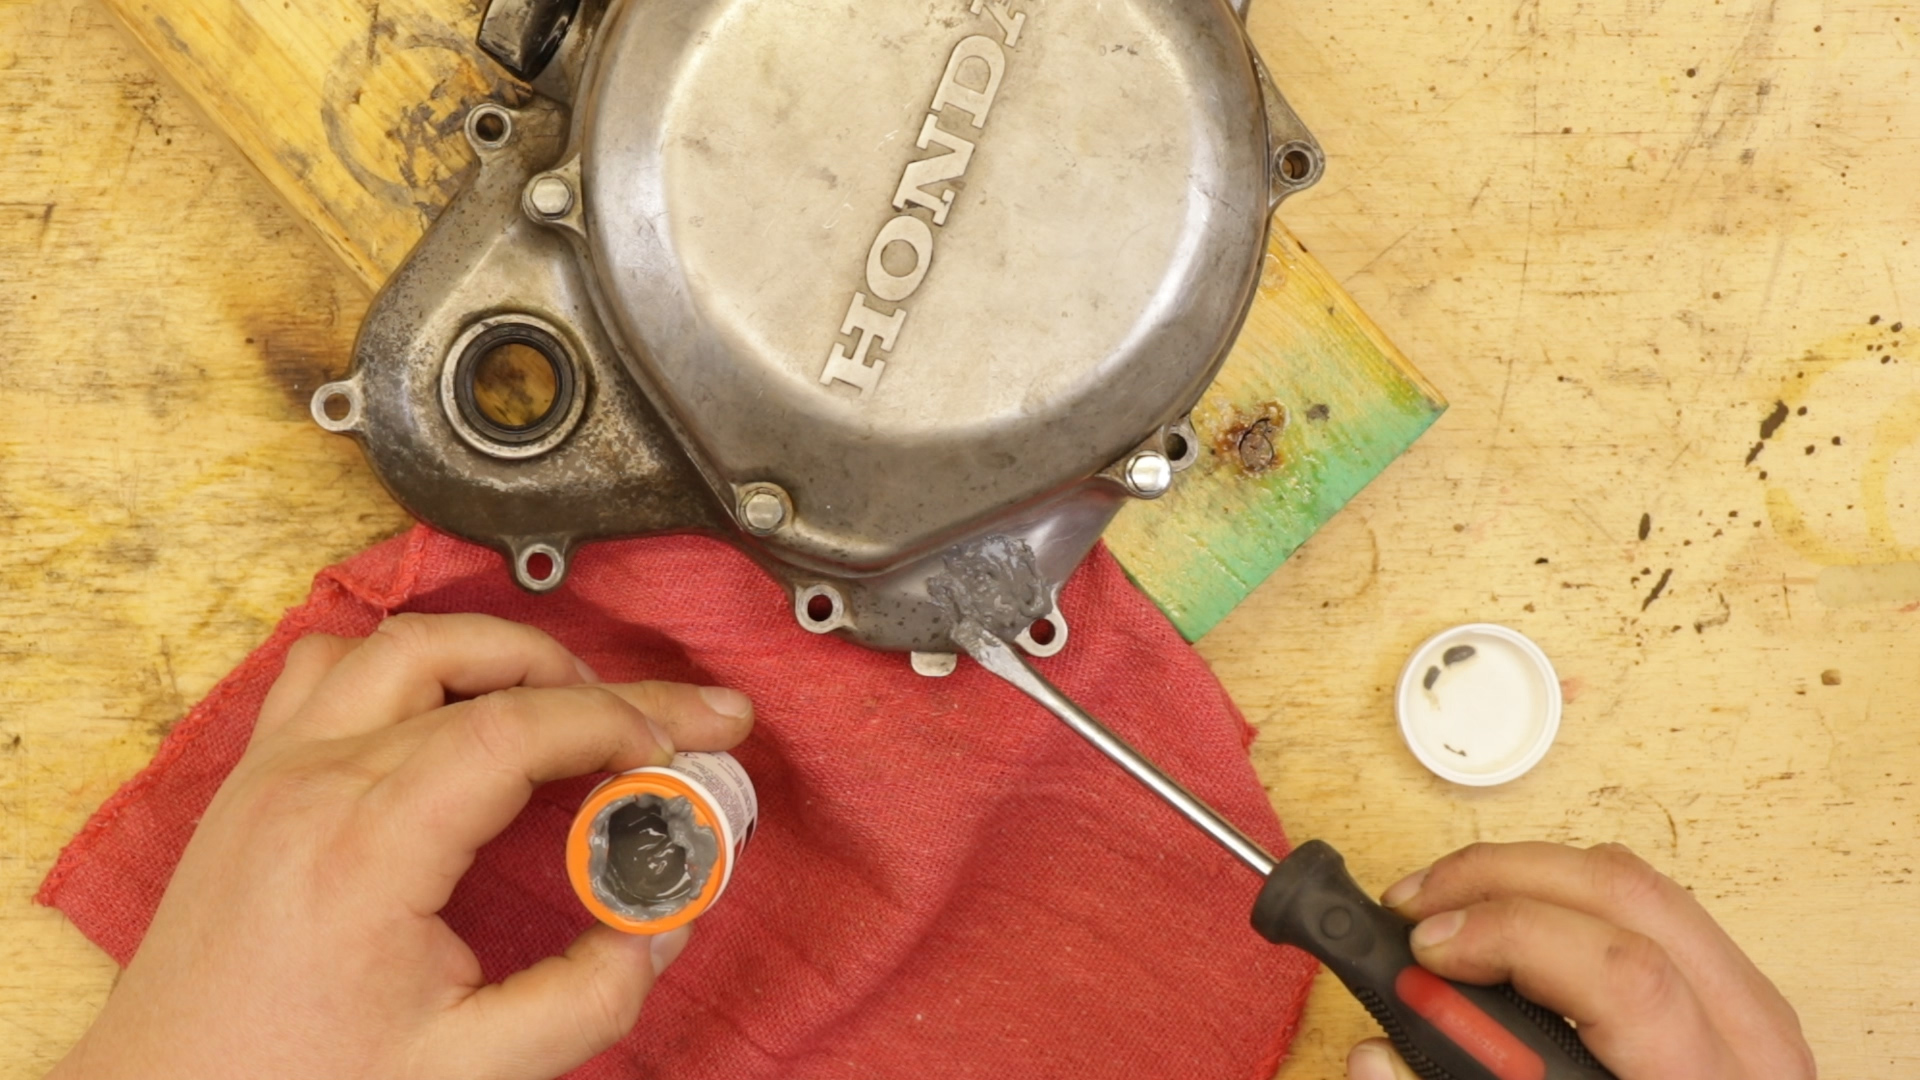
- Apply your patch material over a large area around the break. The more surface you cover, the better the patch will hold.
- After you apply your patch material, walk away. Let the patch cure for at least 8 hours before use; the longer, the better. Unless…
Related: How does a 2-stroke reed valve work? Like this!
Patch Follow Up
I used JB Weld Extreme Heat Temperature Resistant Metallic Repair Paste for this video.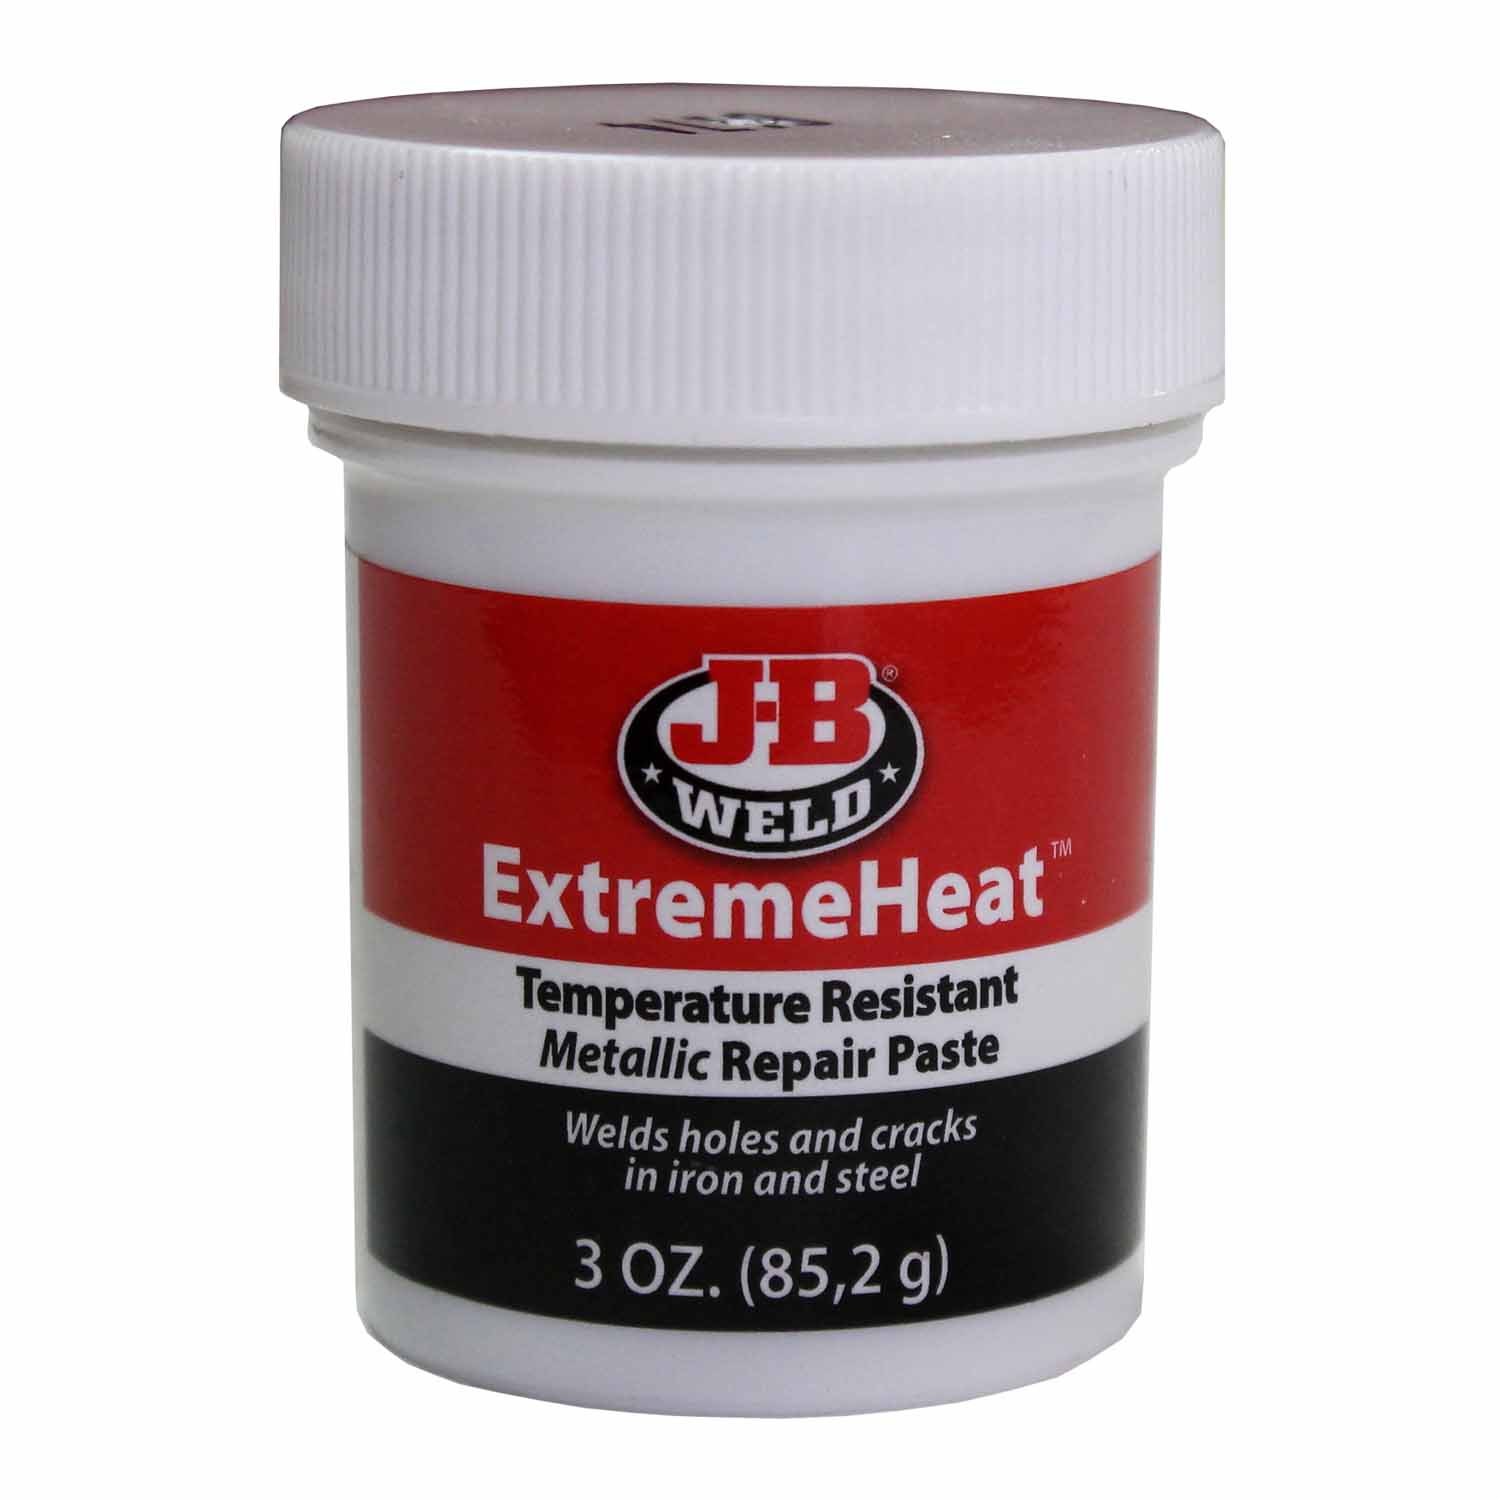
Yes, this is overkill for this patch. It was leftover from a scrapped project, but it wasn’t cheap, and I wanted to use it before it dried up.
I called JB Weld and asked them explicitly, “Will this product work on aluminum.”
I was told over the phone that, yes, this product would work on aluminum.
It does not work on aluminum, so I’m glad I abandoned that other project.
I patched the cover on Friday night and installed it on Monday morning, and when I pulled my bike out that Saturday, there was a lake of oil underneath it.
My first guess was the gasket didn’t seal, so I started poking around and found the leak coming from my freshly patched hole.
I pulled the cover to try again and found that this “extreme condition” patch was flaking off.
I tapped the patch with a hammer, and it just shattered. It never actually bonded with the surface metal.
Now here is why I’m pissed off about it.
I had a 2-stroke project that required an internal crankcase patch, which I eventually abandoned because a replacement case half was a better option.
I saw that the Extreme Heat was recommended for patching cylinder walls, so I had my solution, but I wanted to ensure.
I called JB Weld and asked them directly, “Will this product work on aluminum.”
I was told it would work, and it didn’t. So, it’s a good thing I bought that used case on eBay.
Related: I like to use red rubber grease when installing new tubes to make the jobs way too easy.
I contacted JB Weld About This Issue.
I recently used your Extreme Heat to repair a crack in the crankcase cover of my dirt bike. The patch did not hold, and after removing the crankcase cover to double-check my work, the paste could be removed with my fingernail.
I called about this product before purchase to explicitly ask if it would work on aluminum, and I was told it would. This is clearly not the case.
I need something that works with aluminum and high temperature. Do you have a product that meets my needs, or do I need to go to a machine shop?
Thanks,
John
JB Weld’s response:
“Hey John, it sounds as if the product could not be fully cured; it must be allowed to be fully cured before using.”
That’s it; they didn’t address the fact that I called and received incorrect information about their product or tried to solve the problem I was trying to solve.
I re-patched with an old epoxy mix I had in my toolbox to get through the weekend.
That was six weekends ago, and it’s still holding strong.
If you have any questions, please let me know in the comments or on social!


