
How To Remove And Install The Front Wheel On Your Dirt Bike
 Tools You Will Need For Your Front Wheel
- Socket for the axle nut
- Socket for the pinch bolts
- Socket brake caliper
- Large ratchet or breaker bar
- Torque Wrench → https://amzn.to/3WuepaQ
- Block of wood
- Pliers
- Safety Glasses → https://bulltru.com
Pre-Service Notes
- Put your bike on a sturdy stand.
- If you need parts and tools, make sure to buy them here! → https://amzn.to/40uWvWN
- Pictures with captions are after the steps below.
- If you need any help, don’t hesitate to ask!
Rear Wheel Removal
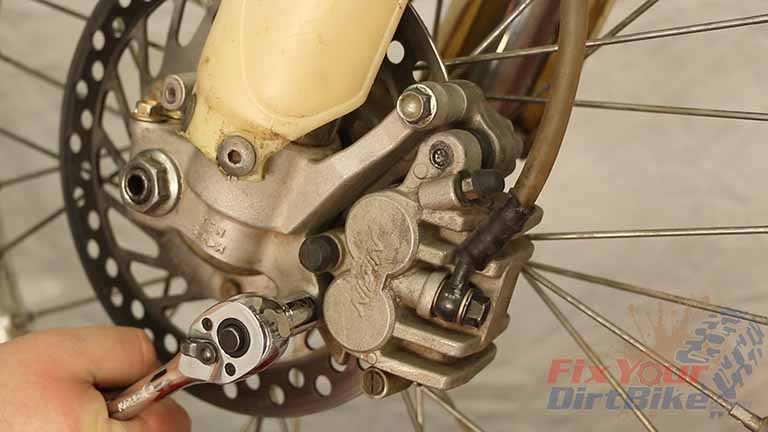
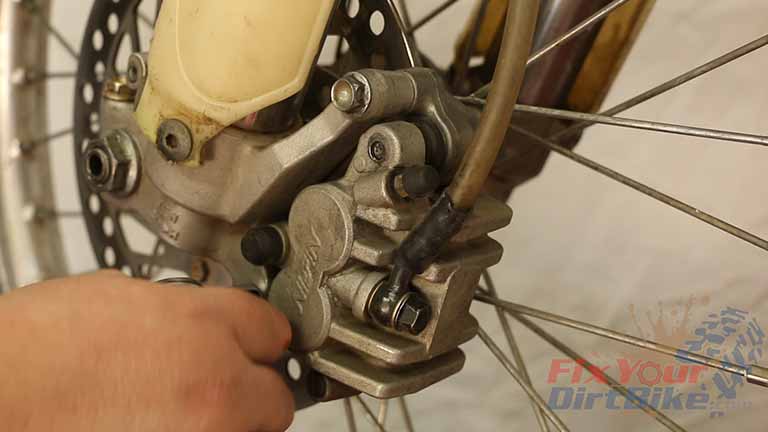
- Step 1: Unbolt your brake caliper from the fork and hang it out of the way. You don’t need to do this, but it makes installing your wheel much simpler.
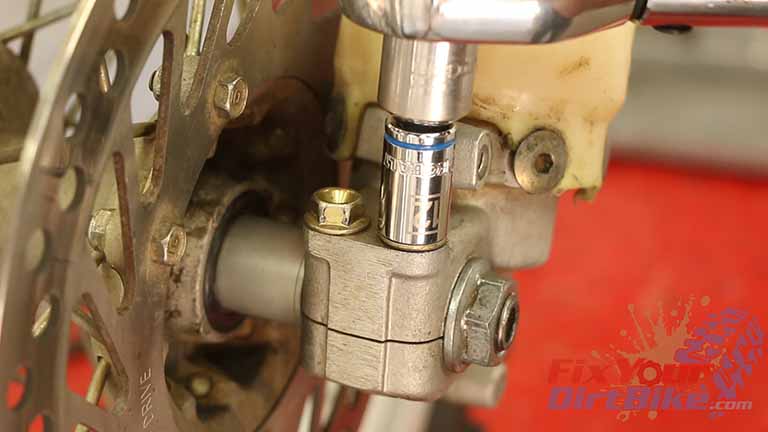
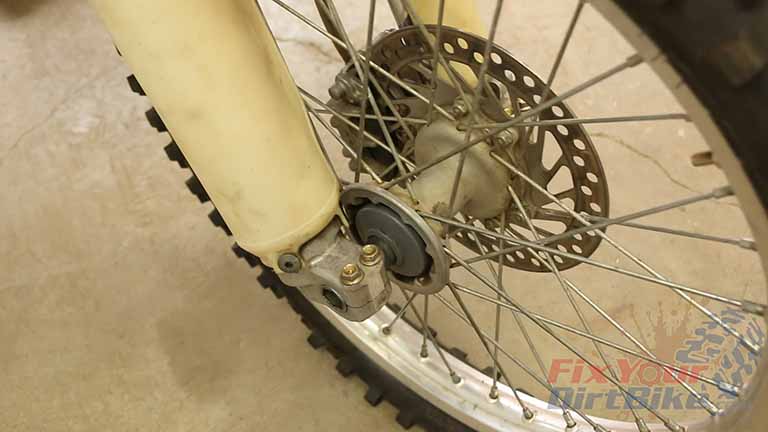
- Step 2: Loosen & remove the axle nut.
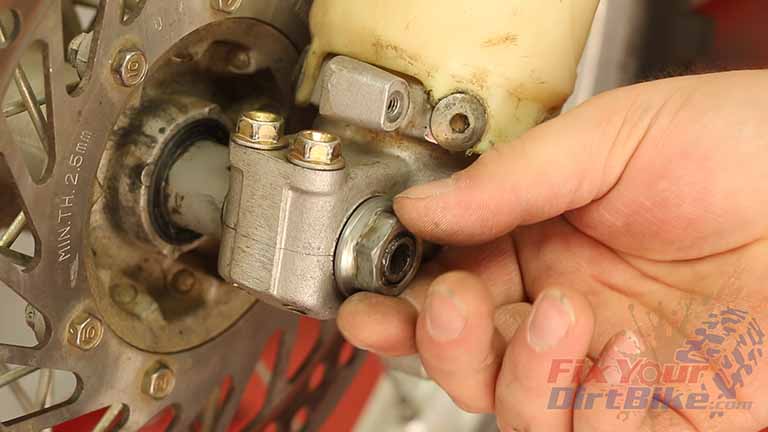
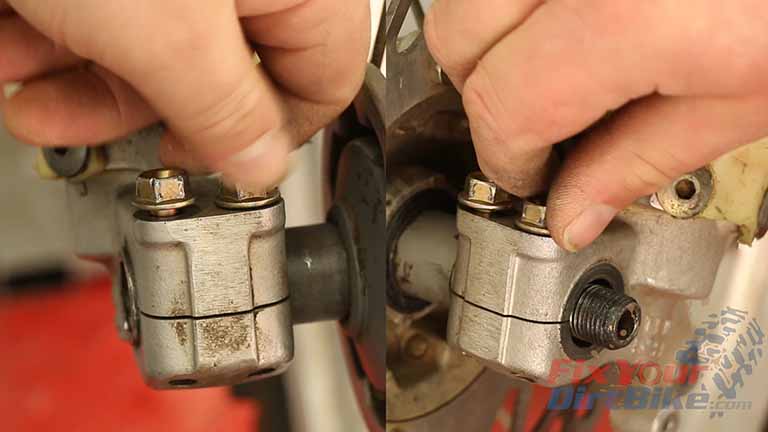
- Step 3: Loosen the pinch bolts, but don’t remove them.
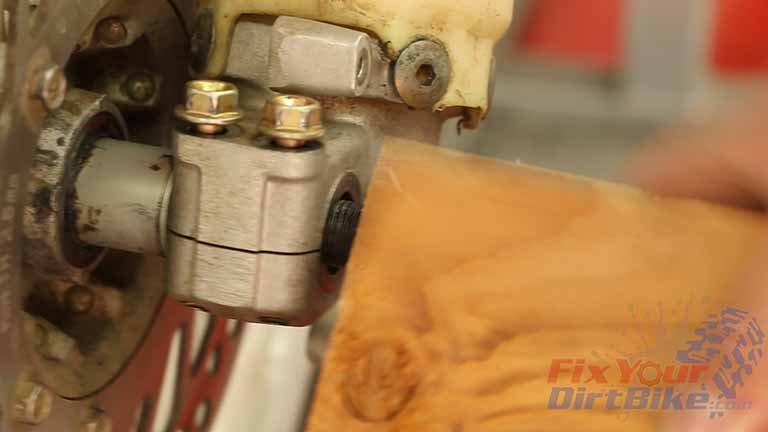
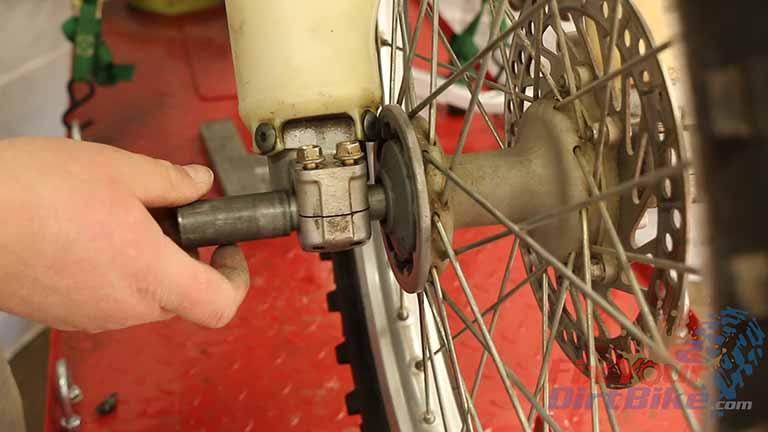
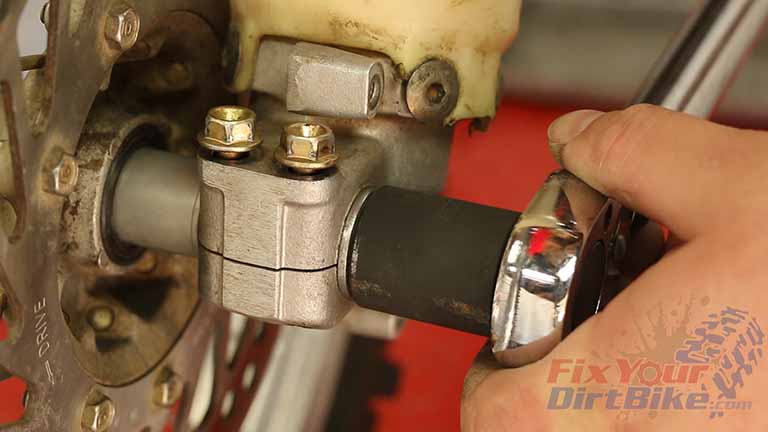
- Step 4: Punch the axle into the hub using your wood block.
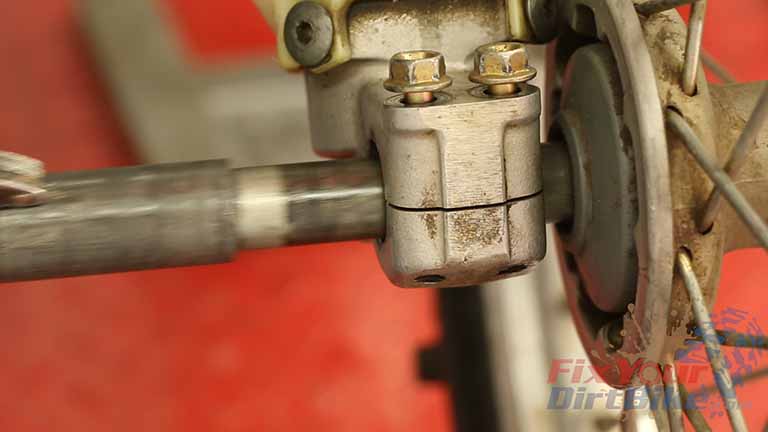
- Step 5: Pull out the axle.
- DO NOT USE A HAMMER TO REMOVE THE AXLE!
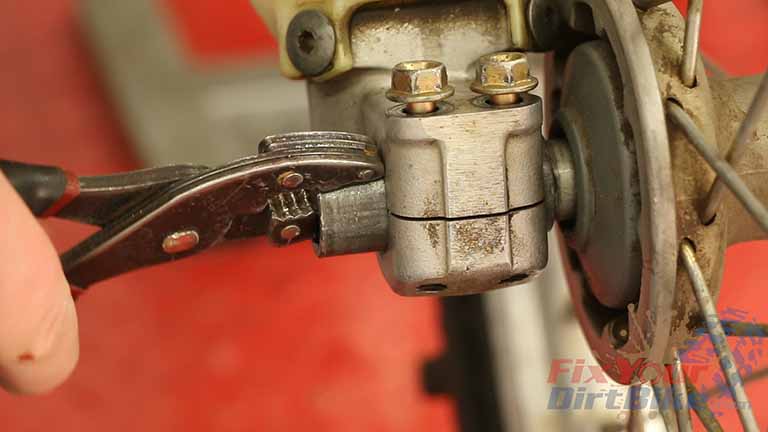
- Step 6: Pull up on your wheel to relieve the axle’s weight. Then, using your pliers, finish pulling the axle out of the hub.
- When you pull the wheel away from the forks, ensure the hub spacers come with it.
Related: How to change the tune and tire on your dirt bike the right way!
Rear Wheel Installation
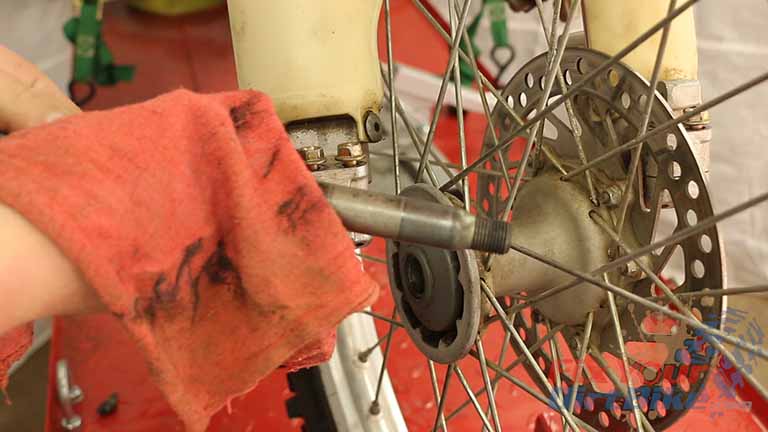
- Step 7: Clean every part of the wheel & hub before you install them. If you have some grease, apply a thin layer to every part you can.
- Step 8: Align your wheel hub with the forks and install the axle. If you removed the hub spacers, make sure to install them.
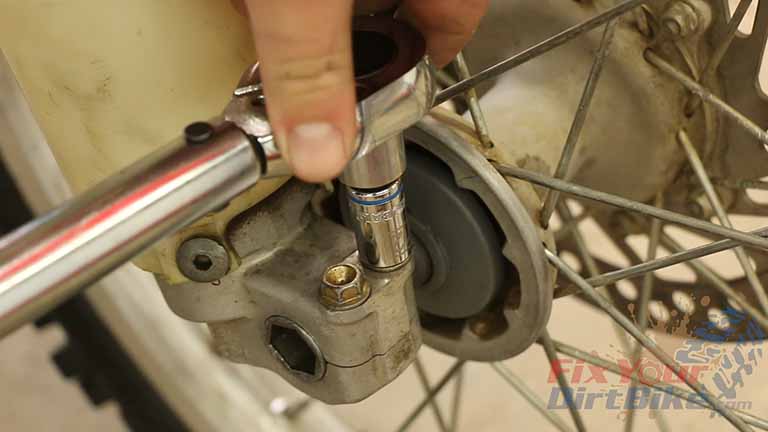
- Step 9: Install & torque the axle nut.
- Step 10: Torque the pinch bolts on the axle nut side first.
- Step 11: Re-install the brake caliper.
- Step 12: Take your dirt bike off the stand and compress the front forks a few times. This will allow the forks to align themselves to the axle.
- This is a very important step; misaligned forks will bind and potentially cause severe damage.
- Step 13: Torque the pinch bolts on the opposite side of the axle nut.
- Remember to take your time, and your bearing replacement will be easy.
If you want to help fix your dirt bike to the next level, check out my Patreon page!
If you have any questions or comments, please leave them in the comments or on our Facebook page!
Keep Your Dirt Bike Running Right!


