
How To Replace Your Front Wheel Bearings And Service The Hub
Replacing the front wheel bearings on your dirt bike is a relatively easy repair. The bearings are a press fit, so you will need a torch and patience to remove them.
 The Tools You Will Need To Replace Your Front Wheel Bearings
- A long drift
- Tire Spoons → https://amzn.to/4aqlHCj
- Aftermarket hammer
- Stock hammer
- A socket that matches the OUTSIDE bearing race diameter
- A socket that matches the INSIDE bearing race diameter
- Socket wrench extension
- Propane torch
- Two long 2x4s
- A small block of wood
- Rubber Gloves
- Work Gloves
- Safety Glasses → https://bulltru.com
The Parts You Will Need
You will need a set of new bearings, seals, and a bucket of grease.
I will be installing a new set of Factory Links bearings and seals.
These bearings come pre-greased and double-shielded, and the seals are reinforced with an internal tension spring.
I highly recommend this Factory links bearing and seal set, and they go for around $20. You HERE if you don’t have yours yet. (It looks like those bearings are unavailable right now)
The grease I will be using is general-purpose automotive grease, and you can get yours here → https://amzn.to/4h7d8yI
If you need parts and tools, make sure to buy them here! → https://amzn.to/40uWvWN
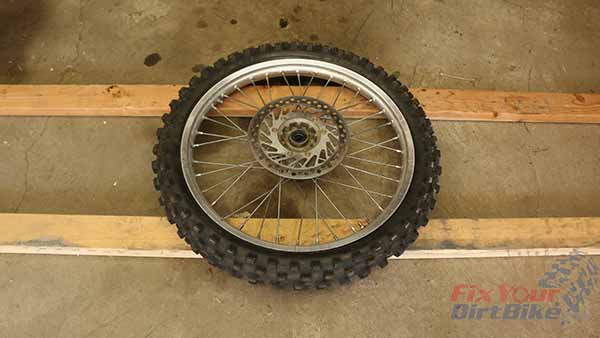
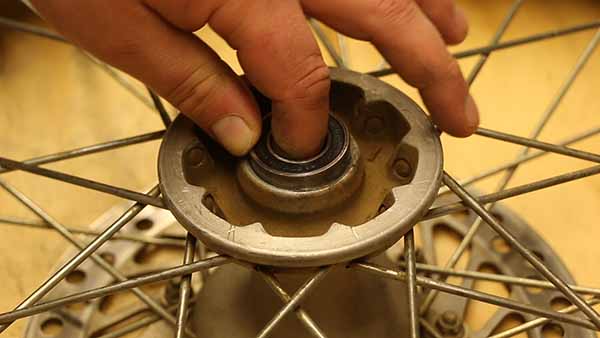
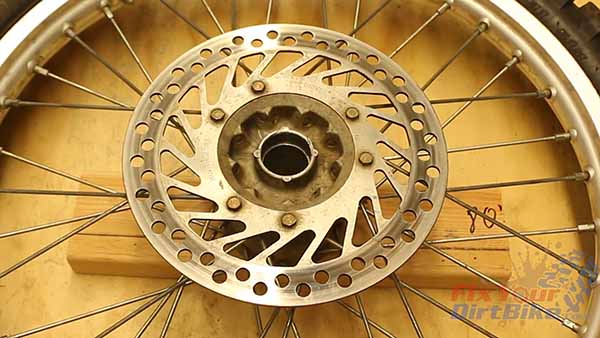
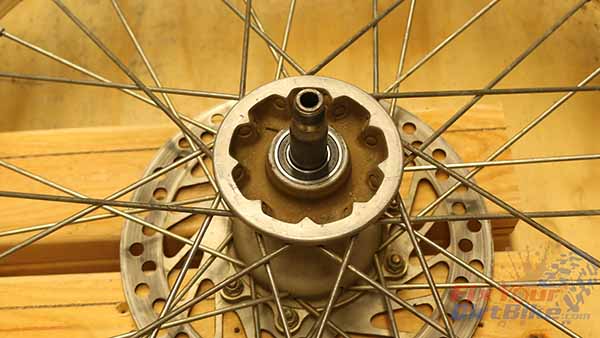
It always helps to know what you’re working on before you work on it, so learn how your front hub works before you start on the bearings.
Unlike the rear wheel, you can start with either side of the front wheel hub. In this guide, I will be starting with the left bearing.
Related: Don’t ride in the sand without a whip!
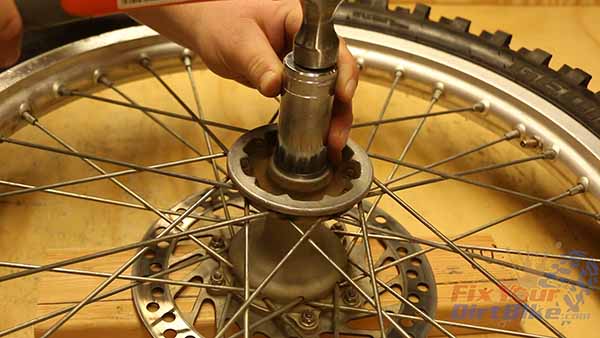
Front Wheel Bearing Removal
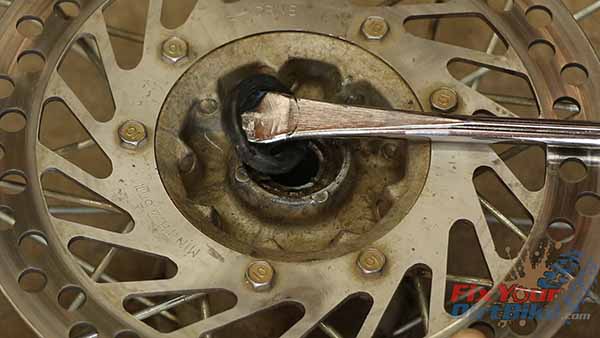
- Pry out the old seals.
- There is usually a small lip inside the seal. Hook this lip with your tire spoon to pry it out.
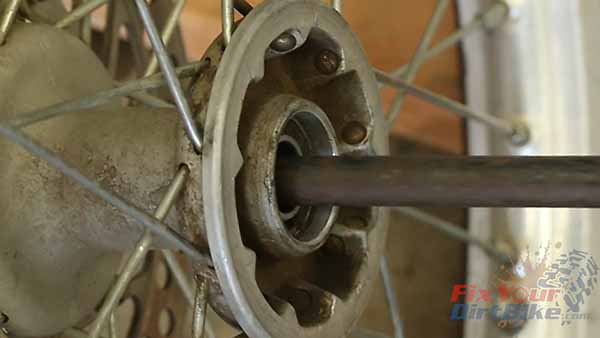
- Dislodge the distance collar.
- Insert your drift from the right side of the hub up to, but not touching, the left bearing.
- Work your drift around to push the distance collar away from the inner bearing race.
- Find a sturdy surface. You will hammer your bearings out, so make sure you are on a sturdy surface. Floors usually work.
- Place your wheel on your 2x4s with the left bearing facing UP.
- Ensure the rim and tire are the only parts of the wheel touching the wood.
Remove The First Bearing
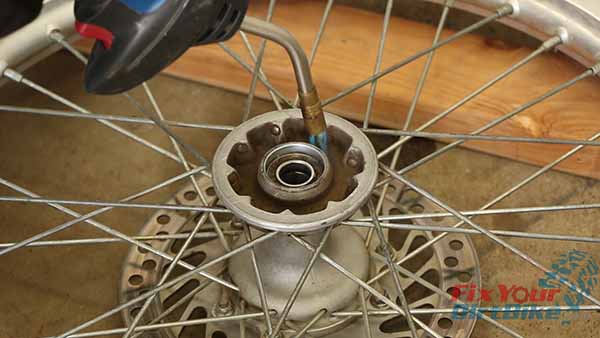
- Heat the hub with your propane torch. This will cause the hub to expand slightly and relieve some pressure on the bearing.
- Move your torch around the hub, keeping the heat even as you go.
- Heat the hub for around 60 Mississippi.
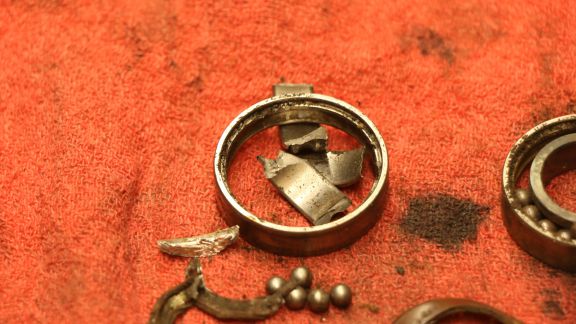
- Flip your wheel over, place a socket over the INNER bearing race, and hammer (tap) the opposite bearing out.
- Your bearings may come out in one piece or shatter as this one did.
- Repeat the heat and beat process if the other bearing is still intact.

Front Wheel Hub Maintenance
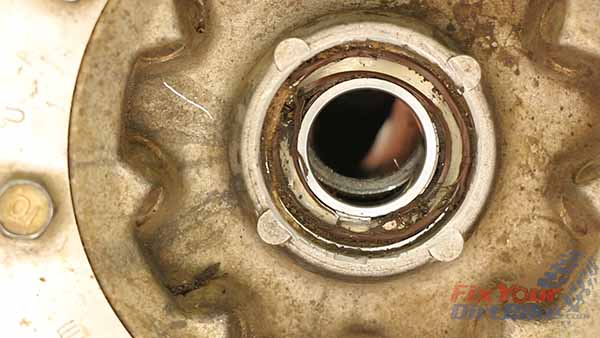
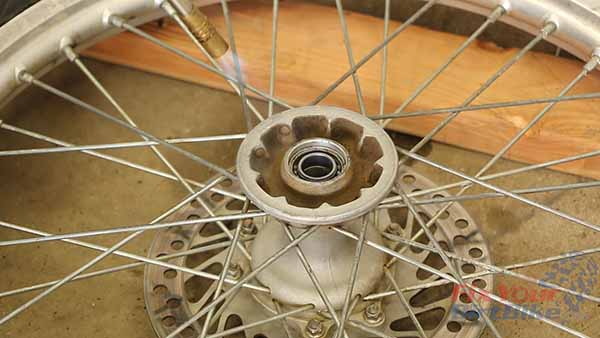
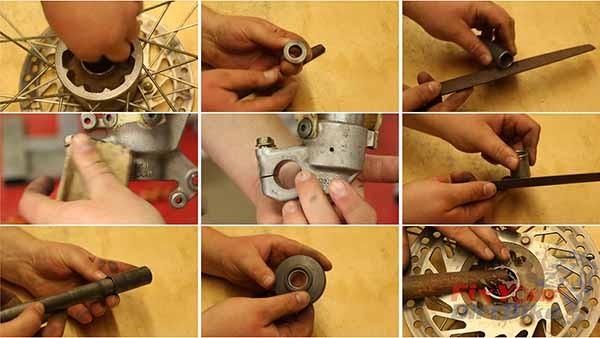
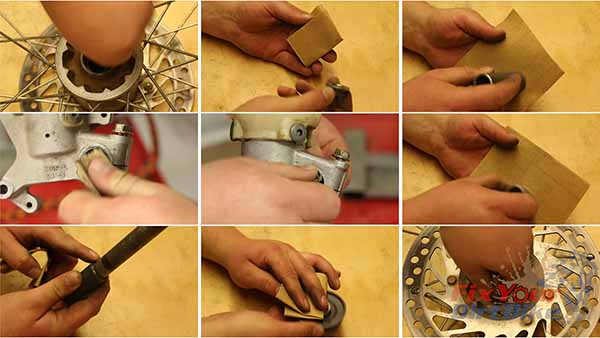
- Inspect every part of the hub assembly for excessive wear, pits, and burs. If you find any rough areas, file them down to smooth.
- DO NOT remove material from the ends of the distance collars.
- These parts need to stay an exact length. If the ends are damaged, replace the collar.
- After removing any damage, sand every hub component with 220-grit sandpaper to ensure every contact surface is as clean as possible.
- Take your new bearings, and make sure they DO NOT fit. These bearings are a press fit, so if they slip into the hub independently, the hub is worn and needs to be replaced.
- In this case, the left side bore was initially loose, but it tightened up farther in. This will still work, but this is most likely the last bearing change for this hub.
Related: Here’s how to remove and install your front wheel, just in case you need a refresher.
Front Wheel Bearing Installation
- If you go with single shield bearings (why), you will need to grease them before you install them, and the shielded side will need to face out.
- Throughout this bearing install, you must grease the hub between every step.
- Place your wheel on a wood block so only the hub is supported.
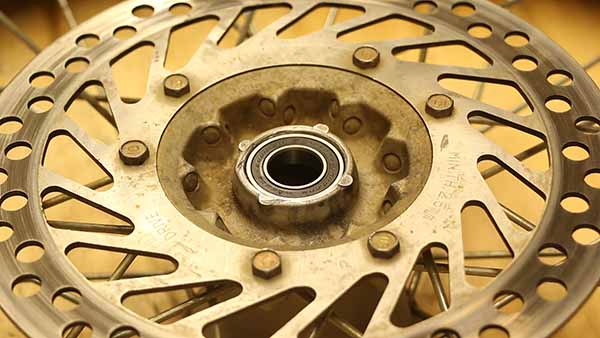
- Position your bearing flush against the hub.
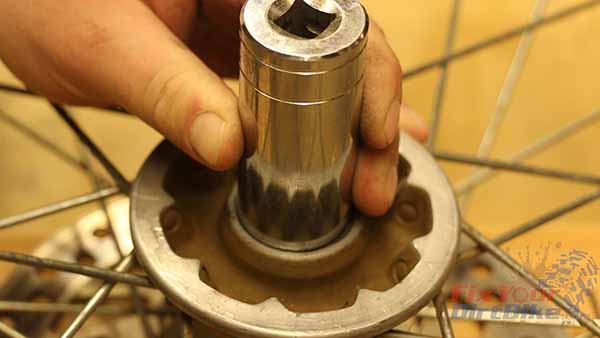
- To start tapping the bearing into place, use a socket big enough to match the OUTER bearing race but still fits into the bore.
- Once the bearing starts to seat, ensure it is square to the bore. Adjust the bearing with light hammer taps as needed.
- Drive the bearing until it is seated in the bore.
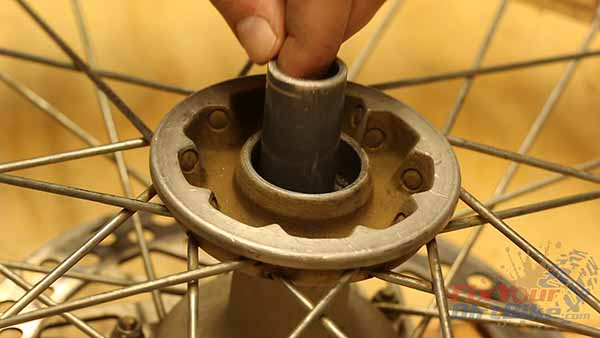
- Flip your wheel and insert the distance collar.
- Repeat the driving process until the top of the second bearing is flush with the bore.
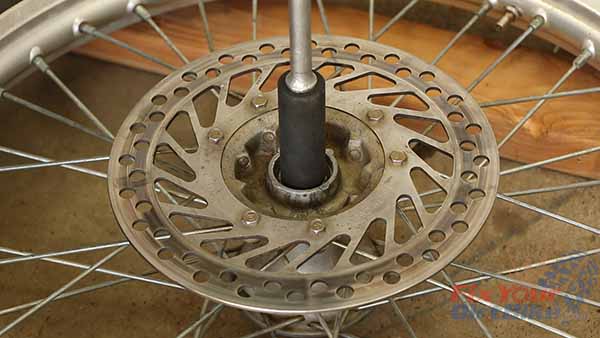
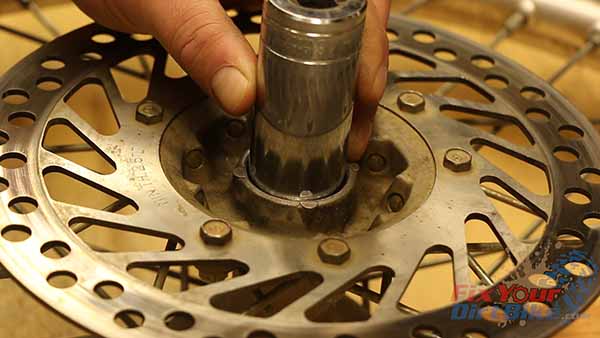
- Insert the axle into the opposite side of the hub to align the collar to the bearings. Make sure the axle and bearings are still tight in the collar.
- Drive the bearing into the bore, then remove the axle.
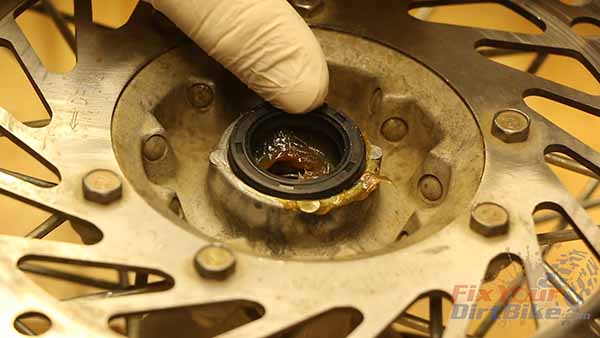
- If your seals contain a retaining spring, ensure it is facing in, and drive your new seals until they are flush with the hub.
- Remember to take your time, and your bearing replacement will be easy.

If you want to help take fix your dirt bike to the next level, check out my Patreon page!
If you have any questions or comments, please leave them in the comments or on our Facebook page!
Keep Your Dirt Bike Running Right!


