
PART 3 of the full step-by-step external shift linkage inspection for your 1997-2001 Honda CR250 Dirt Bike.
You can find Part 1: Removal and Part 2: Inspection.
You Can Get Parts And Tools HERE! → https://amzn.to/4h4lDKq
Honda CR250 External Shift Linkage Installation
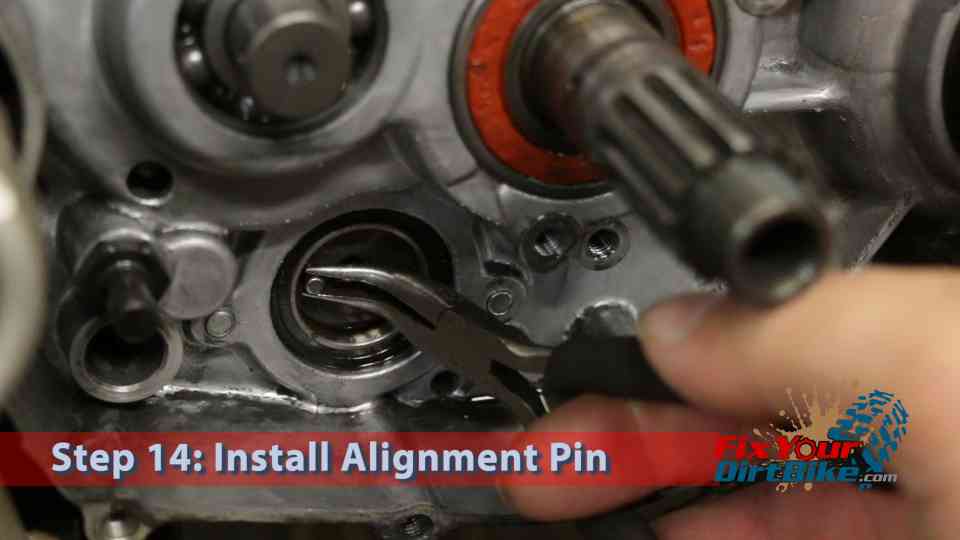
- Step 14: Install the drum alignment pin.
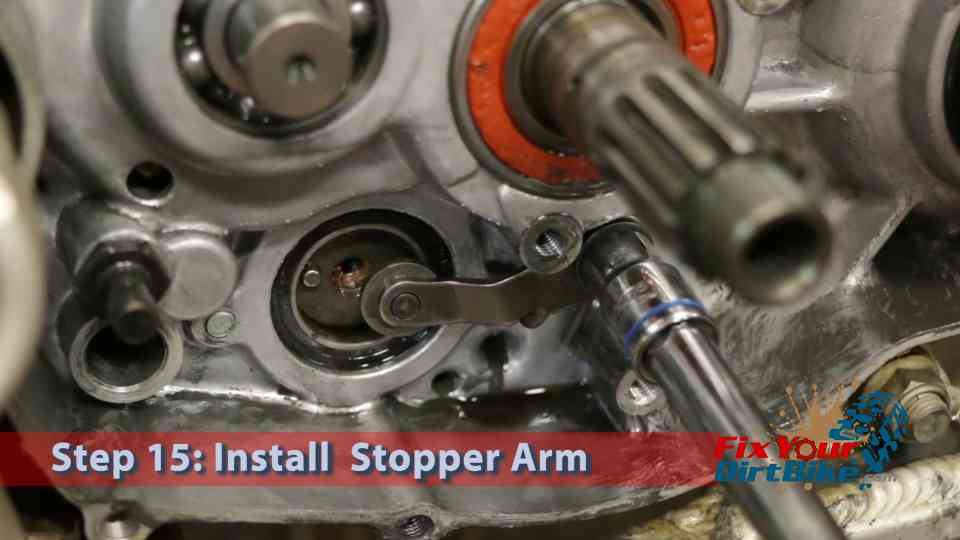
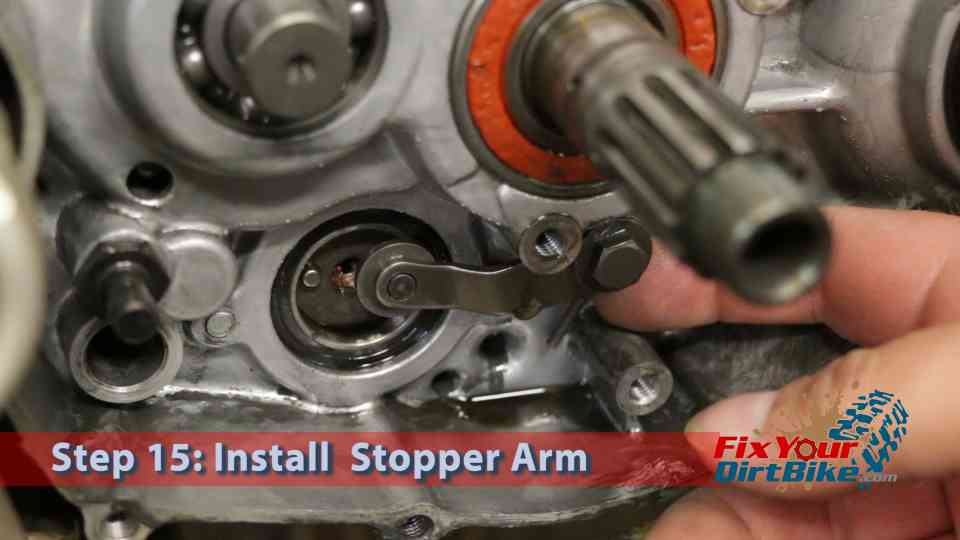
- Step 15: Install the stopper arm assembly. Ensure the spring is hooked around the stopper arm and the other end rests against the crankcase.
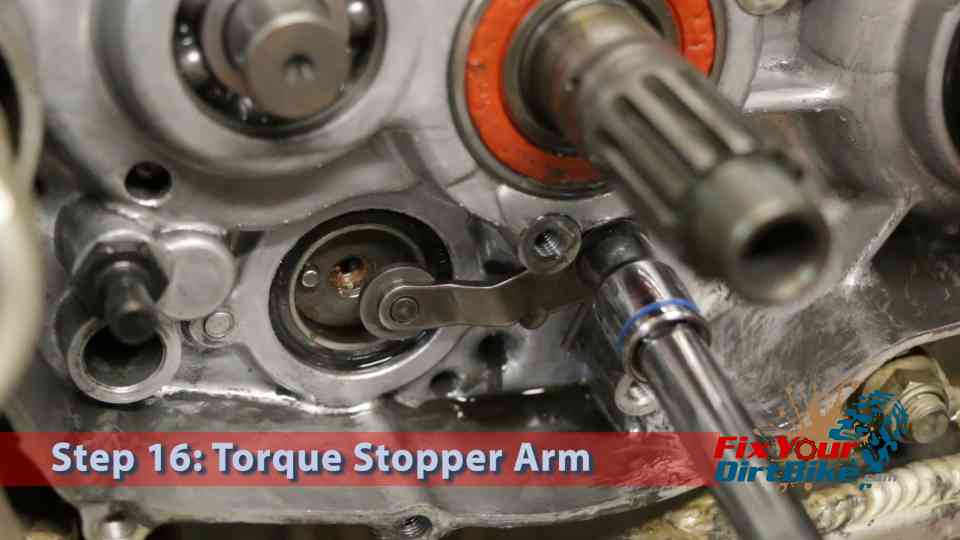
- Step 16: Torque the stopper arm to 106 in.lb.
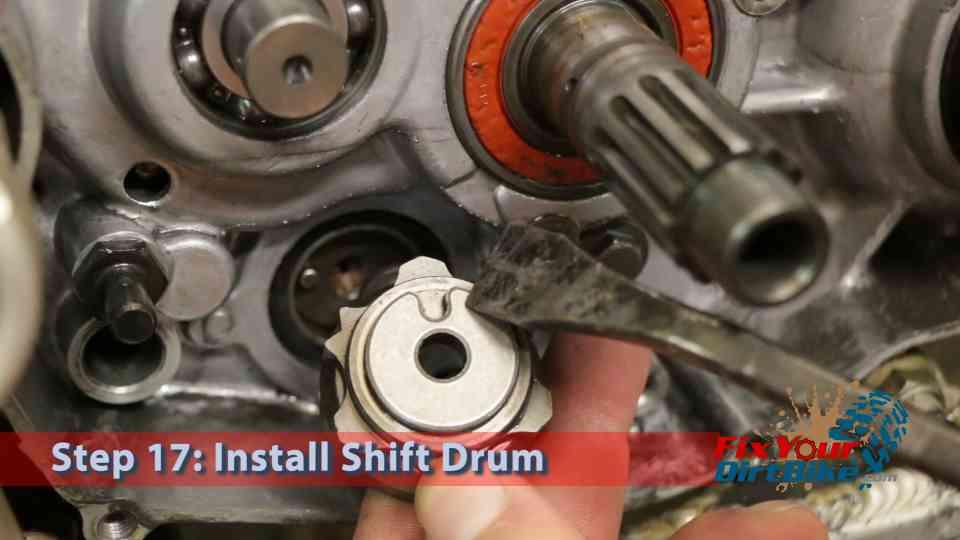
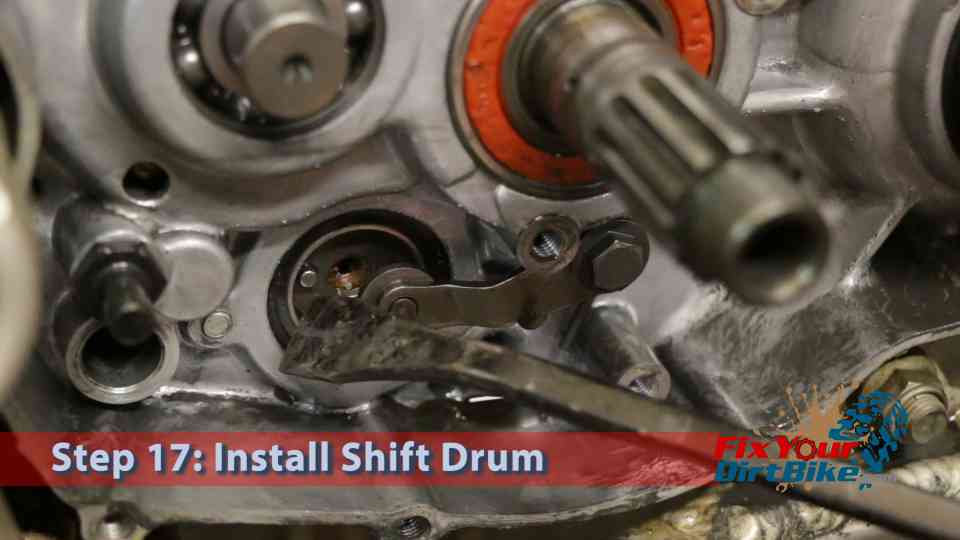
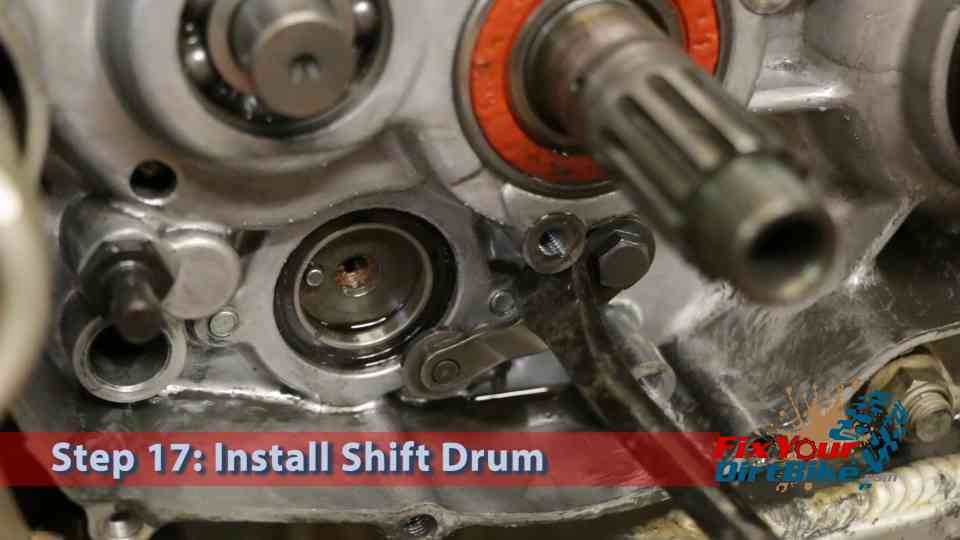
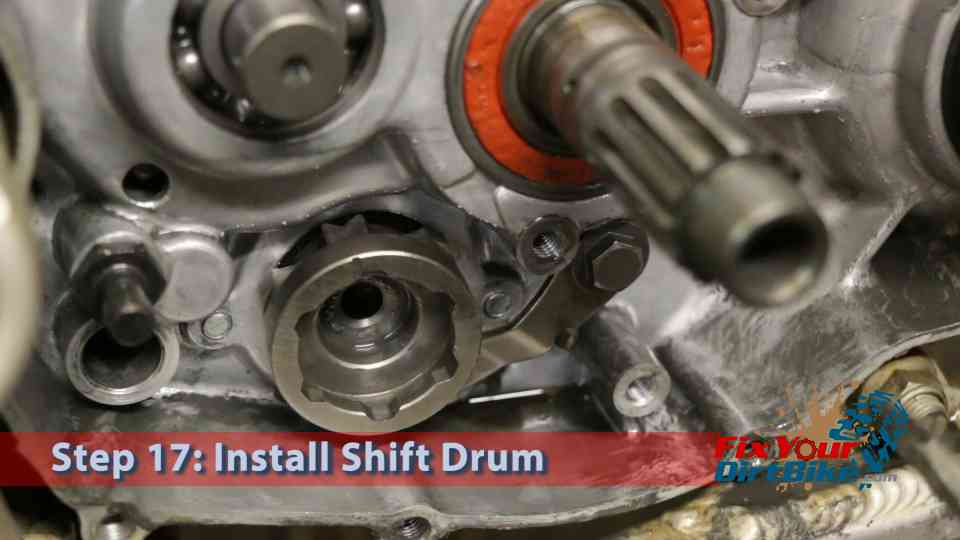
- Step 17: Install the shift drum:
- The notch on the back of the drum needs to line up with the alignment pin.
- Pry back the stopper arm.
- Install the shift drum.
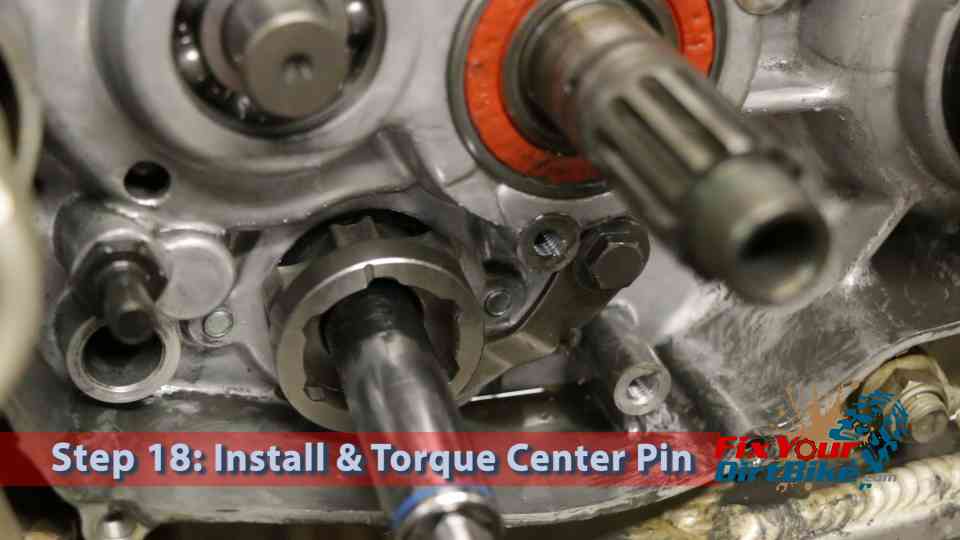
- Step 18: Install and torque the center pin to 16 ft.lb.
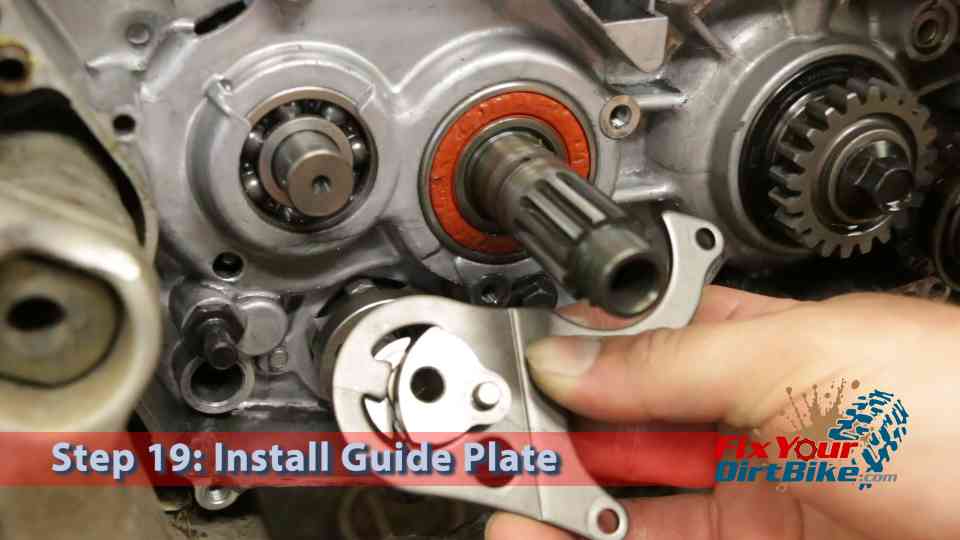
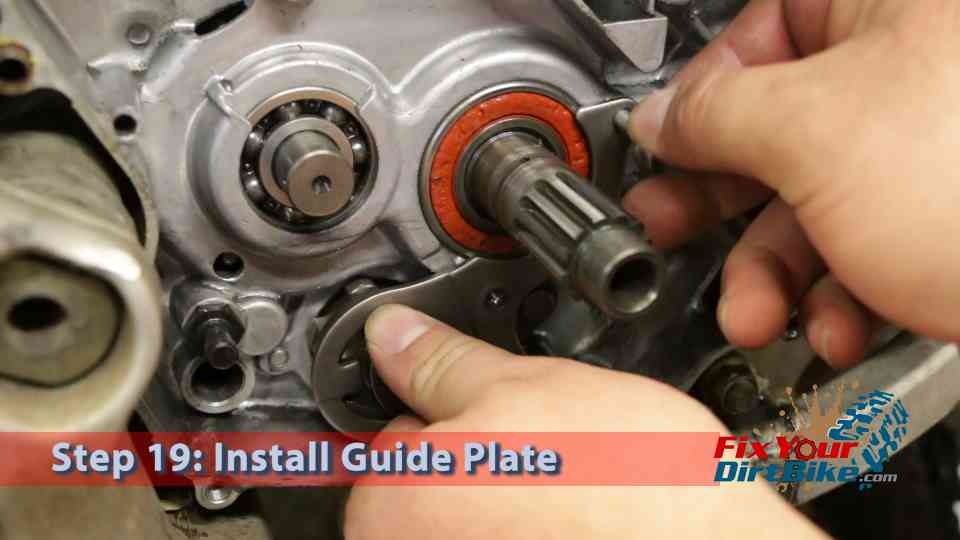
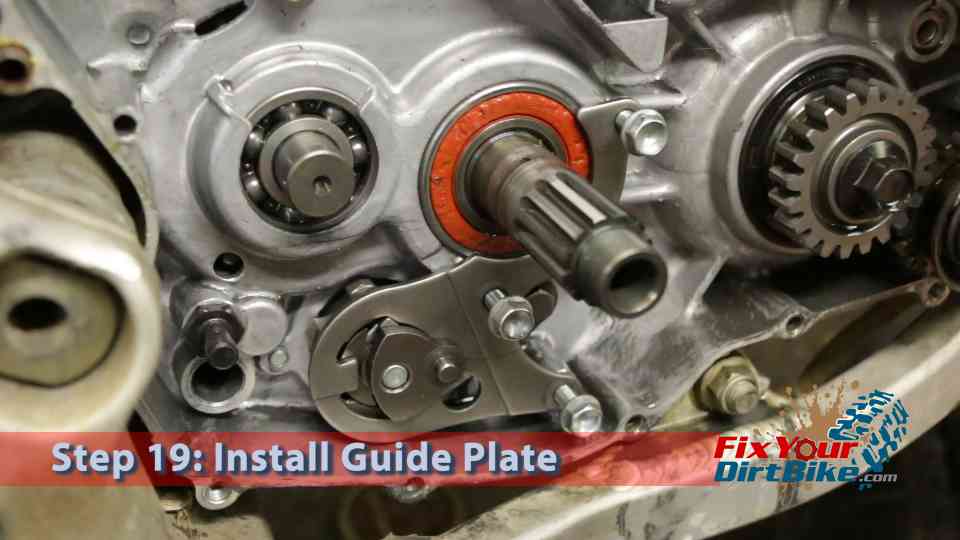
- Step 19: Carefully install the guide plate and drum shifter assembly. Hold the guide plate in place as you thread the retaining bolts. Torque the guide plate retaining bolts to 88in.lb.
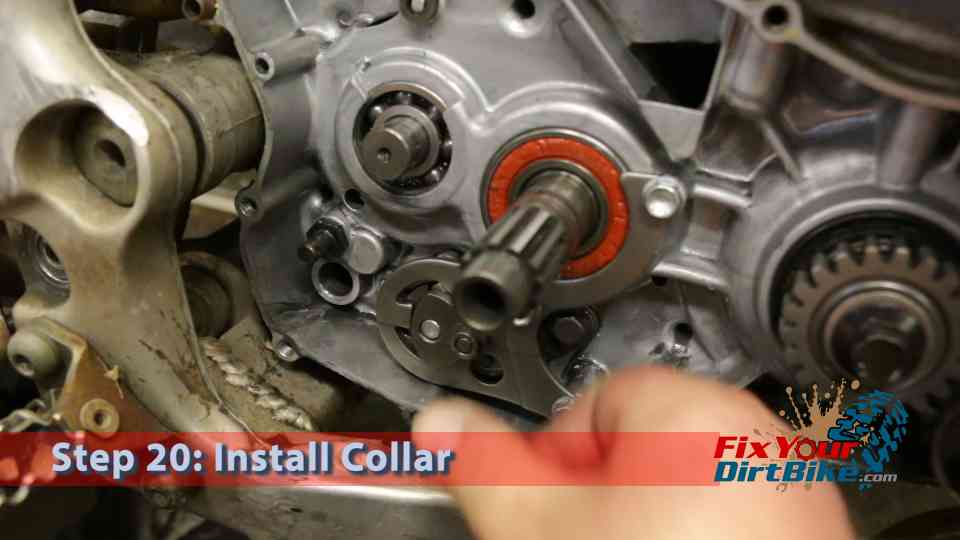
- Step 20: Install the guide plate collar.
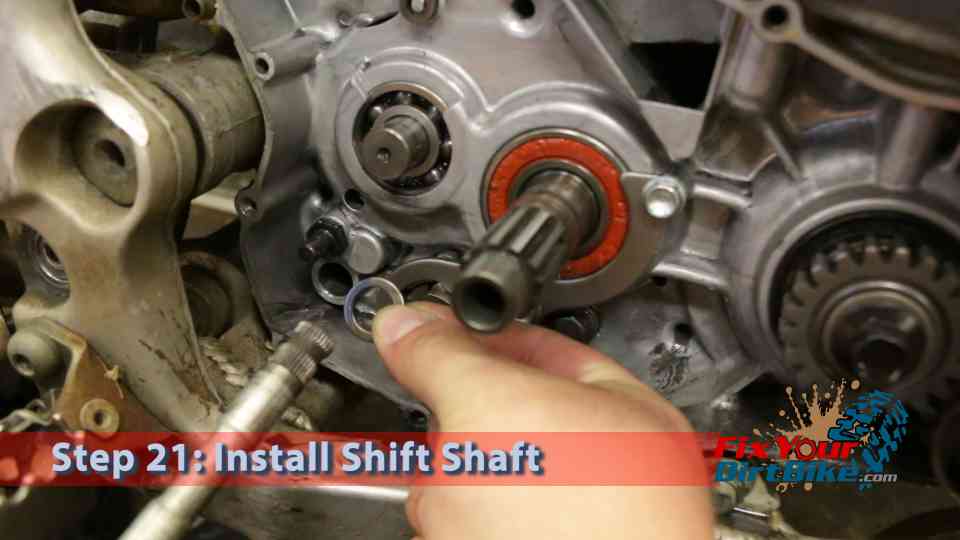
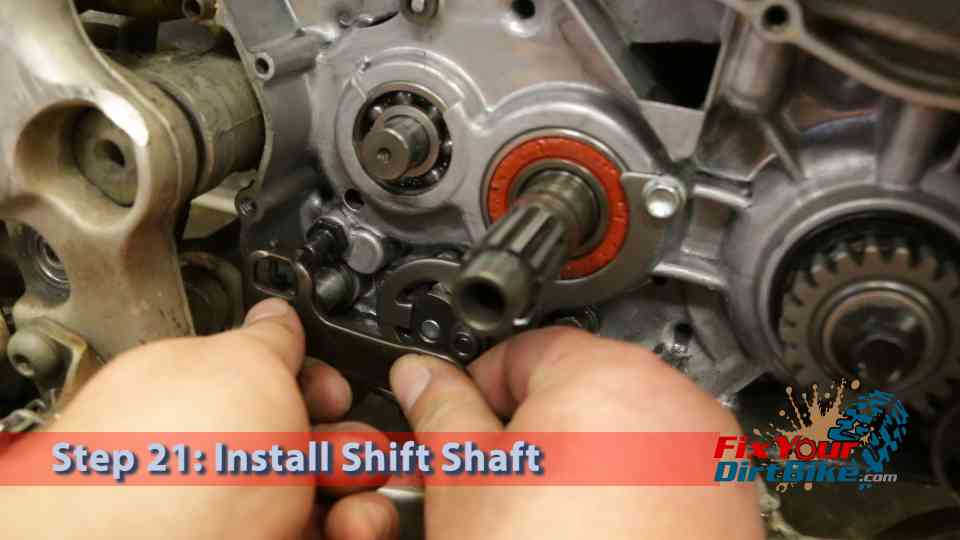
- Step 21: Install the washer in the shift shaft, then install the shaft into the crankcase.
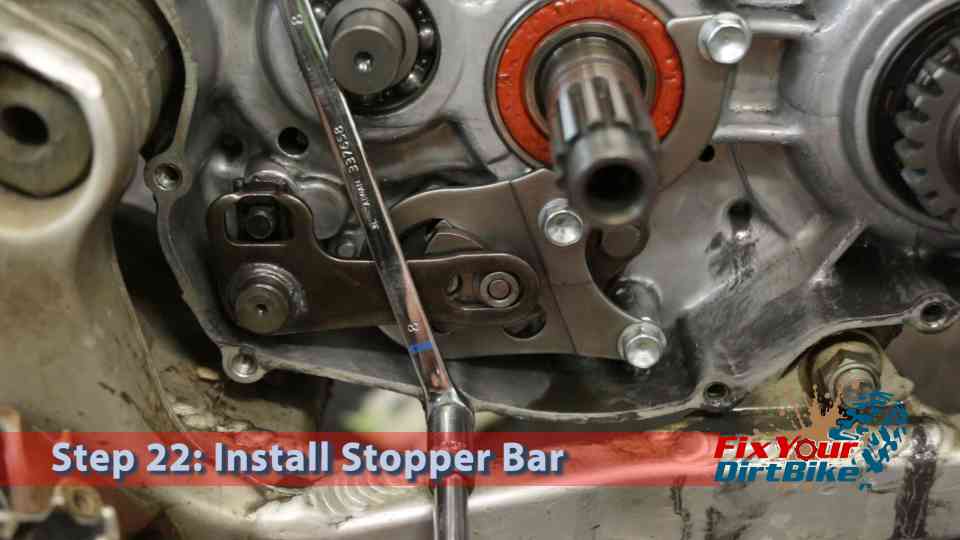
- Step 22: Install a stopper bar to keep the shift shaft in place. I used an 8mm wrench.
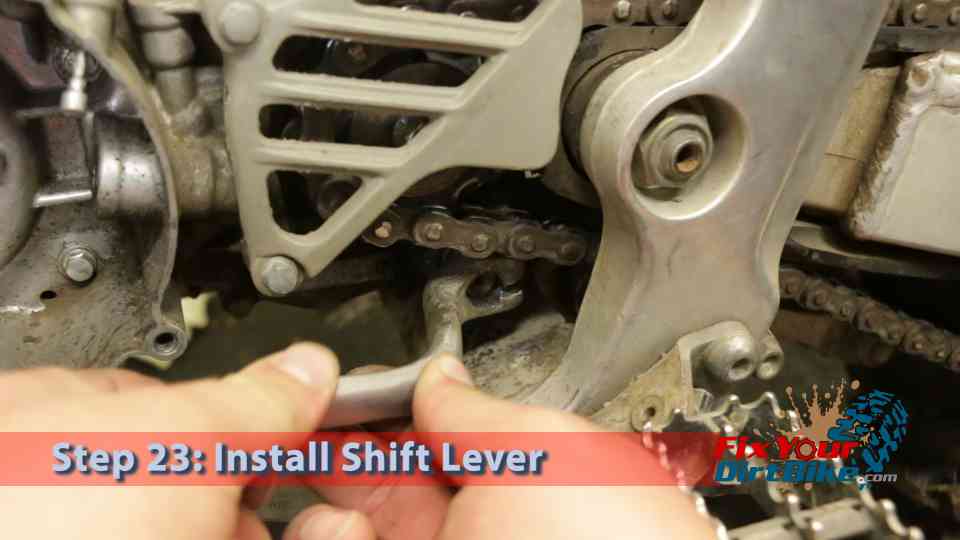
- Step 23: Install and bolt down the shift lever.
- Step 24: Test the shift linkage.
- Rotate the main shaft with your hand as you run through the gears.


If you have any questions or anything to add, please leave them in the comments or on our Facebook page!
Keep Your ’97-’01 CR250 Running Right!
- Service Specification
- Clutch Replacement
- Carburetor Service
- Engine Top End
- Engine Bottom End
- Brakes
- Exhaust
- Front Suspension
- Rear Suspension
- Wheels & Tires
- Kickstarter Inspection
- External Shift Linkage


