
PART 2 of the full step-by-step external shift linkage inspection for your 1997-2001 Honda CR250 Dirt Bike.
You can find Part 1: Removal and Part 3: Installation.
You Can Get Parts And Tools HERE! → https://amzn.to/4h4lDKq
Honda CR250 External Shift Linkage Inspection
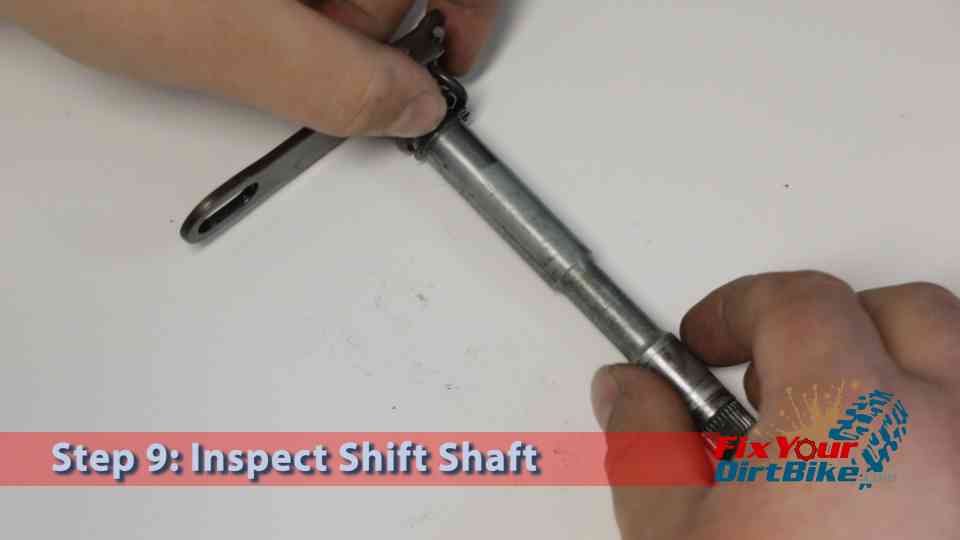
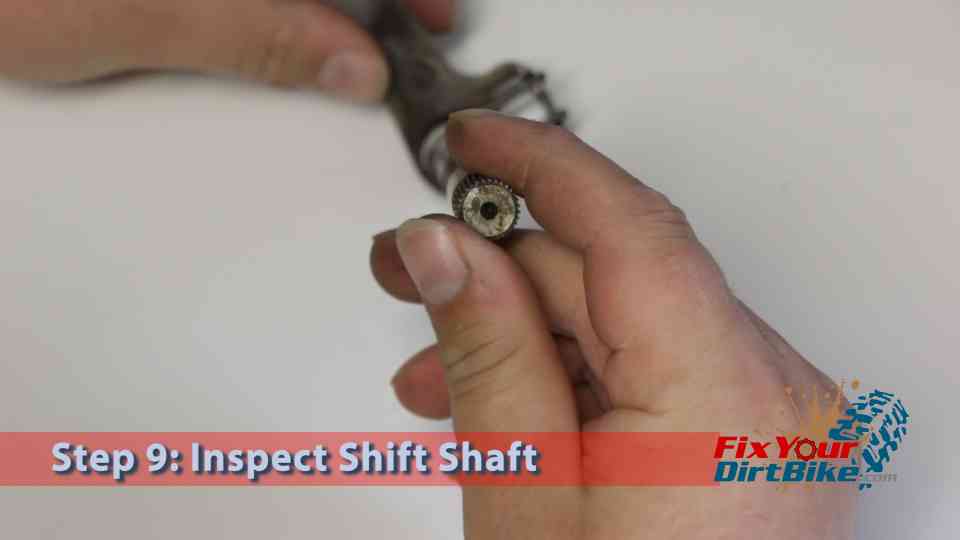
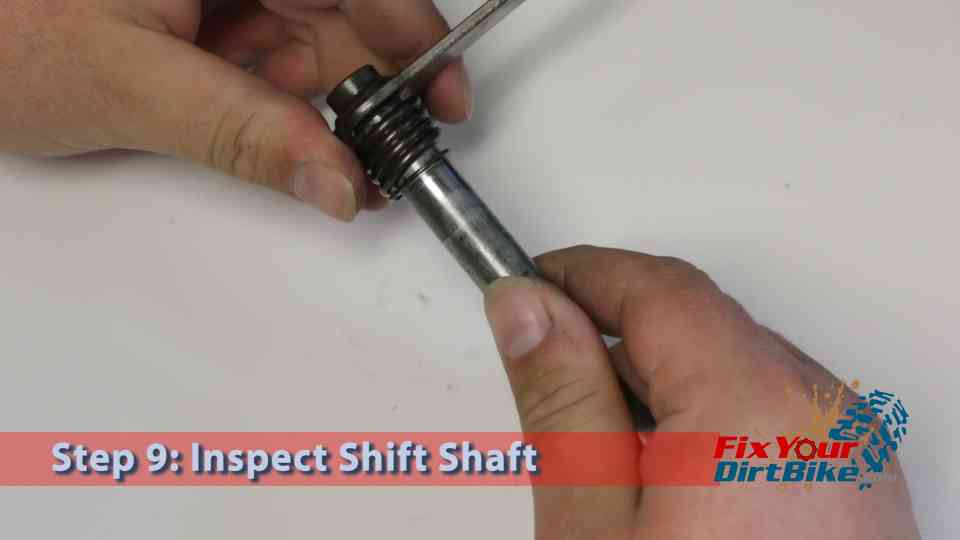
- Step 9: Inspect the shift shaft.
- Check the shaft for bend or uneven wear.
- Check the shift lever splines for pits or cracks.
- If the spring and snap ring are tight, leave them on the shaft; if they are loose, replace them.
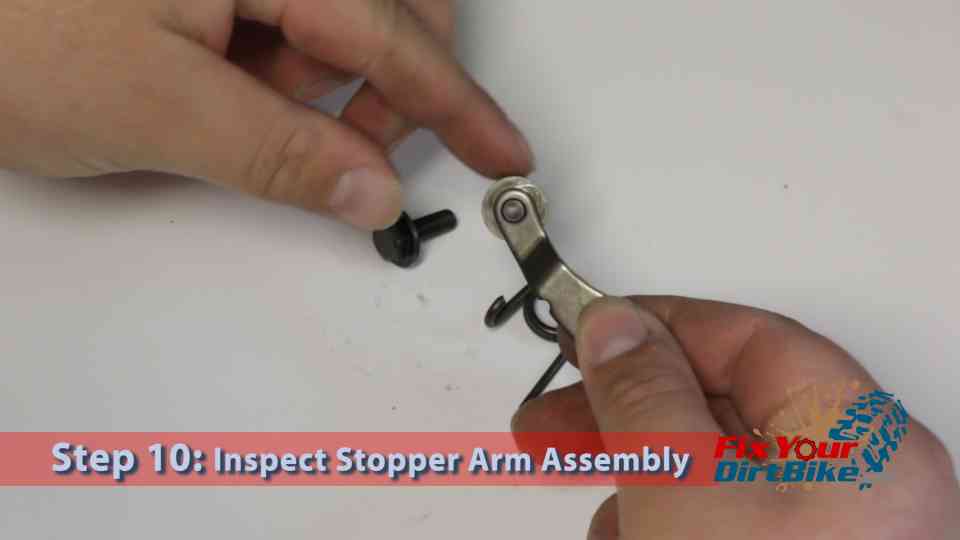
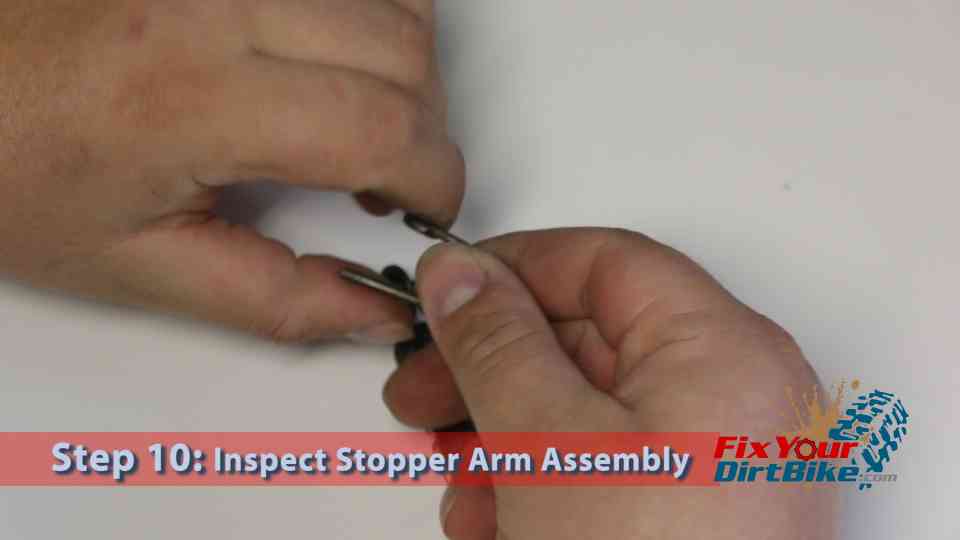
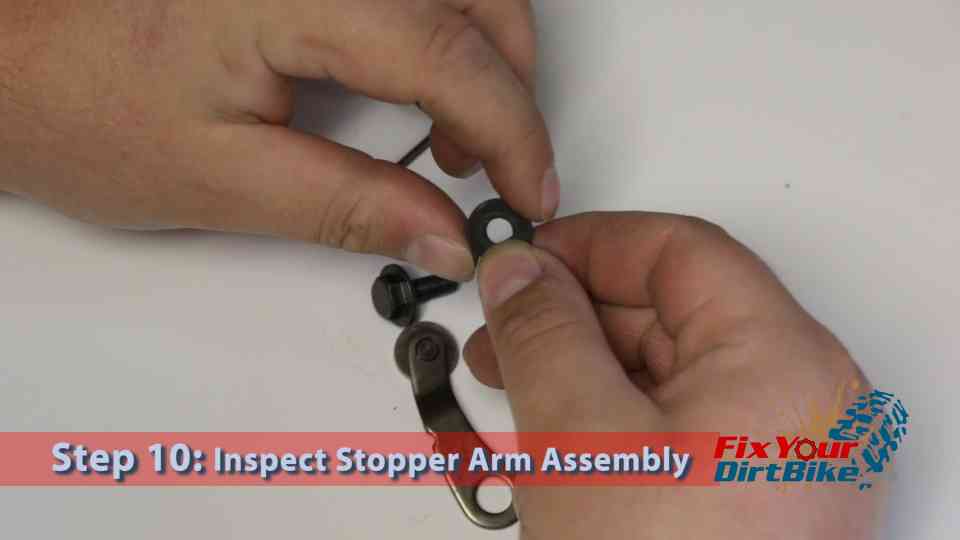
- Step 10: Inspect the stopper assembly components.
- Check the stopper arm for bends or cracks.
- Test the stopper wheel for smooth operation.
- Check the stopper spring for tension, fractures, or uneven wear.
- Ensure the washer is still flat and smooth.
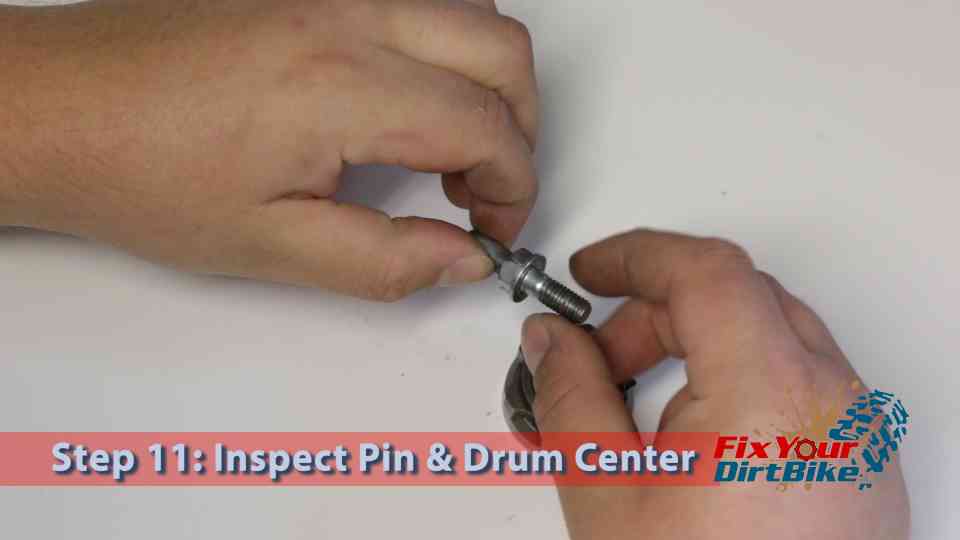
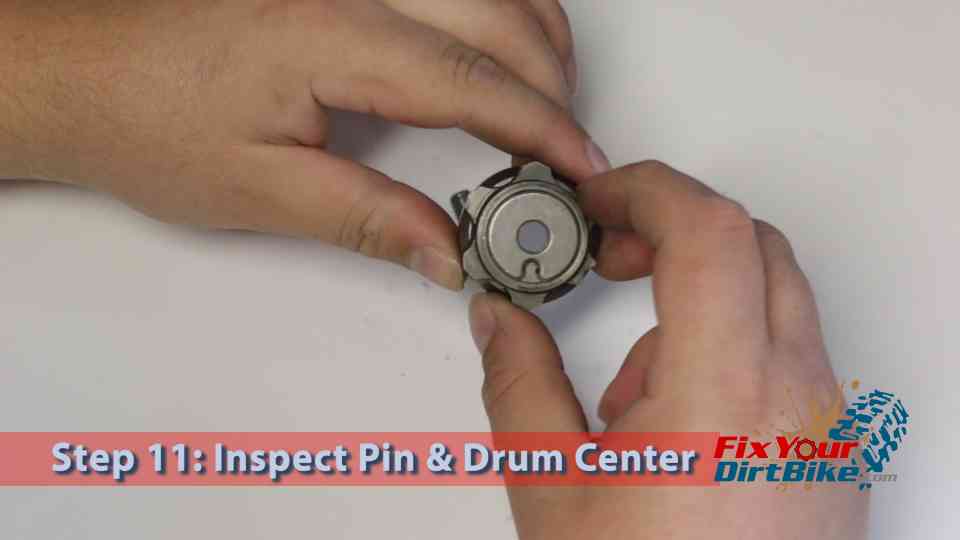
- Step 11: Inspect the shifter drum and center pin.
- Check the center pin for bends and the threads for stripping.
- Check the drum for signs of excessive wear. If any parts are worn, the drum will not operate properly.
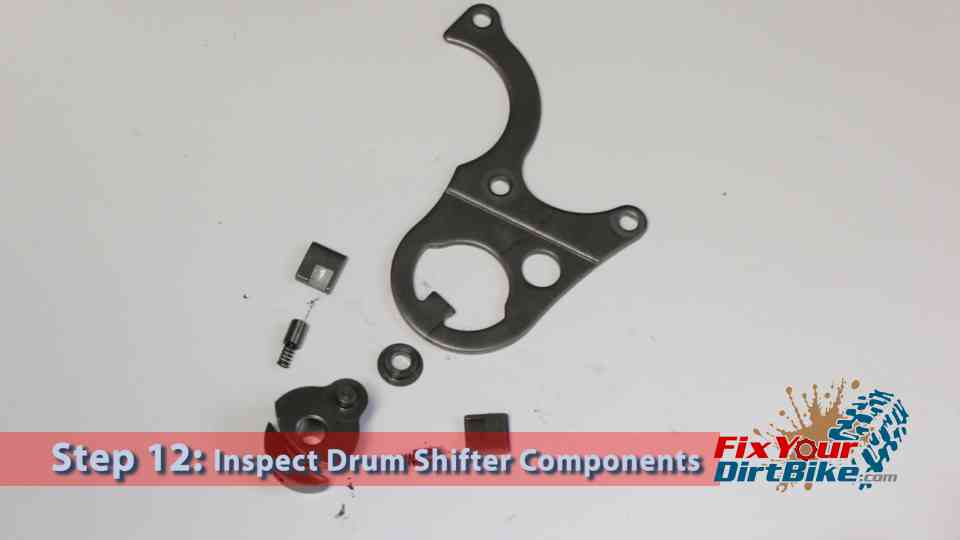
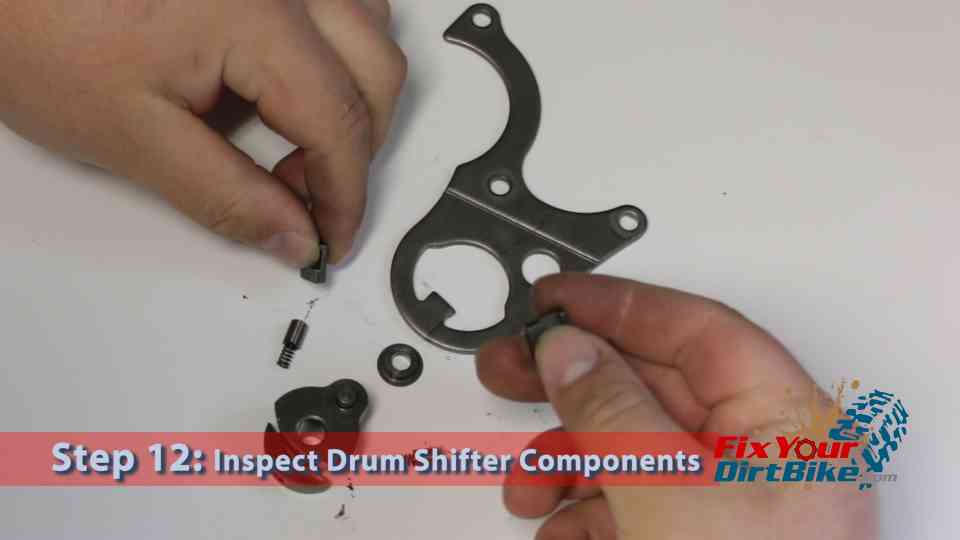
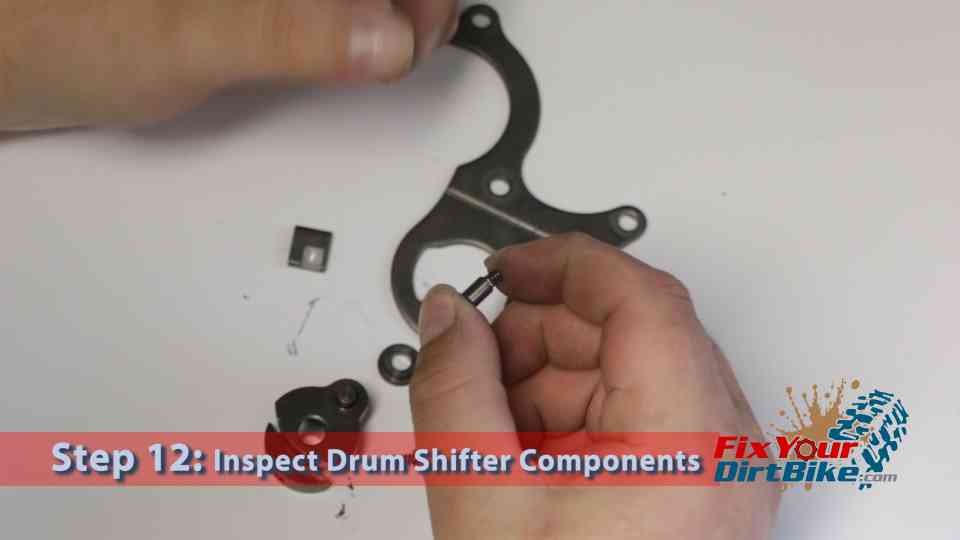
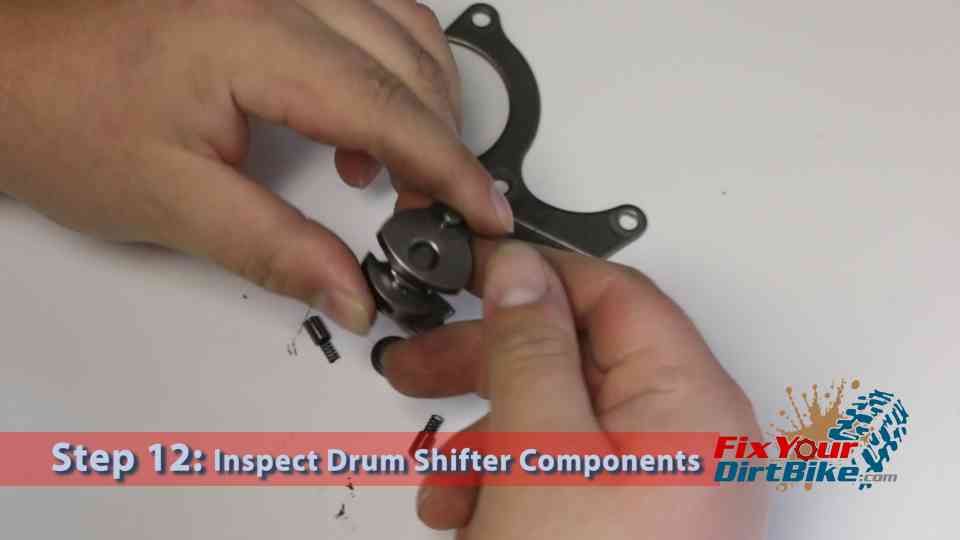
- Step 12: Inspect the guide plate and drum shifter components.
- Check the pawls, springs, plungers, and drum shifter body for wear. If any of these components are worn, they will need to be replaced.
- Check the guide plate for warping, cracks, or any signs of fatigue.
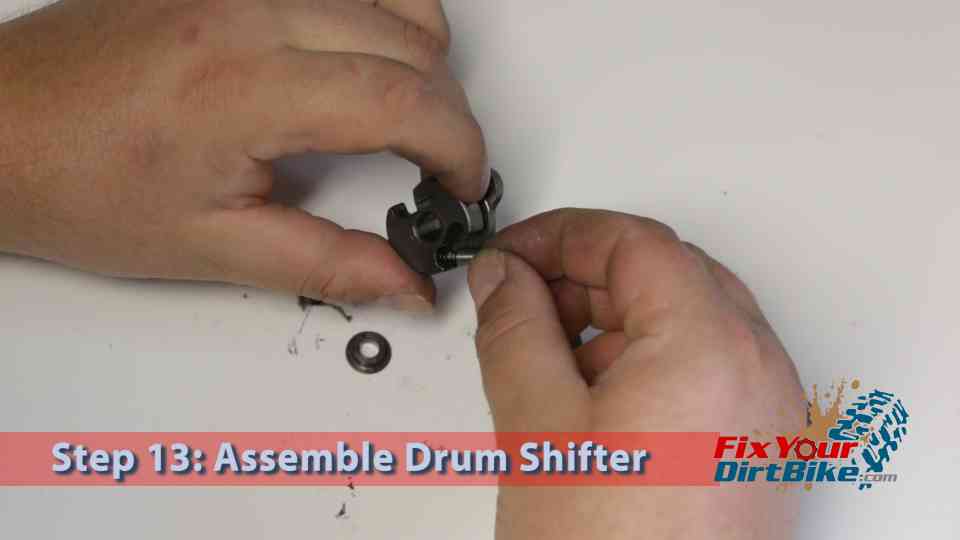
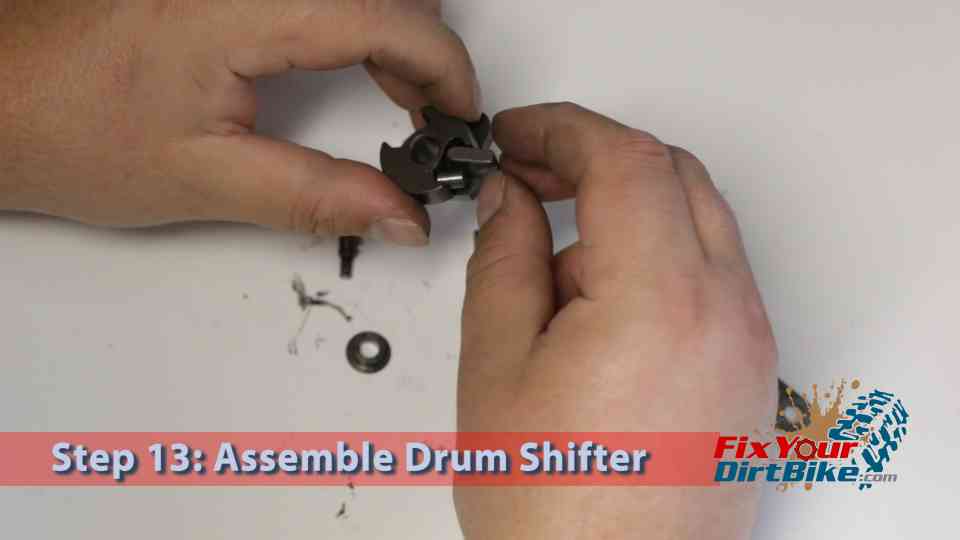
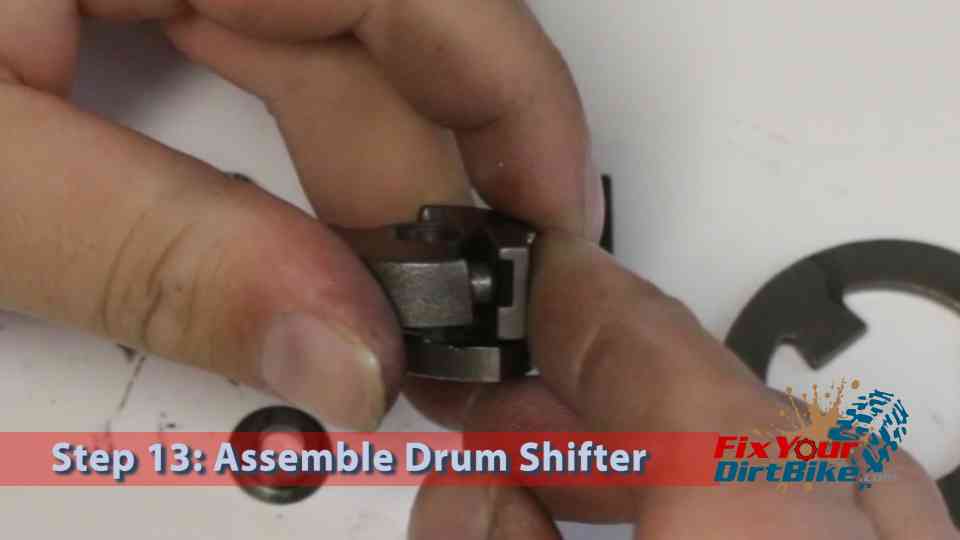
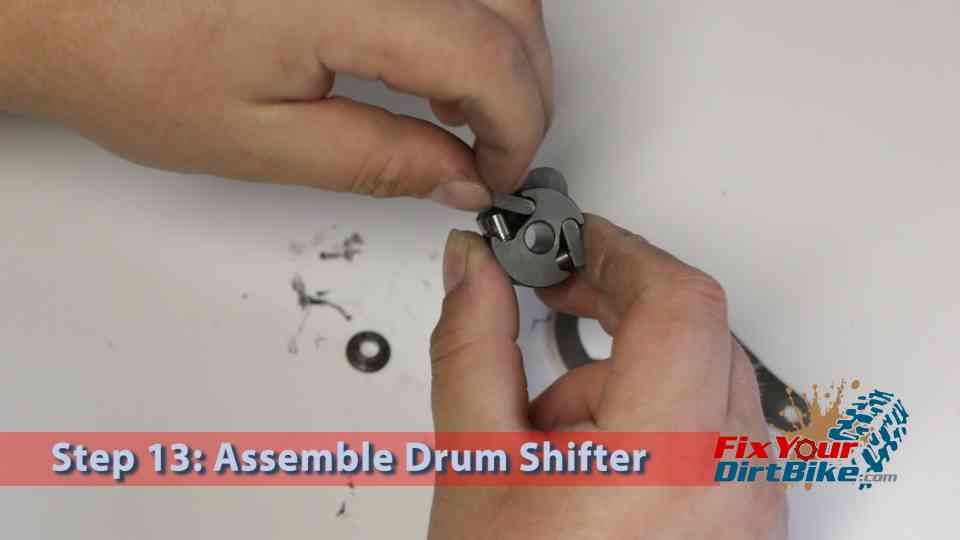
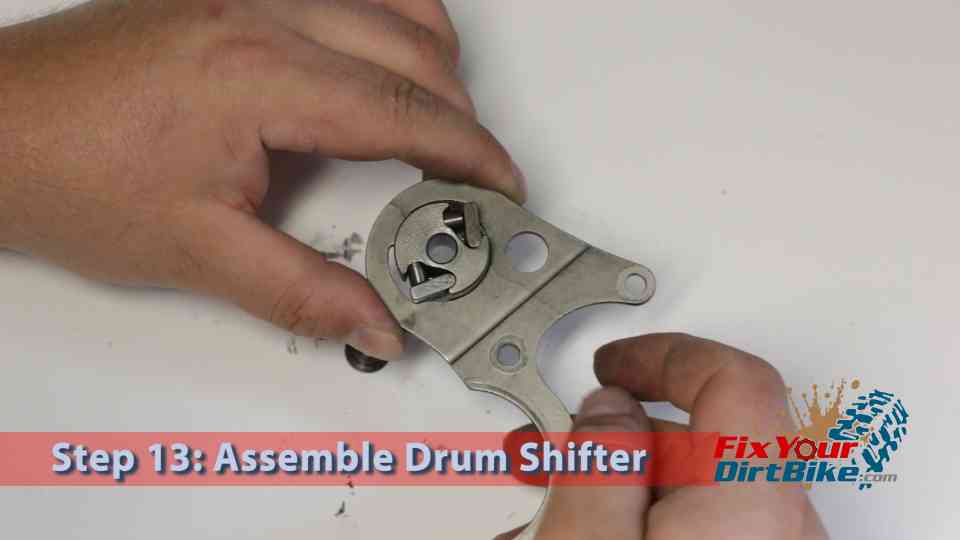
- Step 13: Assemble the drum shifter.
- Install the plunger and spring into the drum shifter body.
- Install the pawl with the round end in the drum shifter body, and make sure the groove pushes against the plunger.
- Repeat on the opposite side.
- Install the drum shifter into the guide plate; the drum shifter assembly should not move with the pawls extended.
If you have any questions or comments, please leave them in the comments or on our Facebook page!
97-01 Honda CR250 External Shift Linkage Part 3: Installation →
Keep Your ’97-’01 CR250 Running Right!
- Service Specification
- Clutch Replacement
- Carburetor Service
- Engine Top End
- Engine Bottom End
- Brakes
- Exhaust
- Front Suspension
- Rear Suspension
- Wheels & Tires
- Kickstarter Inspection
- External Shift Linkage


