
This is Part 2 of the step-by-step Kickstarter maintenance for your 1997-2001 Honda CR250 Dirt Bike.
You can find Part 1: Removal here and Part 3: Installation here.
You Can Get Parts And Tools HERE! → https://amzn.to/4h4lDKq
1997-2001 Honda CR250 Kickstarter Inspection
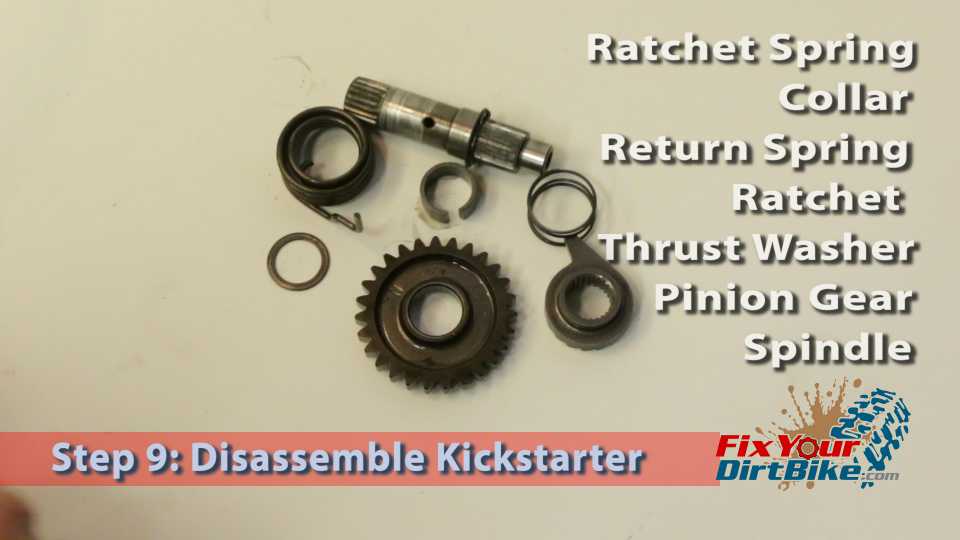
- Step 9: On a clean, flat surface, disassemble the kickstarter assembly.
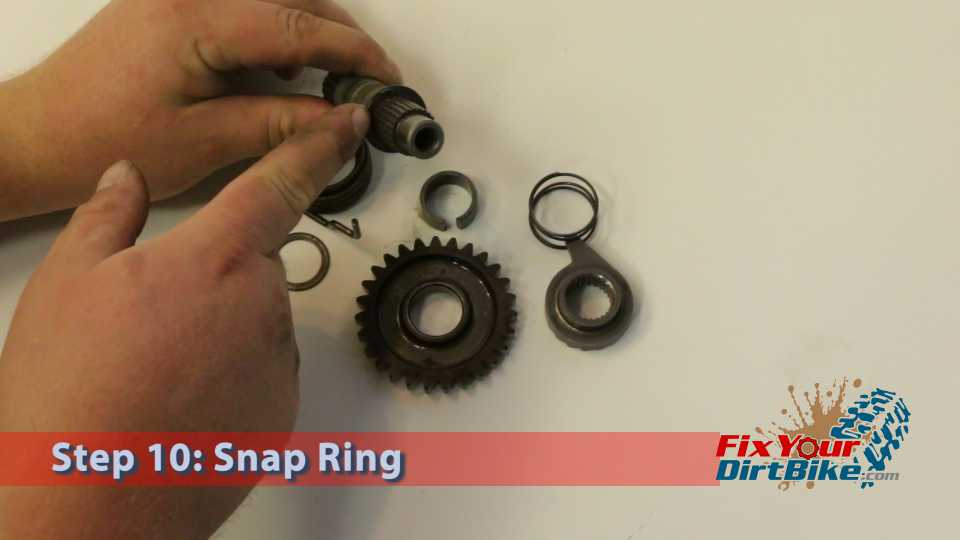
- Step 10: The snap ring retains the interior thrust washer. If the snap ring is tight, DO NOT remove it. However, if it is even slightly loose, it needs to be replaced.
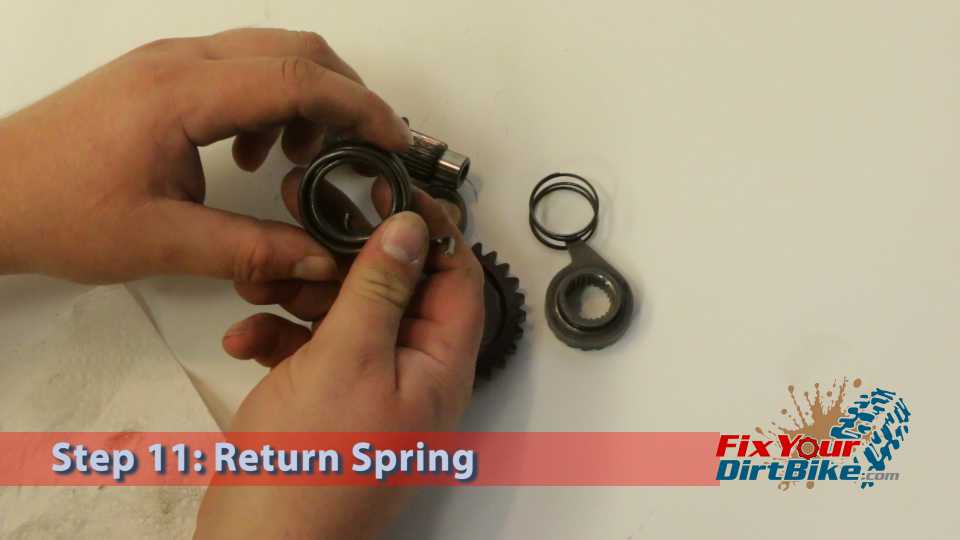
- Step 11: Inspect the return spring for tension, unusual bends, breaks, or any signs of excessive wear.
- Step 12: Inspect the ratchet spring for the same issues. This spring is light and is meant to be compressed to under 1/4 inch when installed.
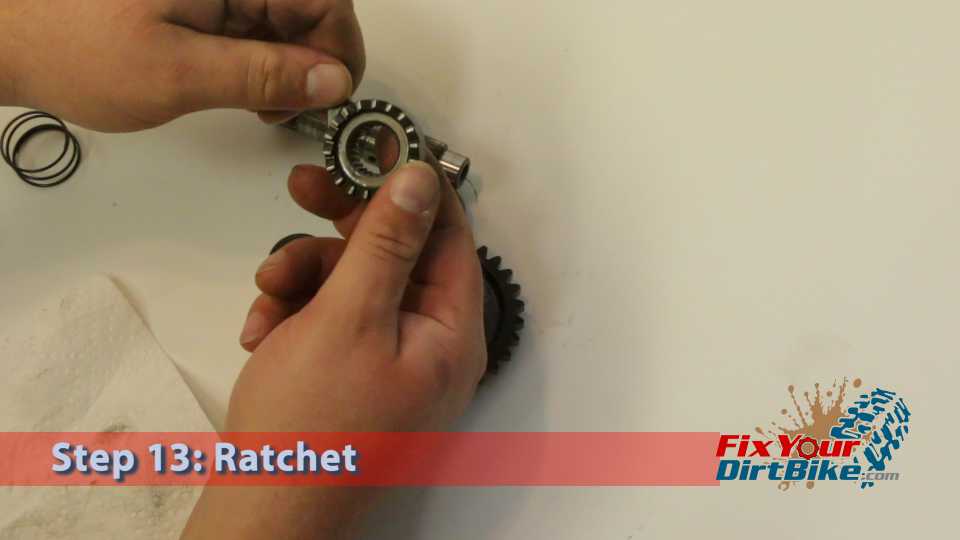
- Step 13: Inspect the ratchet inner splines, ratchet teeth, and stopper arm.
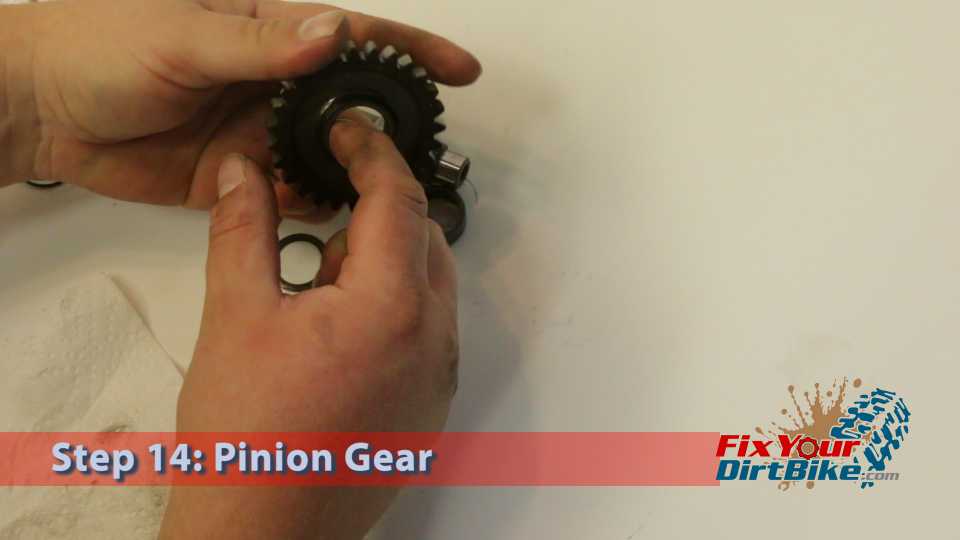
- Step 14: Check the pinion gear for a smooth bore, straight gear teeth, and ratchet teeth.
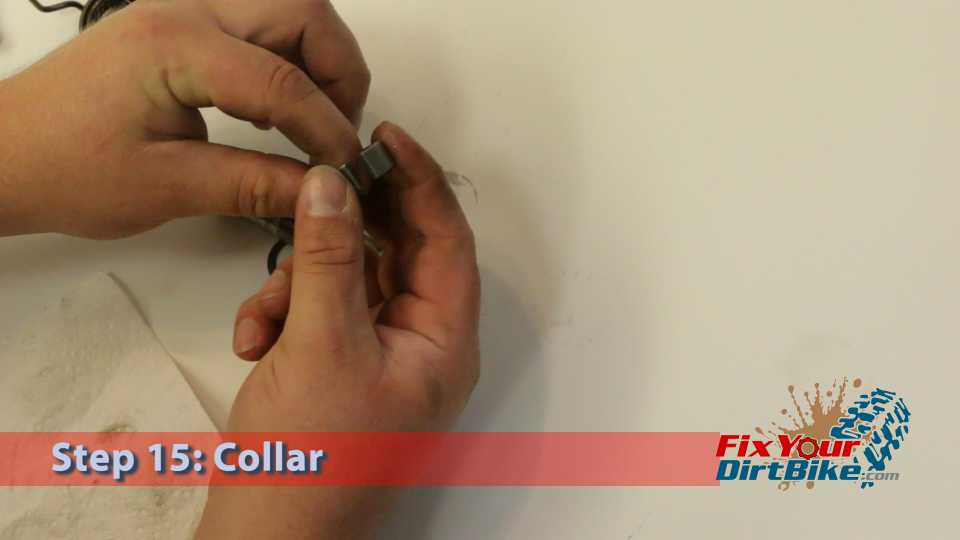
- Step 15: Inspect the collar. The collar keeps the return spring in place. Check for wear around the opening and exterior.
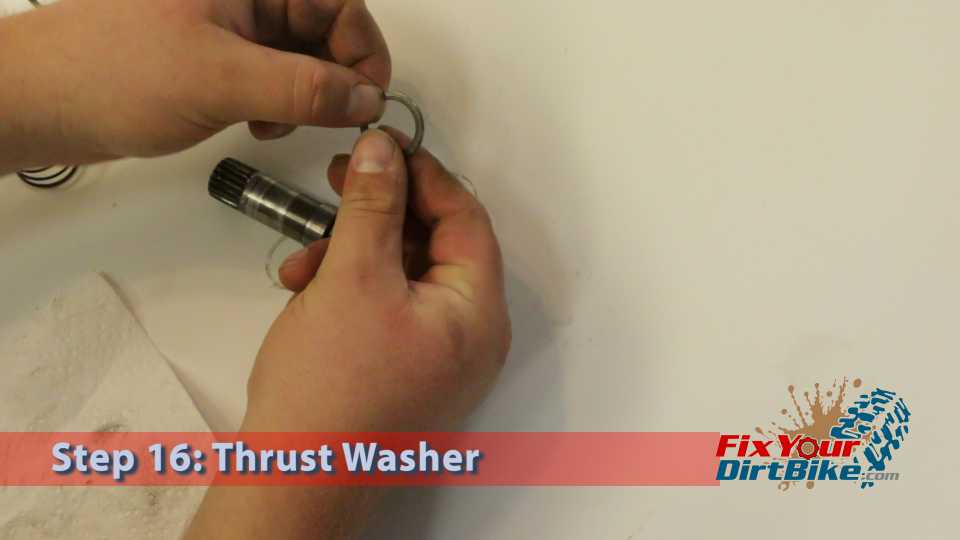
- Step 16: Ensure the exterior thrust washer is still flat and smooth.
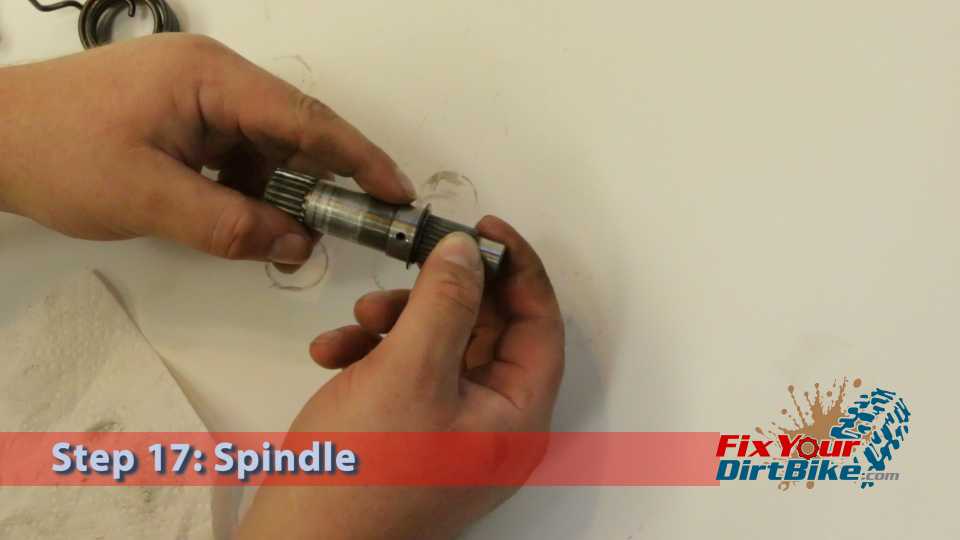
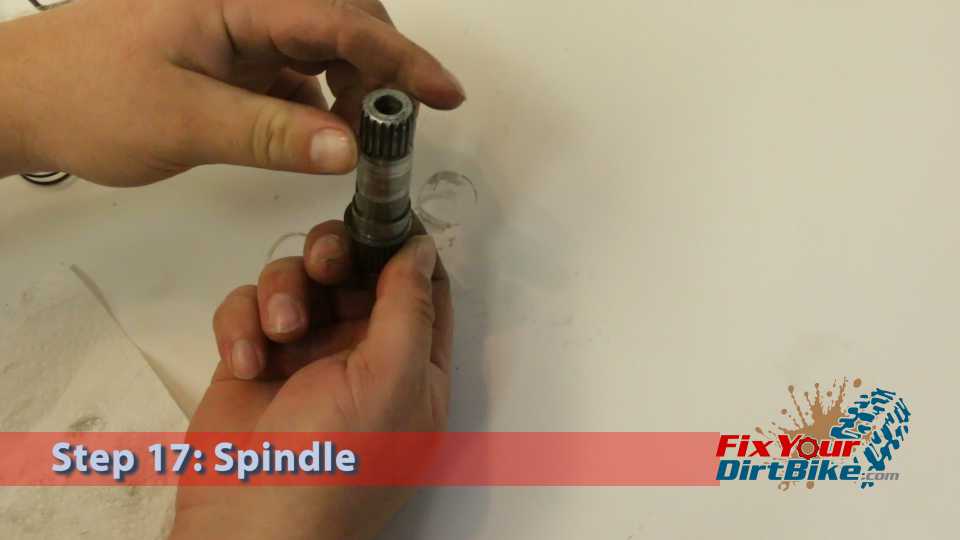
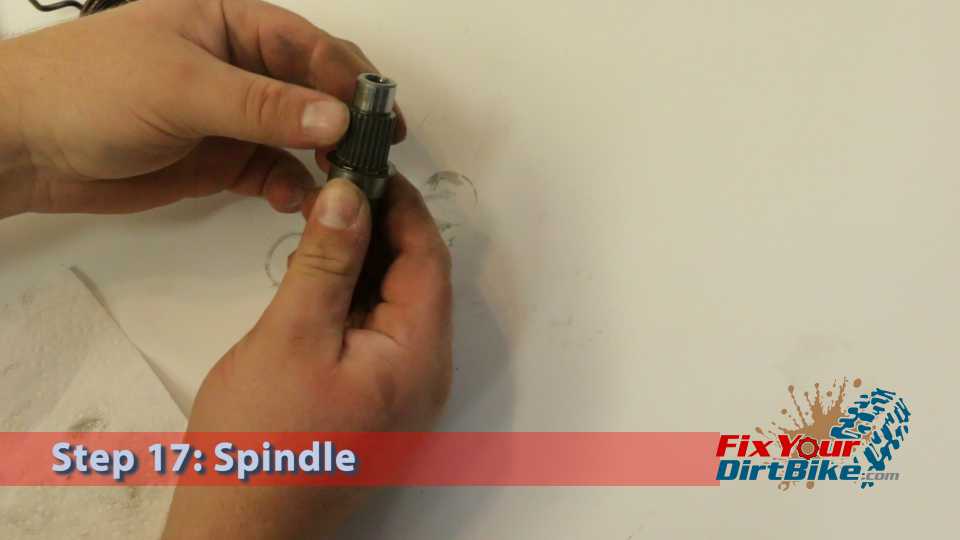
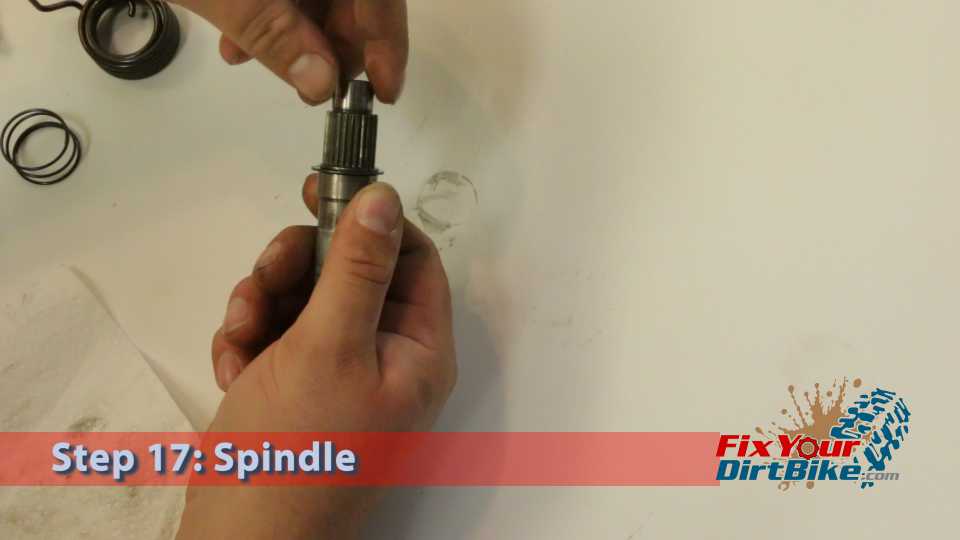
- Step 17: Inspect the following parts of the spindle. If any of them are worn out, the spindle needs to be replaced.
- Kickstarter lever splines
- Ratchet splines
- Bore
- Spring mounting hole
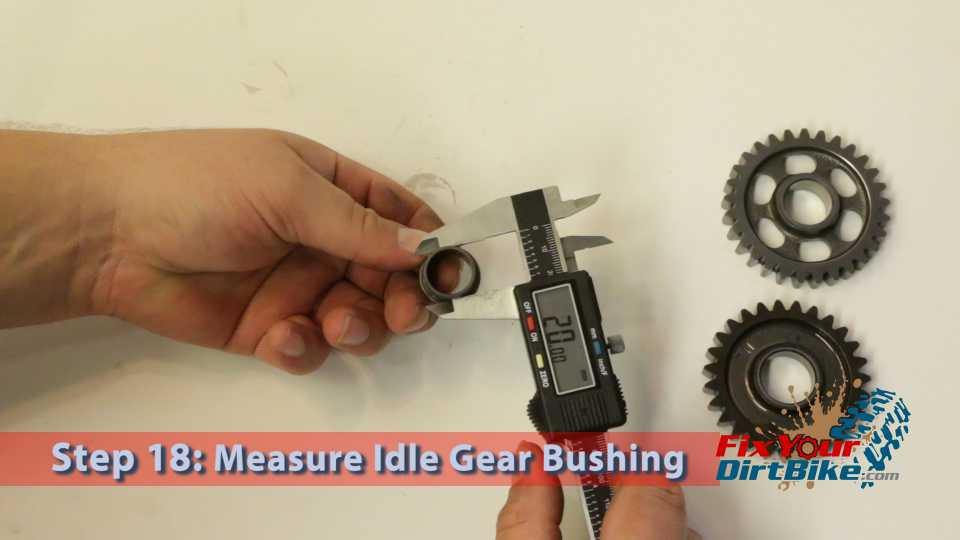
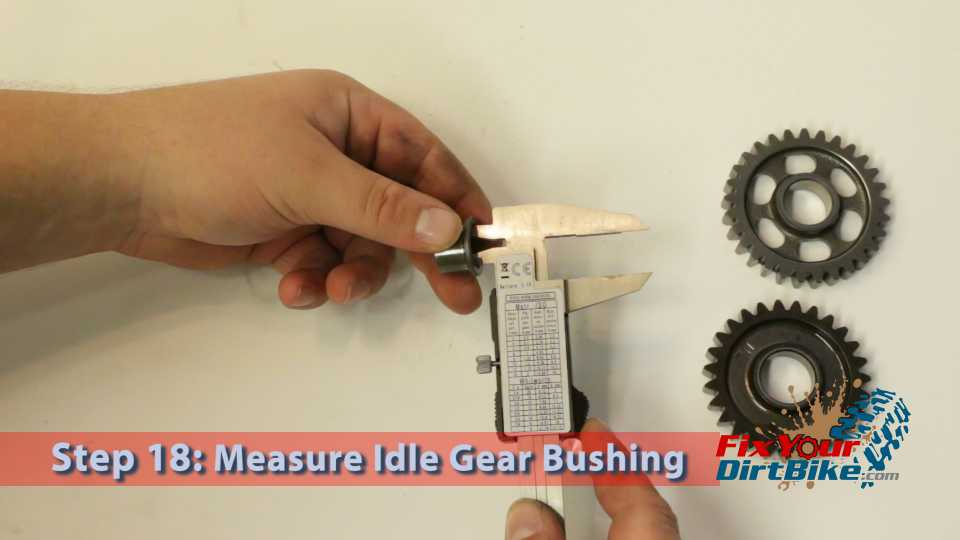
- Step 18: Measure the idle gear bushing inside and outside diameter.
- Outside Service Limit: 19.96mm
- Inside Service Limit: 17.04mm
- Step 19: Measure the idle gear bore.
- Service Limit: 20.07mm
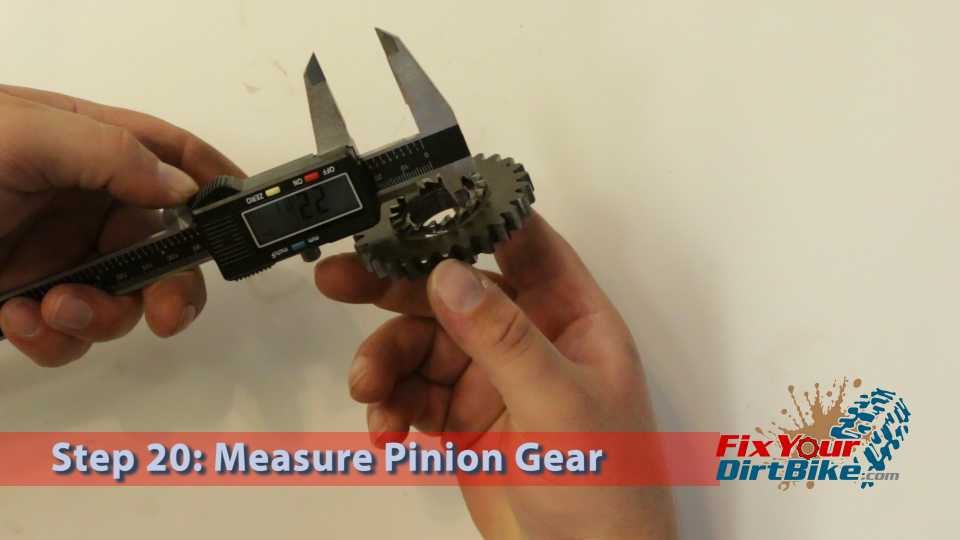
- Step 20: Measure the pinion gear bore.
- Service Limit: 20.05mm
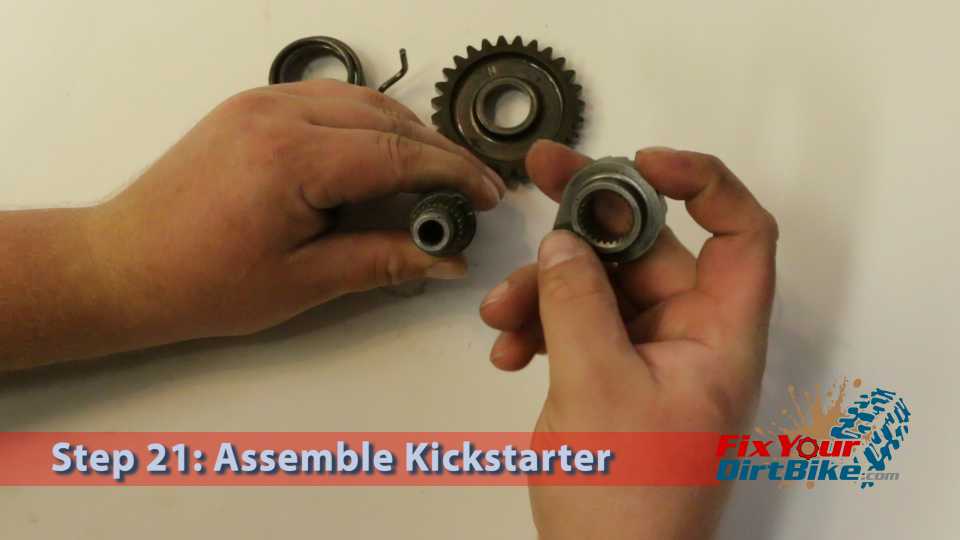
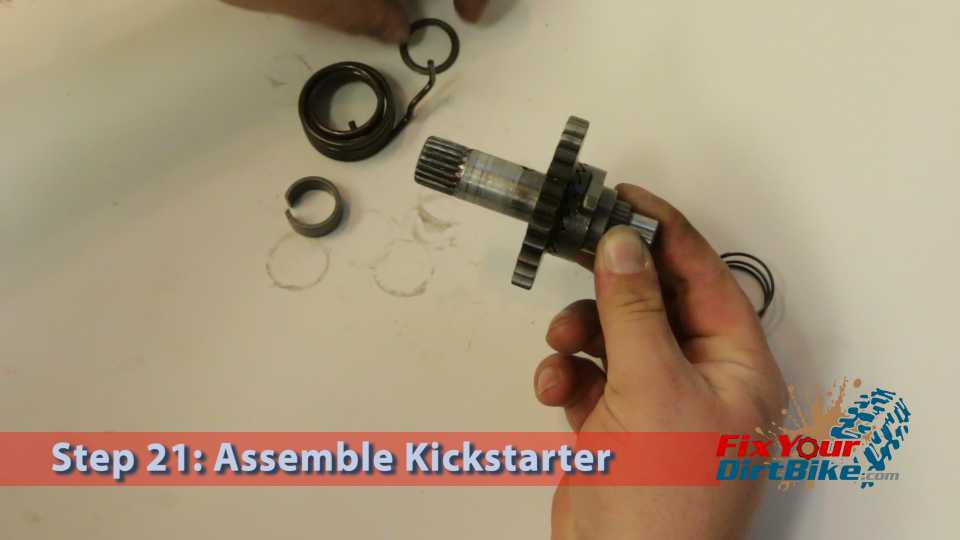
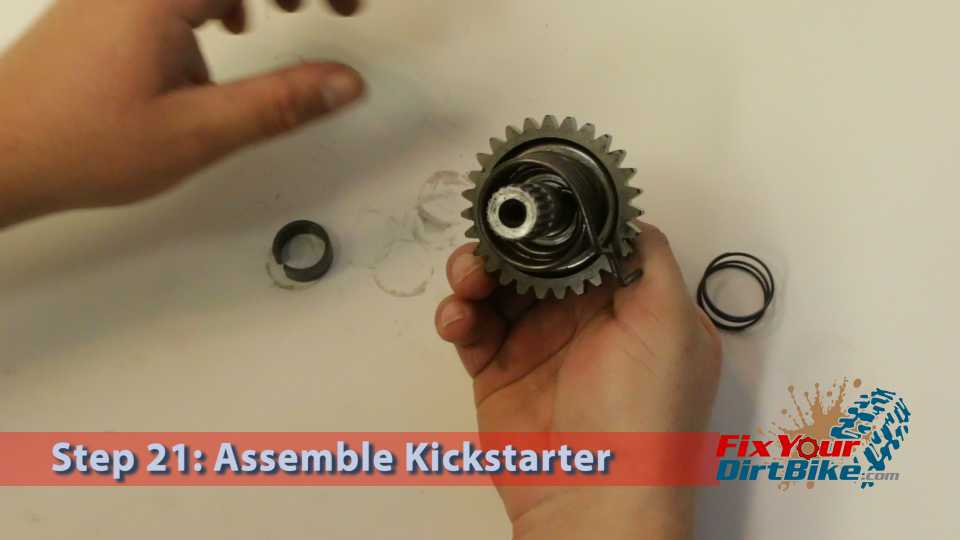
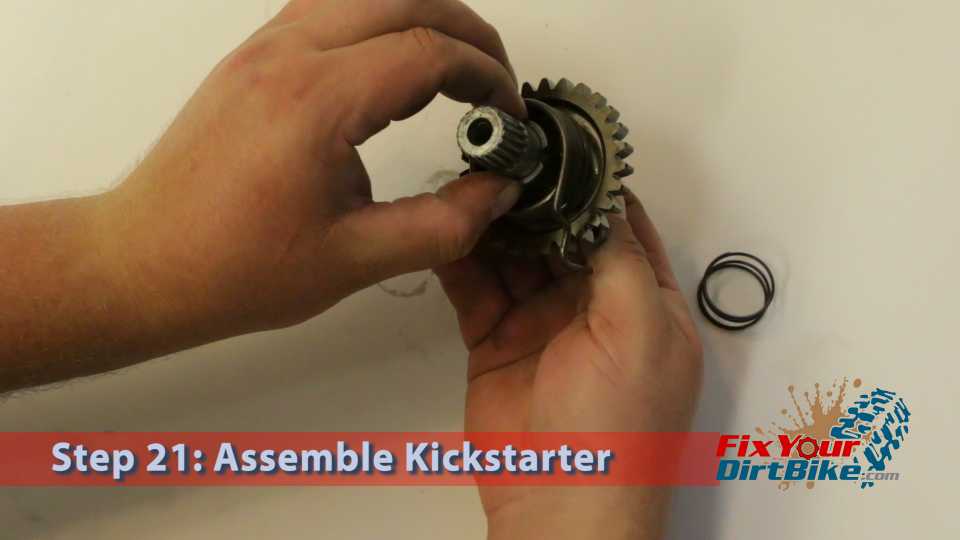
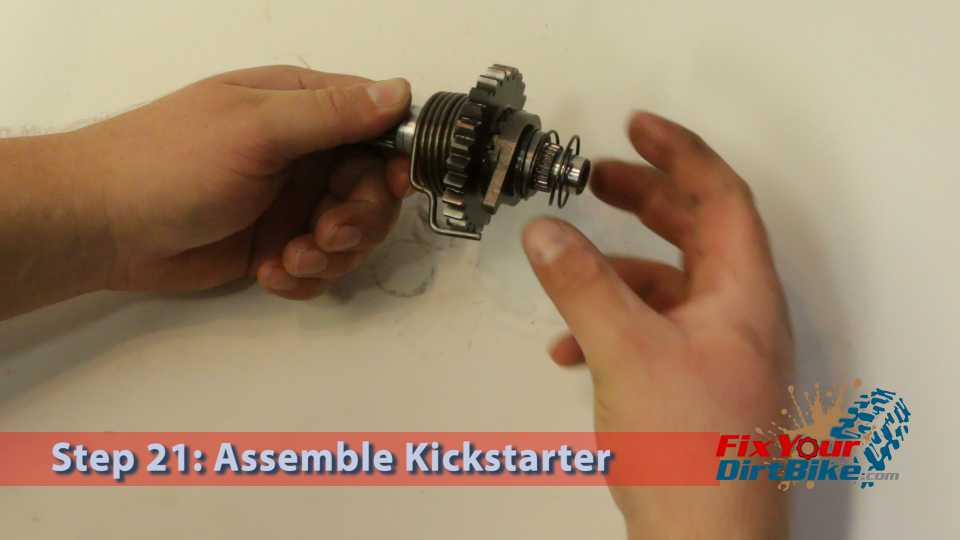
- Step 21: Assemble your kickstarter.
- The punch on the bore and the punch on the ratchet need to line up.
- The ratchet spring will sit loosely around the ratchet.
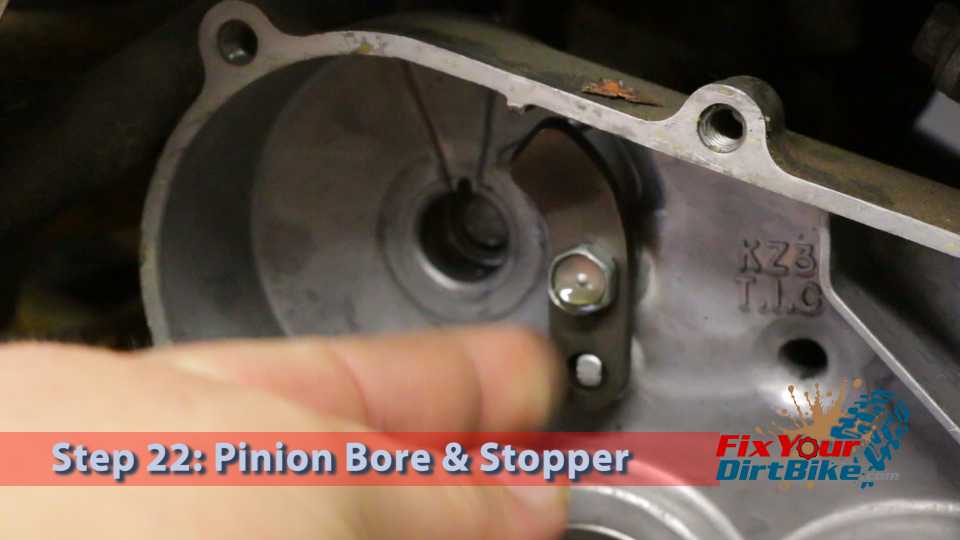
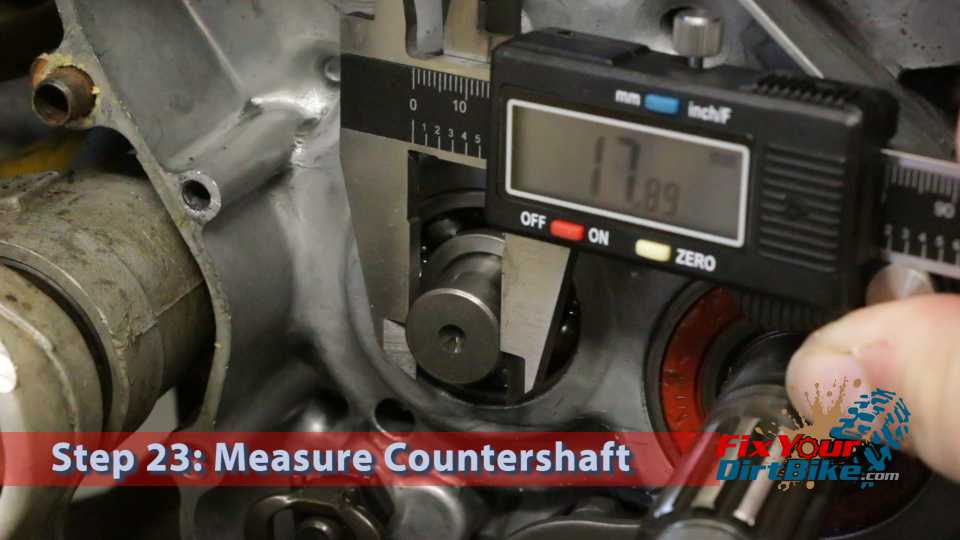
- Step 22: Check the pinion bore in the crankcase for smoothness and the ratchet stopper breakage.


If you have any questions or comments, please leave them in the comments or on our Facebook page!
97-01 Honda CR250 Kickstarter Part 3: Installation →
Keep Your ’97-’01 CR250 Running Right!
- Service Specification
- Clutch Replacement
- Carburetor Service
- Engine Top End
- Engine Bottom End
- Brakes
- Exhaust
- Front Suspension
- Rear Suspension
- Wheels & Tires
- Kickstarter Inspection
- External Shift Linkage


