
How To Service The Rear Brake Caliper On Your 2009 – 2010 Honda CRF450R
 The Tools You Will Need Are:
- 12mm Socket
- 8mm Socket
- 12mm Box Wrench
- 10mm Box Wrench
- 8mm Box Wrench
- Torque Wrench
- Small Pick
- A Stiff Brush
- Emery paper
- Calipers → https://amzn.to/40Eye1z
- Shop Towels
- Safety Glasses → https://bulltru.com
The Parts You Will Need Are:
- ’09-’10 Honda CRF450r Rear Caliper Rebuild Kit → https://amzn.to/4h3u8Wp
- DOT 4 Brake Fluid → https://amzn.to/3WucSkS
- Rubber Grease → https://amzn.to/4awR9Po
This rear caliper rebuild should cost around $25 and take about 45 minutes to complete.
Pre-Service Notes
- I recommend opening the Service & Torque Specs in a new tab for easy reference.
- If you need parts and tools, make sure to buy them here! → https://amzn.to/4h4lDKq
- Pictures with captions are after the steps below.
- Brake fluid will damage everything, so keep your shop towels ready!
- If you need any help, don’t hesitate to ask!
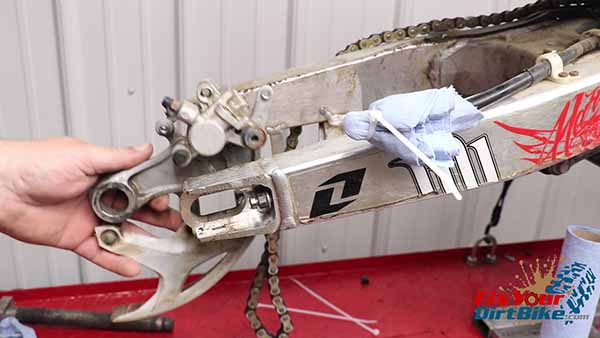
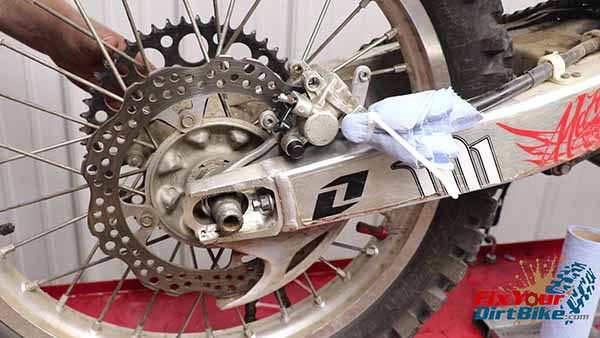
Rear Caliper Removal
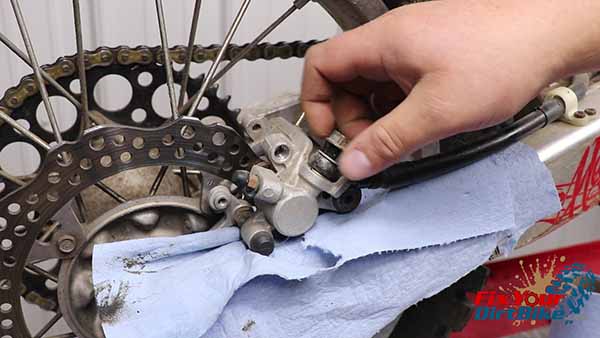
- Start by removing the brake pad pin and brake pads while your caliper is still mounted to the swingarm.
- Firmly pump the brake pedal to push the piston out of the caliper body, using the brake disk as a backstop.
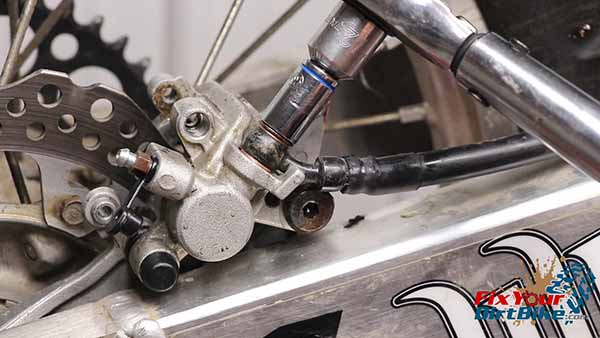
- Loosen and remove the banjo bolt, then remove the rear wheel and caliper bracket.
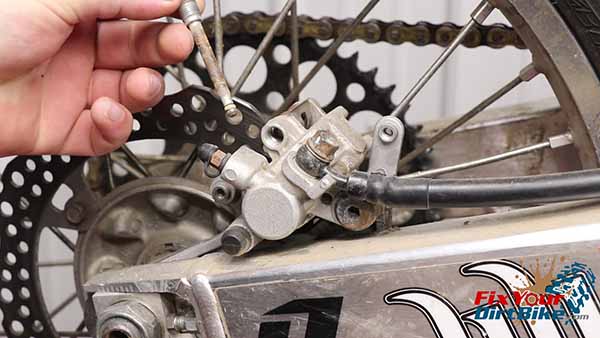
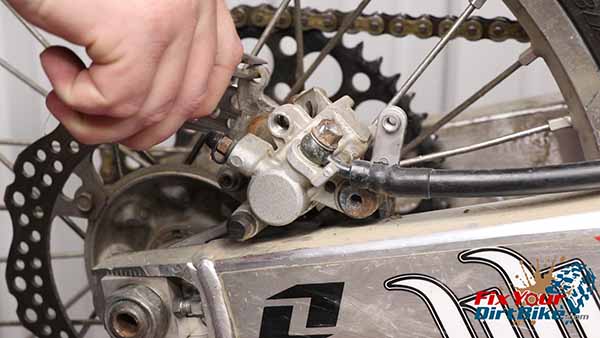
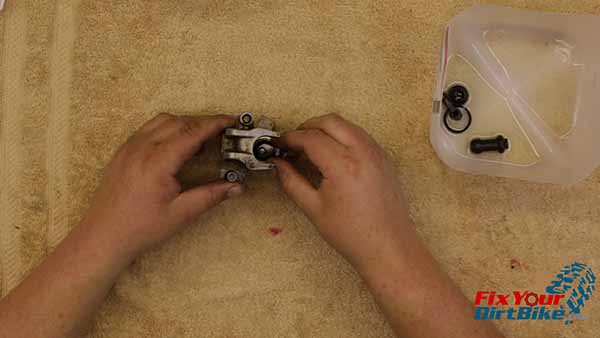
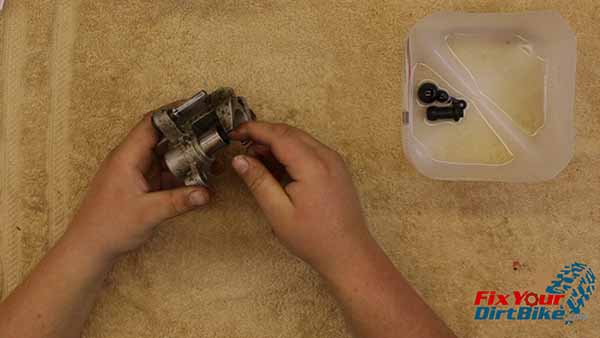
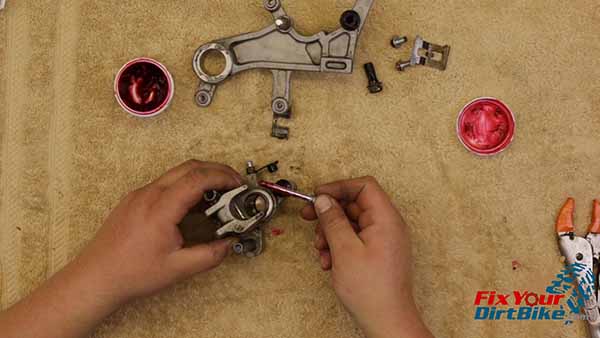
Disassembly
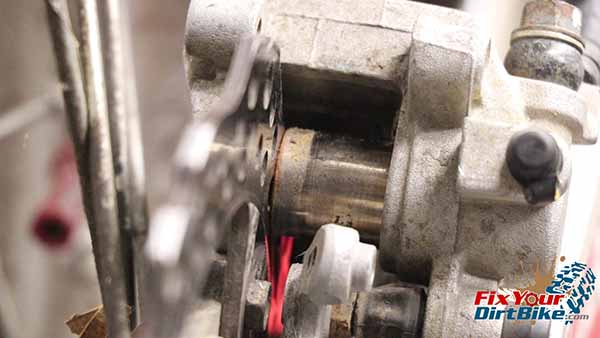
- Rotate the piston out of the caliper body. If your piston is too hard to remove by hand, you can CAREFULLY remove it with pliers wrapped in e-tape.
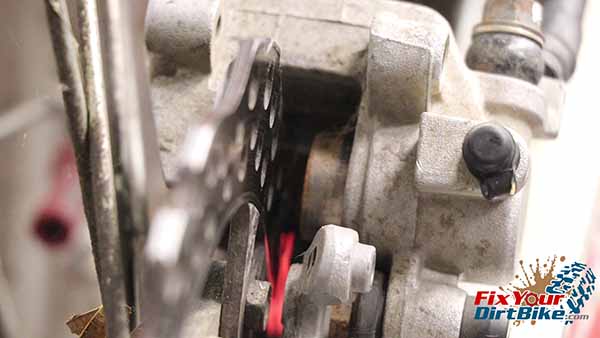
- Remove the piston seals, bleeder valve, and slide pin boots.
- Take extra care when removing the piston seals so you don’t gouge the piston bore.

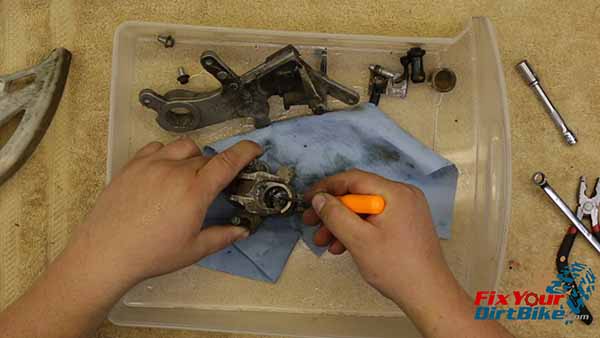
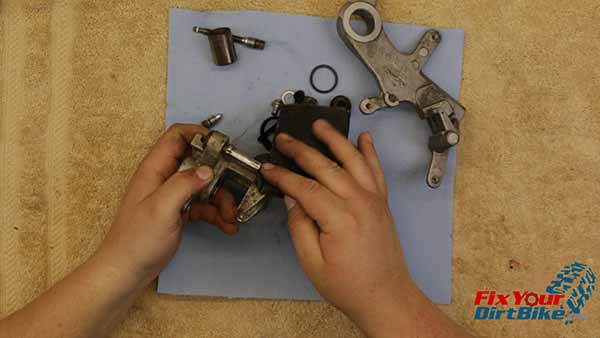
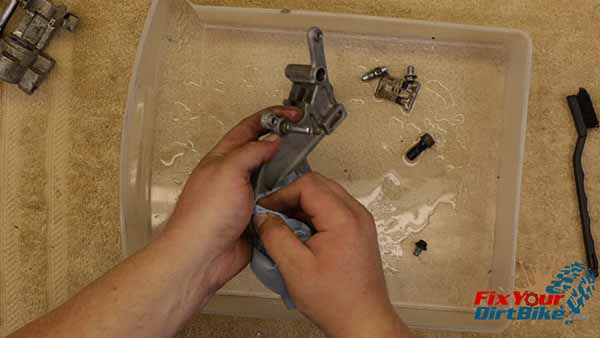
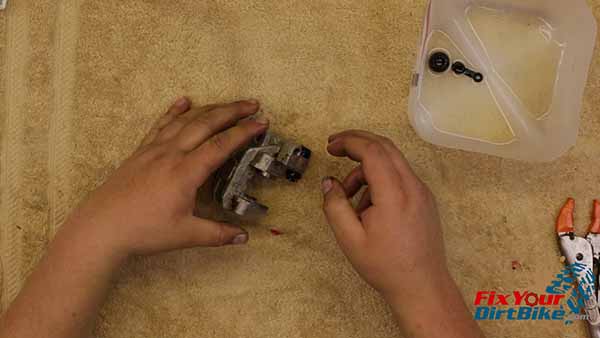
Clean And Inspect
Clean
Scrub every component with brake cleaner and a stiff, non-metallic brush. Dry the parts as thoroughly as possible.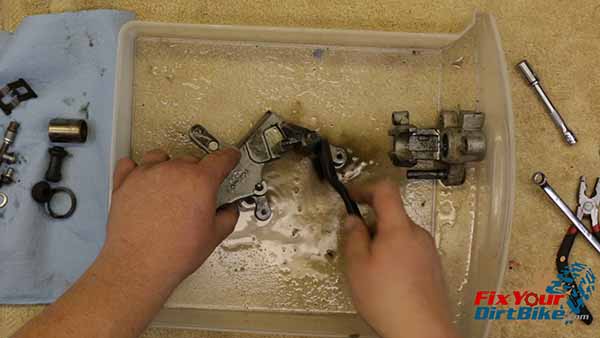
Inspect
Check the caliper components for any visible damage. This piston has a few rough spots, so I must sand them down. Check the slide pins for any rough areas that could bind. If you feel anything, gently sand it with fine-grit emery paper until smooth.
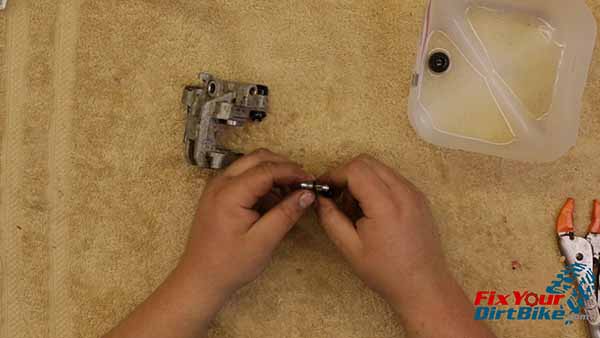
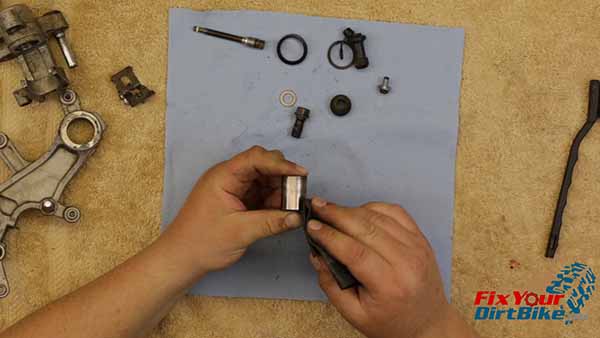 Measure
Measure the piston bore’s inside diameter and the piston’s outside diameter.
The piston bore should be no Greater than 22.712 mm, and the piston should be no LESS than 22.573 mm.
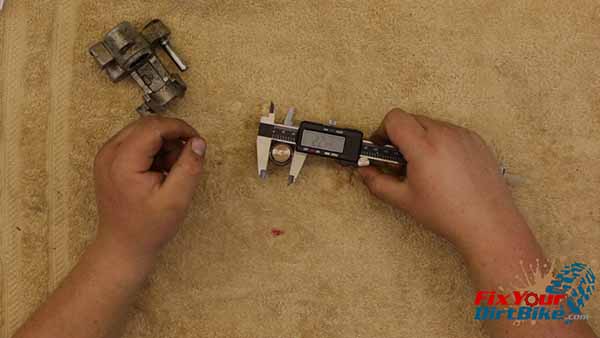
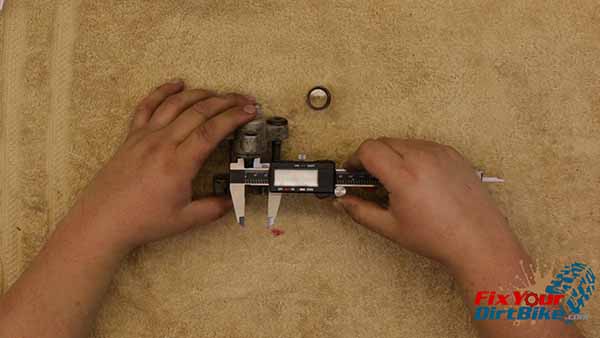 If your caliper bore and pistons are out of spec, they must be replaced.
Related: You’ve done the rear, now how about the front caliper?
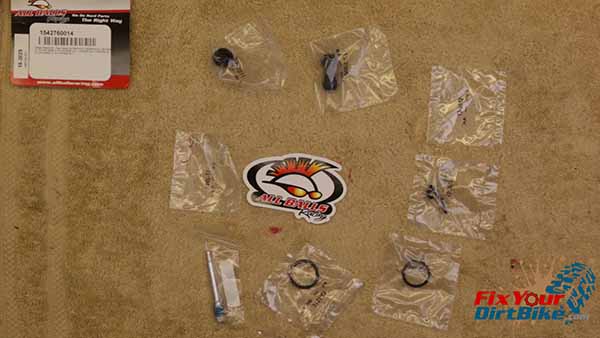
New Brake Parts
Before caliper assembly, take a look at your new parts.
I am installing an All Balls Rear Caliper Rebuild Kit that includes a new set of slide pin boots, pad pin o-ring, bleeder valve cap, piston seals, pad pin, and banjo bolt seal washers.
Match the old parts with the new ones so you don’t accidentally discard something you need.
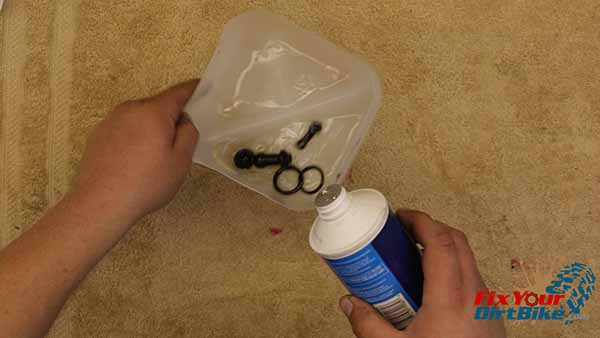
 Soak your new rubber components in fresh brake fluid for 15 minutes before assembly.
Rear Caliper Assembly
- Give every component one last wipe down with fresh brake fluid before assembly.
- Install the piston seals immediately, followed by the piston.
- Ensure your piston is aligned as flat as possible, then install in a twisting motion.
- Install the slide-pin boots. The long boot goes on the body, and the short boot goes on the bracket.
- Install the bleeder valve cover, then the bleeder valve.
- Grease the slide pin boots with rubber grease, assemble the bracket and body, and give the bracket a few pumps to evacuate any trapped air in the boots.
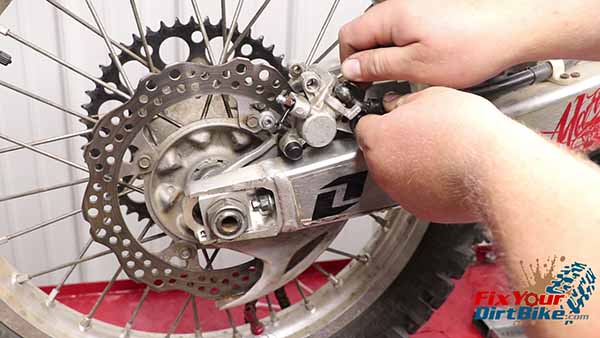
Rear Caliper Installation
- Install the rear wheel and caliper, then install the banjo bolt with new seal washers. Make sure to bleed your brakes after installation!
 Torque Specifications
- Banjo Bolt – 25 ft-lbs
If you have any questions or anything to add, please leave them in the comments or on our Facebook page!
Keep Your ’09-’10 CRF450r Running Right!


