How To Service The Sprockets & Drive Chain On Your 97-01 Honda CR250
 Try always to change your sprockets and chain as a set. Using new parts with old parts will shorten their service life!
The Tools You Will Need
- PB Blaster → https://amzn.to/4gQYcoh
- Rubber Mallet
- Large Pliers
- Stiff Brush
- Flat Head Screwdriver
- 8mm Socket
- 12mm Socket
- 13mm Box Wrench
- Foot-Pound Torque Wrench → https://amzn.to/3DOqm4B
- Pick
- 6mm Allen Wrench
- Tiny Flathead Screwdriver
- Bucket O’ Lithium Grease → https://amzn.to/3ChhKTB
- Carburetor Cleaner → https://amzn.to/3DORy3i
The only specialty tool you will need is a chain breaker. Your master link pins may not be a press fit, but they probably are, and you will need the right tool.
New Chain And Sprocket Parts
- O-ring – part number: 91201-ML3-873
- New O-Ring Chain → https://amzn.to/4g3cNfg
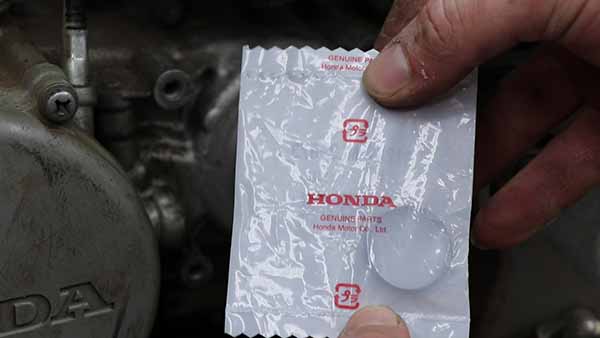
You will need a new O-ring, part number 91201-ML3-873, for the countershaft and possibly a new set of sprockets and a chain, but you’ll find that out later.
Pre-Service Notes
- Start with your bike on a stand and your transmission in 1st gear.
- I recommend opening the Service & Torque Specs in a new tab for easy reference.
- If you need parts and tools, make sure to buy them here!
- Pictures with captions are after the steps below.
- If you need any help, don’t hesitate to ask!
Sprocket & Drive Chain Removal
Front/Drive Sprocket Removal
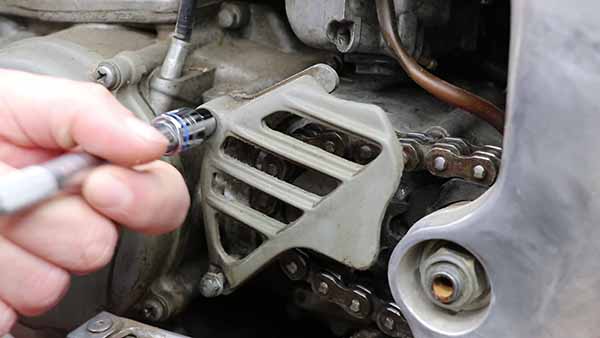
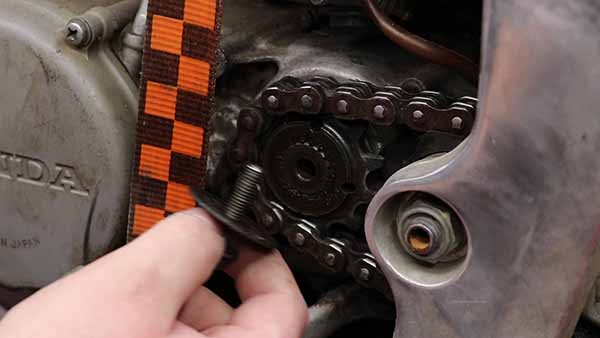
- Remove the front sprocket guard and backing plate.
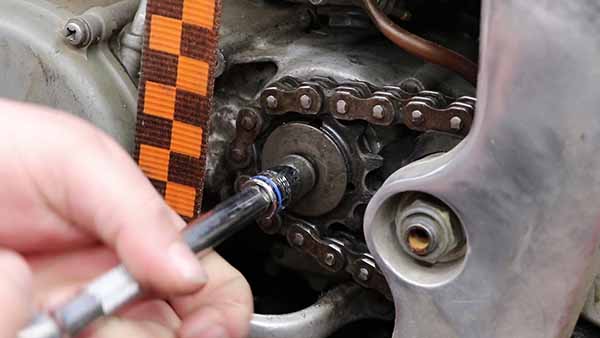
- If you try to turn the bolt, you will turn the engine, so use a ratchet strap to hold down the rear brake.
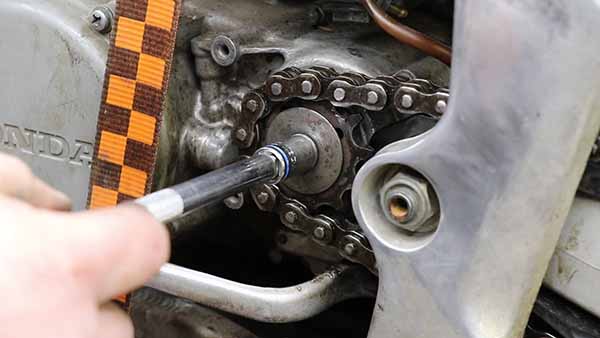
- With the rear brake engaged, loosen and remove the front sprocket bolt, washer, and sprocket from the countershaft.
- With the rear brake engaged, loosen and remove the front sprocket bolt, washer, and sprocket from the countershaft.
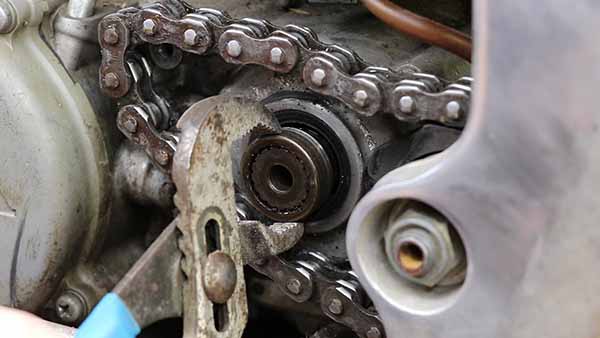
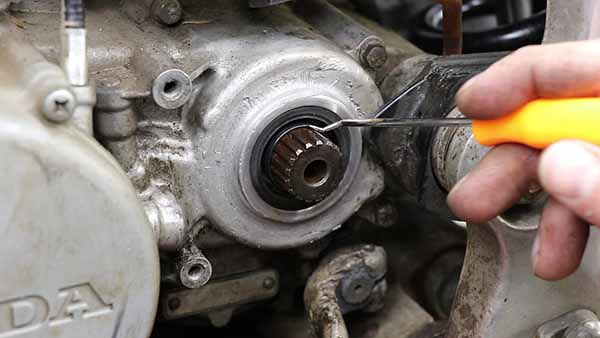
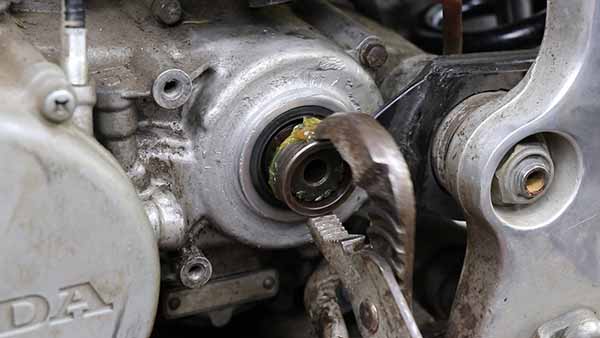
- Carefully remove the collar from the countershaft.
- Be careful around the countershaft seal; if you use a screwdriver to pry the collar out, be patient!
Rear/Driven Sprocket Removal
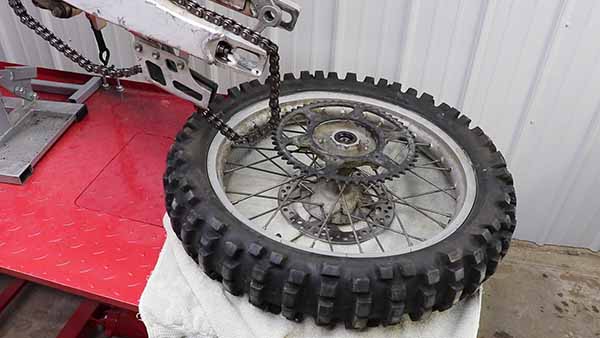
- Lay your rear wheel on a towel with the brake side down.
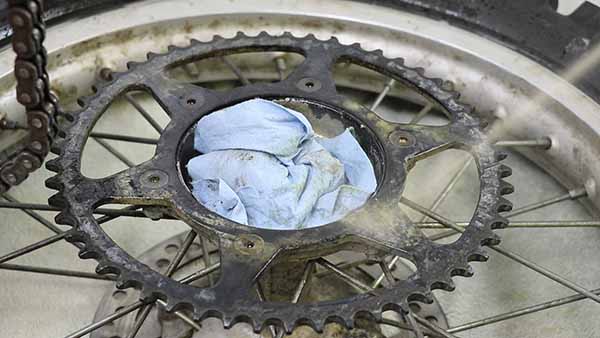
- Coat the sprocket bolts with PB blaster, then flip your wheel and spray the sprocket nuts.
- After the PB does its job, loosen and remove the rear sprocket hardware.
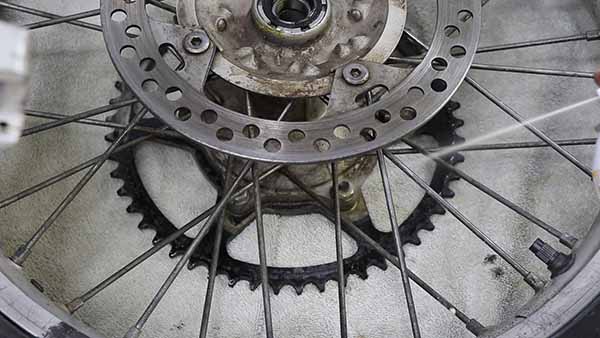
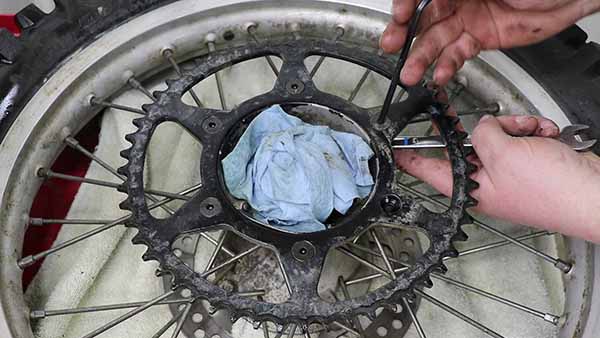
Related: How to service the rear master cylinder on your 97-01 CR250.
Chain Removal
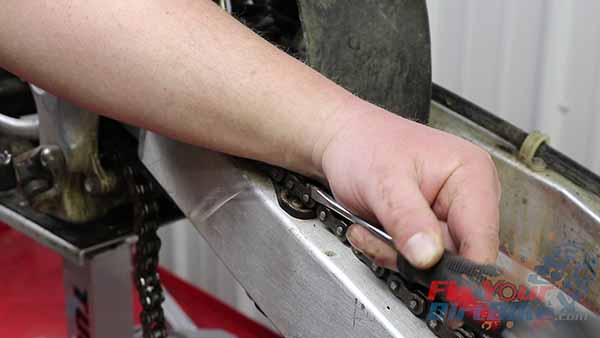
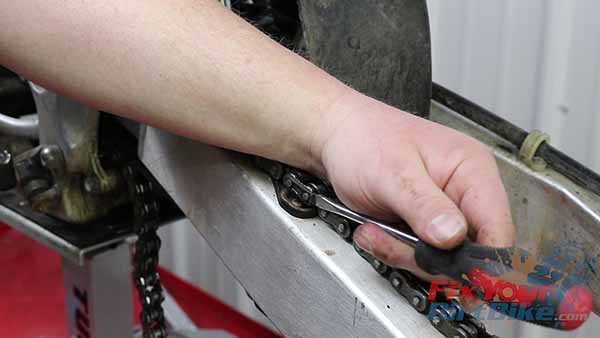
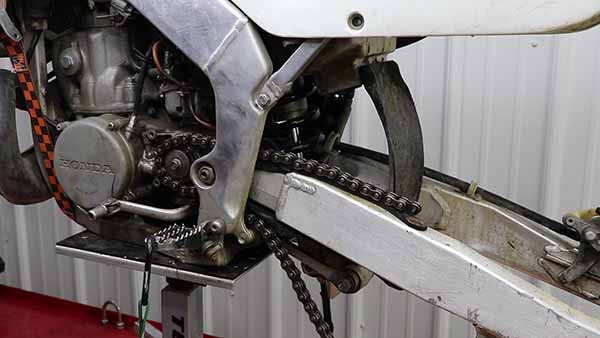
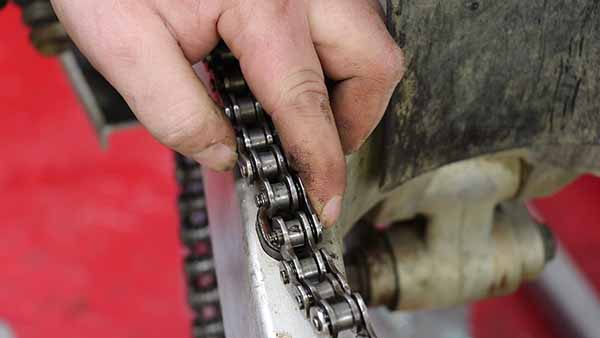
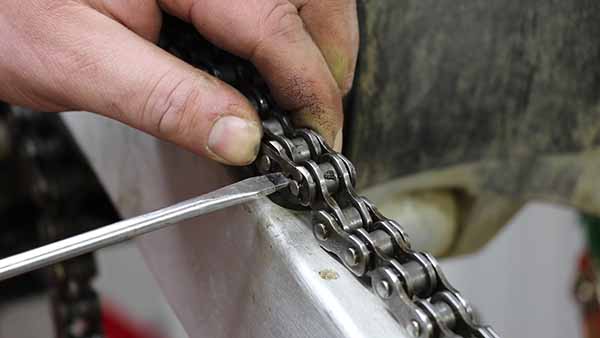
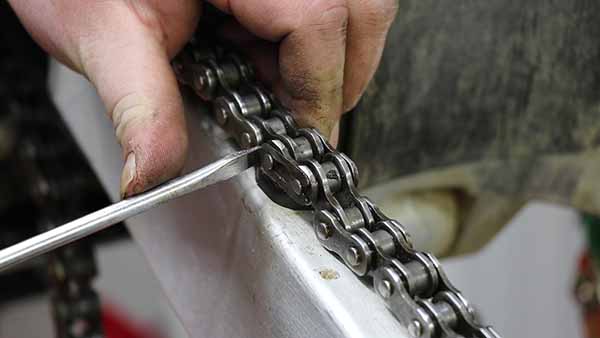
- Locate the master link, then rotate the chain to sit on the swing arm.
- Lay your left forearm on the chain, with your screwdriver facing the front of the bike.
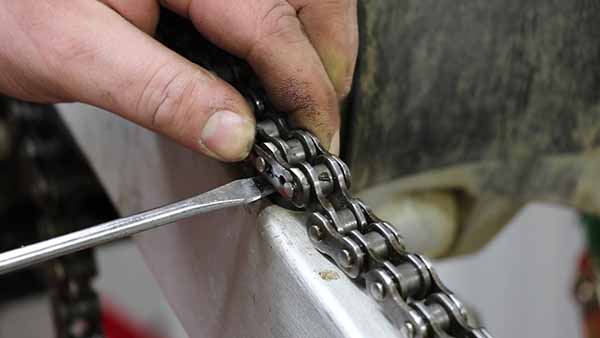
- Align the blade of your screwdriver with the open end of the spring clip.
- If installed correctly, the open end should face your bike’s back.
- Give the butt of the screwdriver a tap with your rubber mallet, and the spring should pop off the pins.
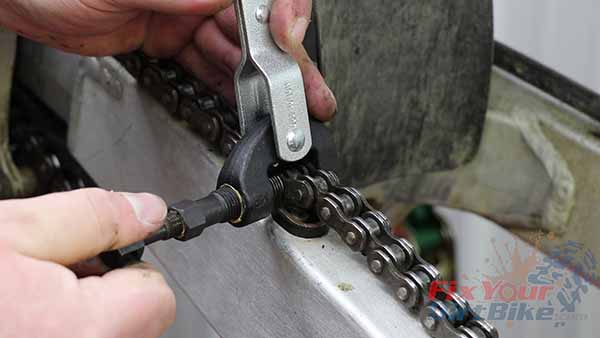
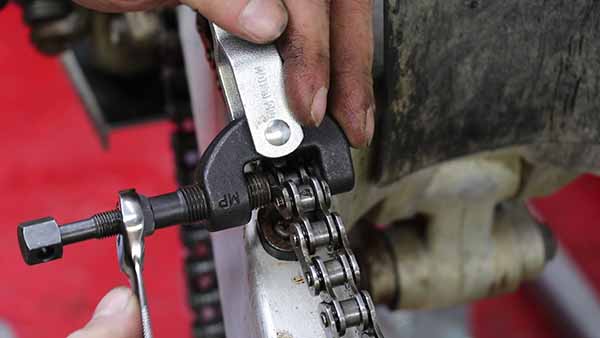
- Align your chain breaker so it pushes the pins toward the bike, and remove the pins.
- This works for both roller and O-ring chains.
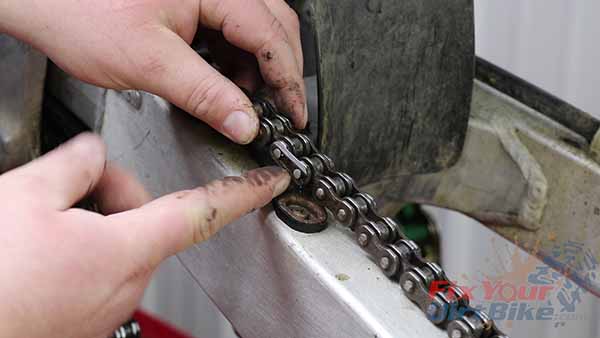
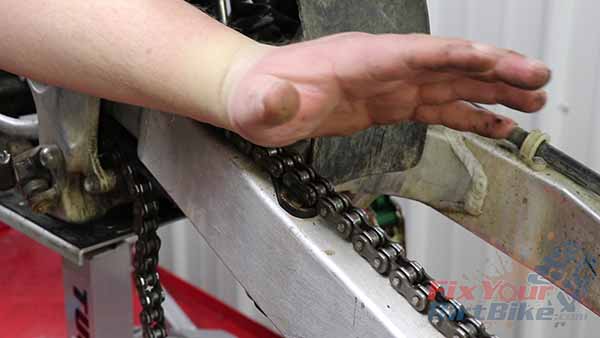
Sprocket & Drive Chain Inspection
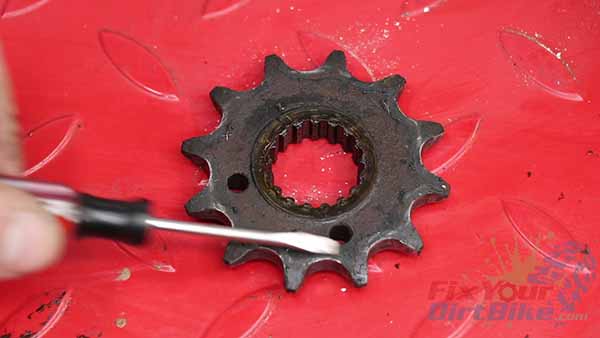
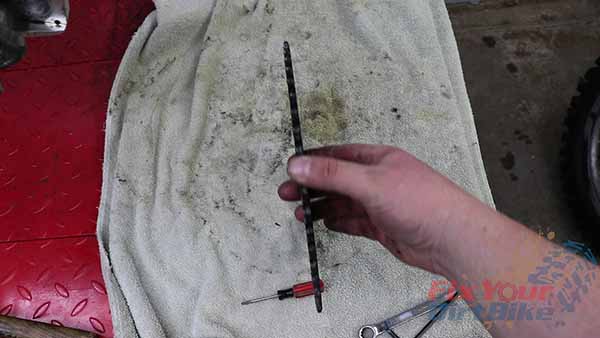
- Before you bother cleaning the sprockets and chain, check to see if they are worth keeping.
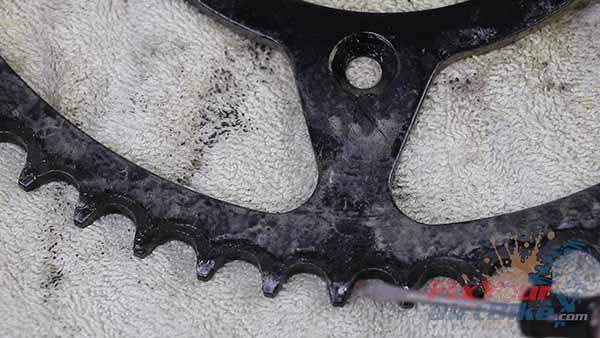
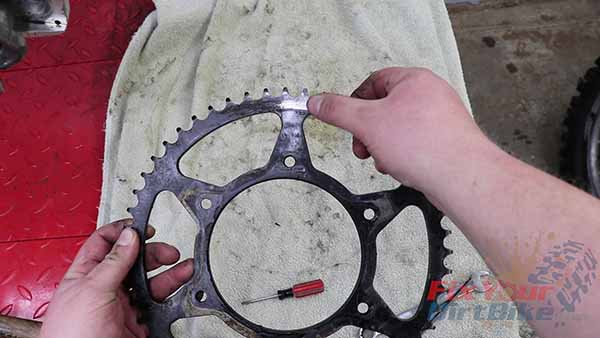
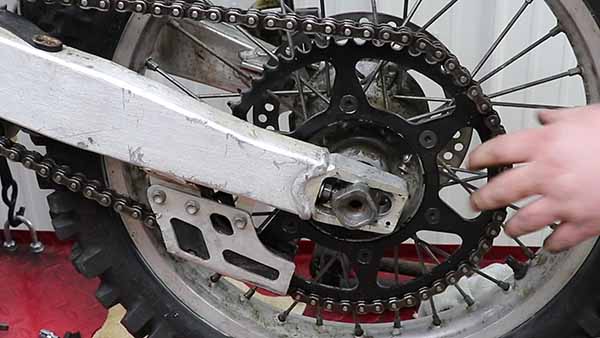
- Check both sprockets for excessive tooth wear.
- Check the back sprocket for signs of uneven wear and straightness.
- There is a wear spot on the rear sprocket, but it’s most likely something I hit because it is still straight and worn evenly.
Chain Inspection
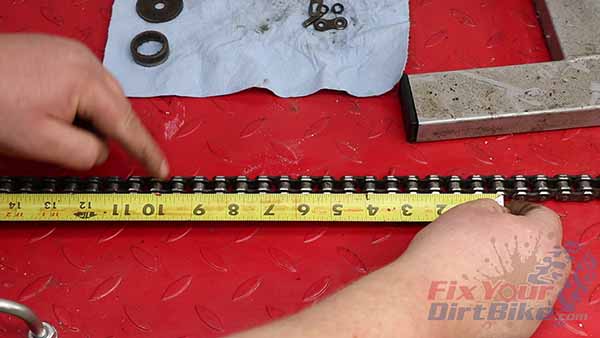
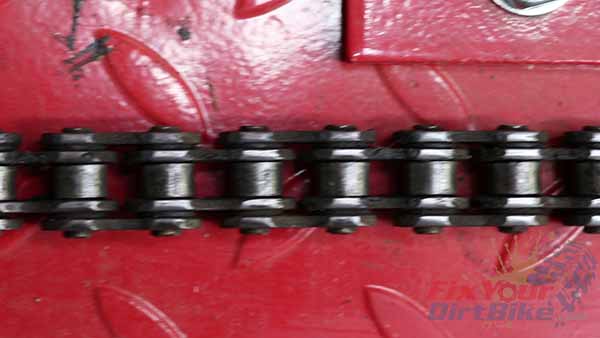
- Lay your chain flat, pull it straight, and measure the span of 17 pins.
- The span between the 1st and 17th pin should not exceed 10 and 1/8th inch.
- Check the pins and side plates for damage or signs of uneven wear.
- This chain and sprocket set are still good, so I saved myself about $100 today!
Clean & Inspect
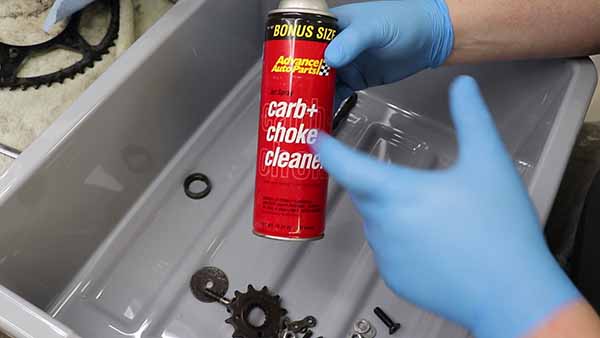
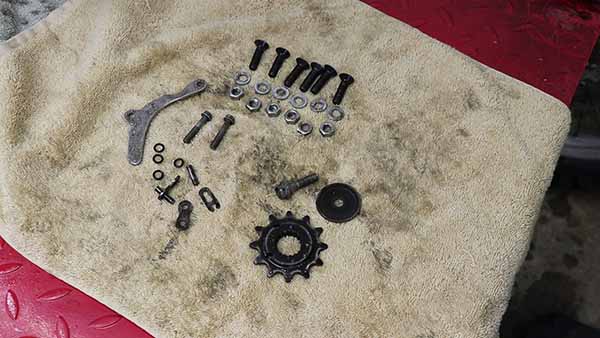
- Clean everything with carburetor cleaner, then rinse with warm water.
- Hang your chain, and wrap everything else in a towel to dry.
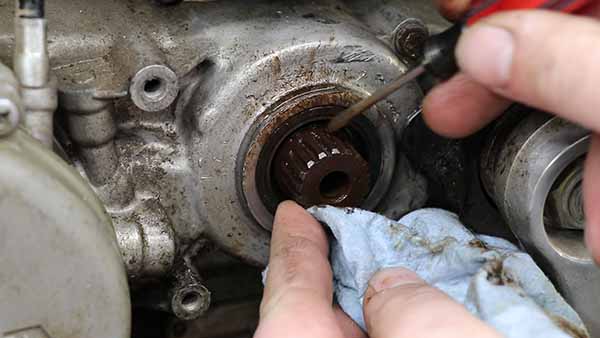
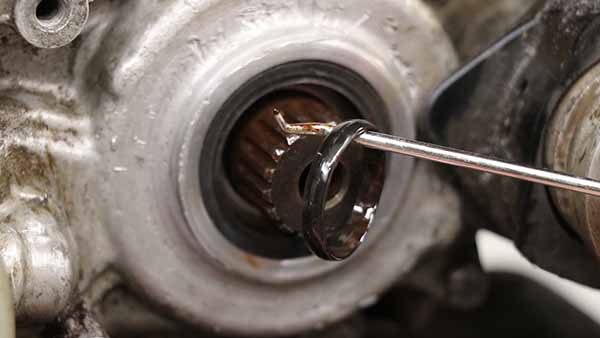
- Clean your countershaft using a carb cleaner, a towel, and a tiny screwdriver.
- Clean the splines as best as you can.
- Once the countershaft is thoroughly wiped down, remove the O-ring and throw it away.
Sprocket & Drive Chain Installation
Rear/Driven Sprocket Installation
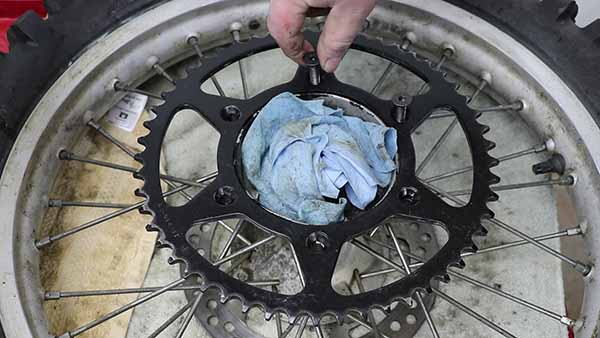
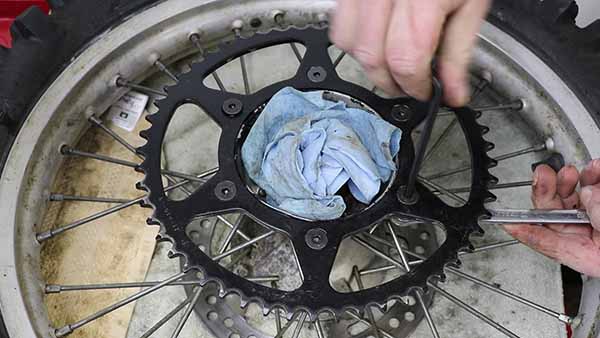
- Start your installation with the rear sprocket.
- Install the sprocket hardware hand-tight, then torque the rear sprocket bolts in a criss-cross pattern.
- Torque to 24 ft lbs
Front/Drive Sprocket Installation
- Install the new o-ring onto the countershaft.
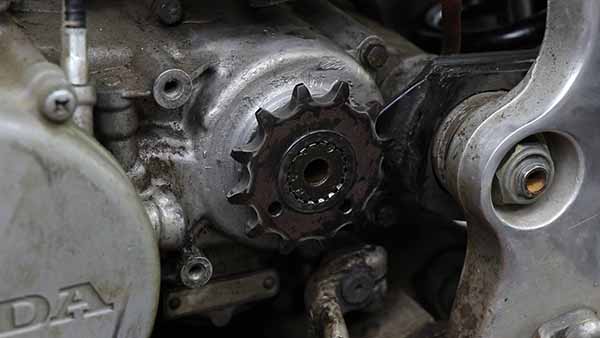
- Grease and install the collar with the groove facing in.
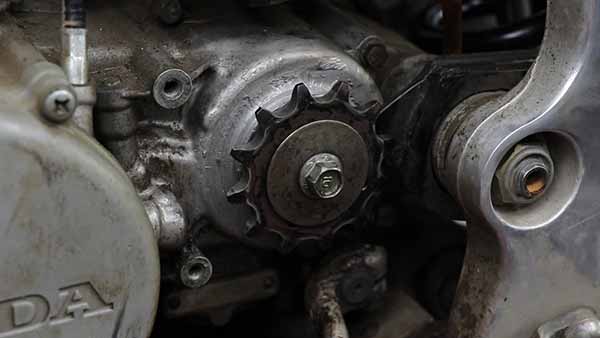
- Mount the front sprocket with the flat side facing out.
- Install the bolt and washer with the outside markings facing out.
Related: How to bleed your 1997-01 Honda CR250 brakes.
Chain Installation
- Run your chain through the guides so the ends meet on the swingarm.
- The easiest way I have found to install an O-ring master link is to drive the pins through the inside plate first.
- Place the o-rings on the pins, then slide the pins through the holes.
- Then, take the inside of the chain breaker and press the outside plate onto the pins.
- Once the pins are pressed in, install the spring clip.
- Align the spring clip with the closed end facing forward.
- With your screwdriver, pry the open end halfway onto the link.
- Then, push the clip the rest of the way.
- Install your chain on both sprockets.
- Apply the rear brake and torque the sprocket bolt.
- Torque to 20 ft lbs
- Reinstall the sprocket guard and bracket.
If you have any questions or anything to add, please leave them in the comments or on our Facebook page!
Keep Your ’97-’01 CR250 Running Right!
