
How To Perform A Leak Down Test On Your 97-01 Honda CR250
 The Tools You Will Need
- 47mm – 50mm Expansion Plug → https://amzn.to/4anZF2S
- Philips Screwdriver
- Leak Down Tester
- Spray Bottle With Soapy Water
The leak-down test is a critical step in your CR250 rebuild because it’s easy to check your work. It will tell you if you have a bad seal or if something isn’t correctly torqued.
Oh hey, look at these torque specs!
Setting Up Your CR250 For Leak Down Testing
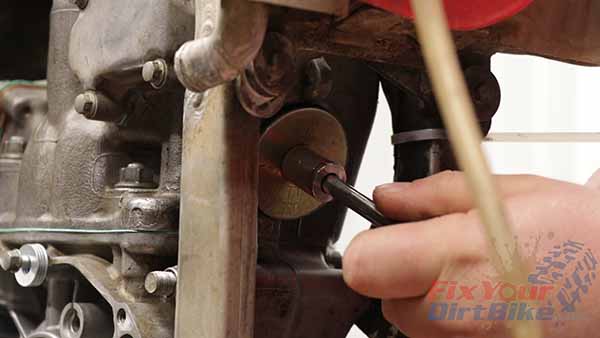
- Install your expansion plug tightly in the exhaust port.
- Attach your leak-down tester to the carburetor boot, and make sure the clamp is tight.
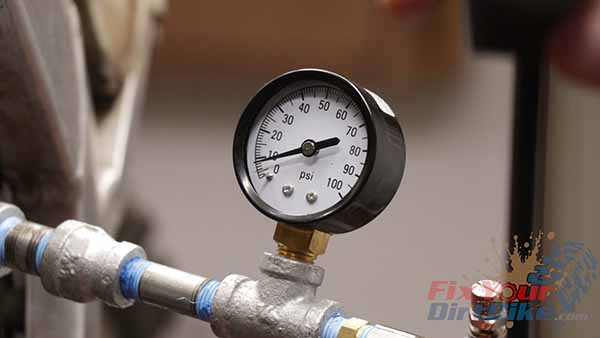
- Slowly pressurize your engine.
- You DO NOT want to go over 10psi or risk blowing a seal.
- You want your gauge to sit at 5-6 psi.
- You are good to go if the pressure drops less than one psi in 5 minutes.
- If your pressure drops immediately or by more than one psi in five minutes, it’s time to go hunting.
Hunting For Gasket And Seal Leaks During The Leak Down Test
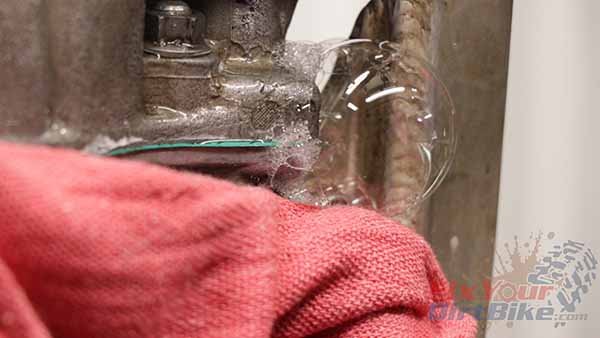
- Place a towel over your crankcase to protect the interior from overspray. If you can’t find the leak anywhere else, the right crank seal is the last thing to test.
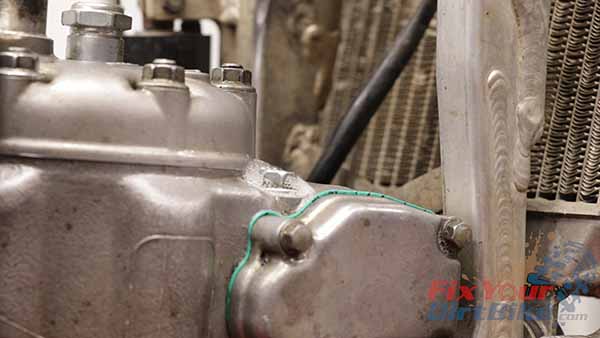
- Pressurize your engine and spray the whole engine with soapy water.
- Spray the leak-down tester and then the exhaust plug, just to be safe.
- If there is any leak, you will easily spot the bubbles.
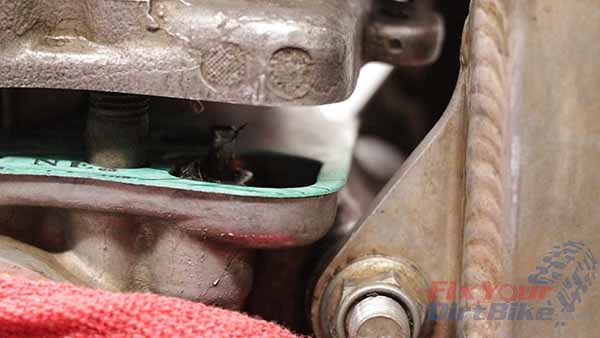
- The right front base gasket and exhaust valve stopper bolt are leaking on this engine.
Related: How does the reed valve work on your dirt bike?
Fixing Gasket And Seal Leaks
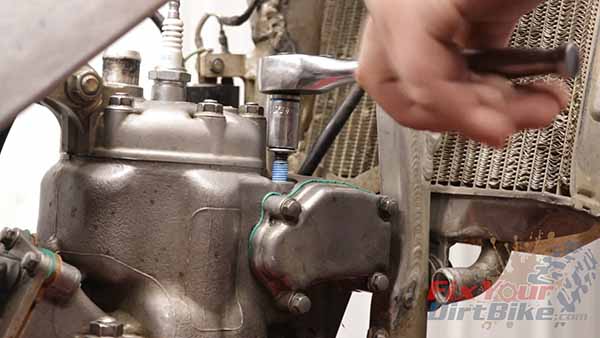
The exhaust valve stopper bolt does not have a gasket or o-ring, so I wrapped the threads in Teflon tape and re-torqued, which did the trick.
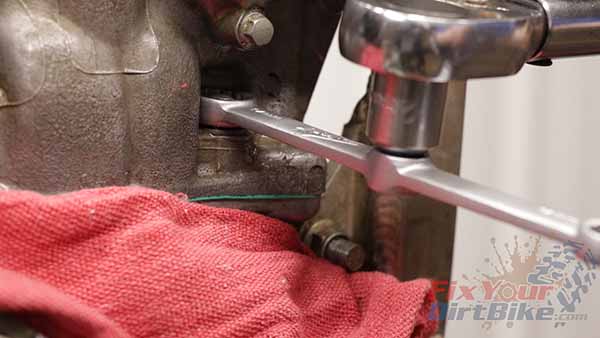
The base gasket and mating surfaces were in good shape, so all I had to do was loosen the bolts and gradually re-torque them, which evened out the pressure and fixed the leak.
After you fix any leaks, repeat the leak-down test. If everything looks good, we can move on to the break-in process.
 ← Part 13: Cylinder Head Installation
Keep Your ’97-’01 CR250 Running Right!
- Service Specification
- Clutch Replacement
- Carburetor Service
- Engine Top End
- Engine Bottom End
- Brakes
- Exhaust
- Front Suspension
- Rear Suspension
- Wheels & Tires
- Kickstarter Inspection
- External Shift Linkage


