
How To Rebuild The Top End On Your 97-01 Honda CR250
 I wanted to make this as easy to follow as possible, so I’ve broken the top-end service into 15 steps that cover the removal, inspection, and installation of each component in order, followed by the leak-down test and break-in.
In this article, we will cover the specialty tools and supplies you need, precautions, and shop setup.
Click Here To Open The Top End Specifications Table In A New Window
Top End Tools
You will need a few specialty tools in addition to the hand tools I’ve listed in the individual steps.
D.I.Y. Tools
You will need to build a piston pin puller and a piston holder.
For the pin puller, all you need is an all-thread length, two nuts, one fender washer, and a large socket.
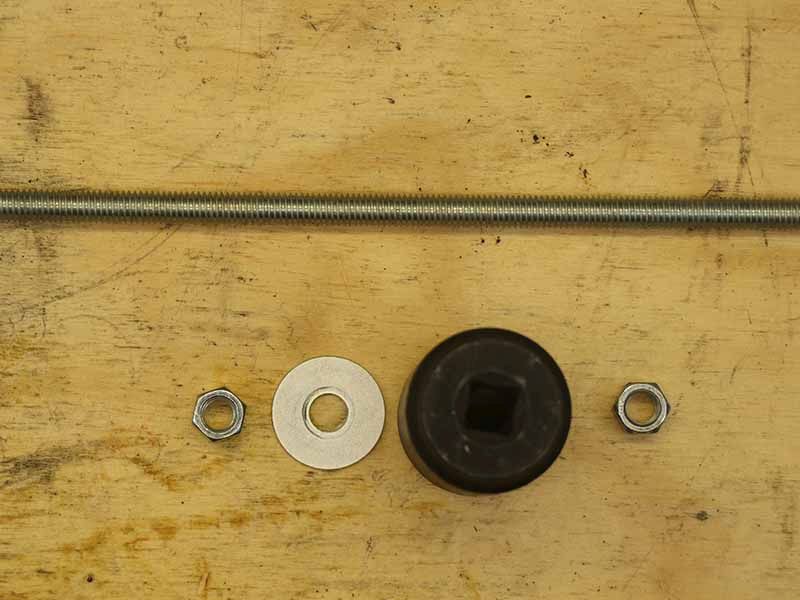 Thread one nut onto the all-thread, followed by the washer and the socket. Run the all-thread through the piston pin and install the nut. Place a shop towel between the socket and the piston, and tighten the socket against the piston.
Hold the all-thread in one hand and tighten the socket nut with the other to press the pin out of the piston into the socket.
For the piston holder, find a short 2×4, drill an ¾ inch hole in the middle, and then cut an opening from one end to that hole.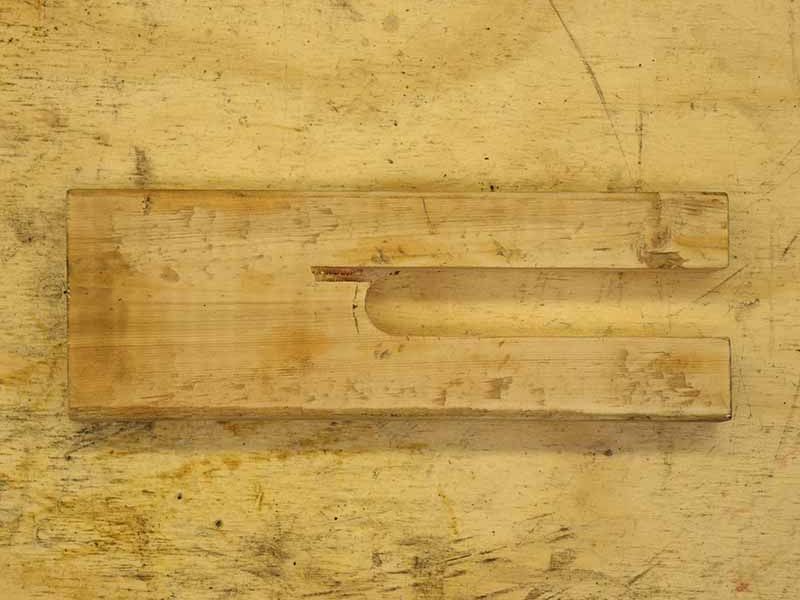 Make sure to sand your holder to remove anything that could fall into the crankcase.
D.I.Y. Tools Cost
- Piston Pin Puller – $10
- Piston Holder – Free
Cleaning Tools
You will be cleaning carbon buildup on the cylinder head, inside the cylinder, and the exhaust valve components.
All you will need is a scouring pad for the cylinder head, but for the exhaust valve parts, I had to use a wire brush on a drill and a Dremel with a sanding wheel.
- Dremel with Sanding Disc → https://amzn.to/407t6l3
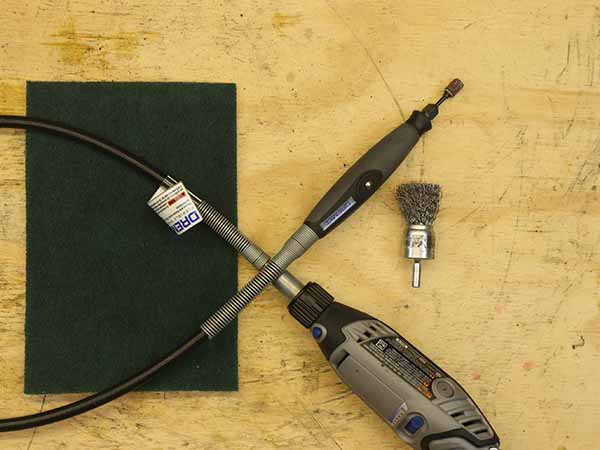 Your cylinder is Nikasil plated, so you will need a honing brush, a scouring pad, and time to safely de-glaze it.
Considering a honing brush costs $80, I use a scouring pad and make the time.
You CANNOT Use A Ball Hone On Nikasil Plating!
However, if your cylinder has been bored and sleeved, you can use a ball hone to quickly de-glaze and crosshatch. A ball hone costs around $40.
- Flex Ball Hone → https://amzn.to/3Cn3Ore
Cylinder & Cylinder Head Inspection Tools
You will need a machinist’s straight Edge, feeler gauges, telescoping bore gauges, and calipers for inspections.
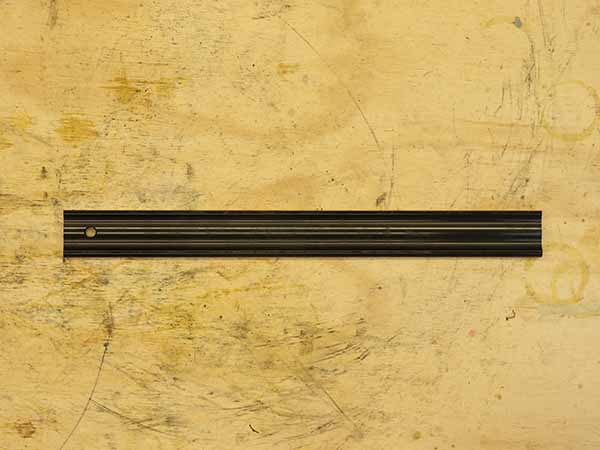 A machinist’s straight Edge is simply a straight, straight edge.
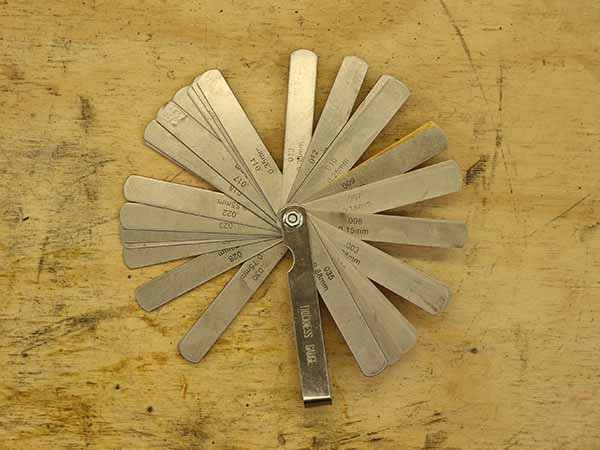 A feeler gauge is a bundle of thin metal strips with varying thicknesses that let you measure small gaps.
We will use the machinist’s straight Edge and feeler gauge to measure warp limits.
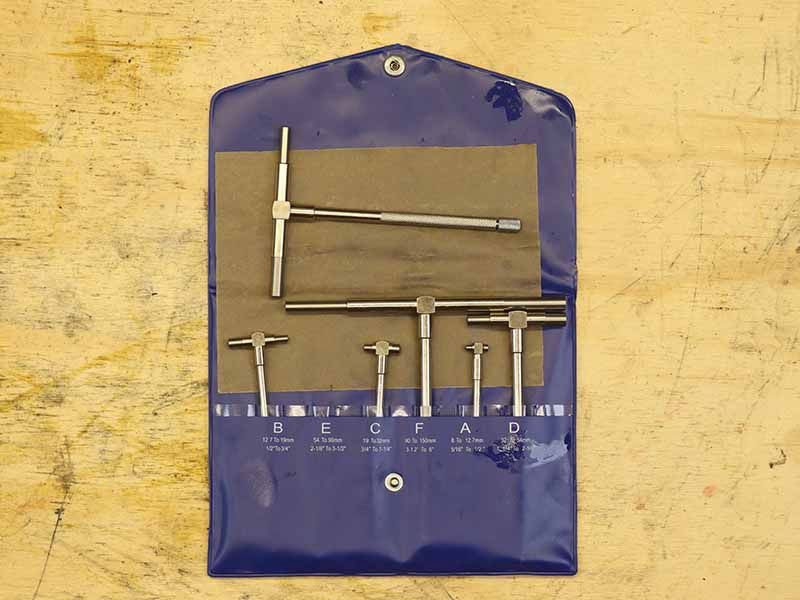 Telescoping bore gauges are used to measure interior diameters.
Compress the telescoping arms, Insert the gauge into the opening you need to measure, find the median measurement, then tighten the screw at the end of the handle to keep the arms in place.
Because the ends of the gauge are spring-loaded, all you need to do is wiggle it a few times, and it will find the median measurement on its own.
One important note about bore gauges is that you need to make sure they are perpendicular to the surface you are measuring.
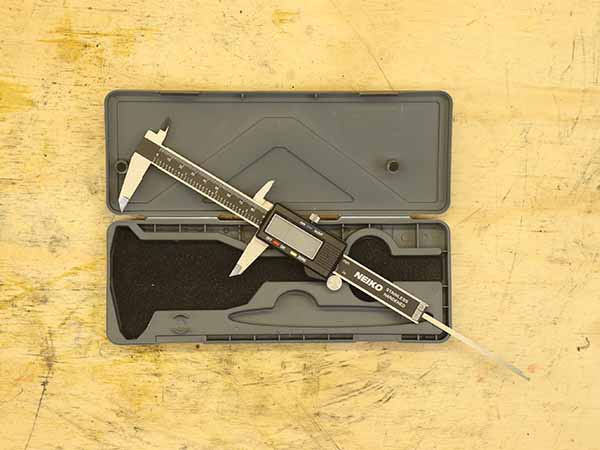 After setting your gauge, you must measure it with calipers. Ideally, you would use a dial micrometer because the bore gauge will sit on each end. Dial micrometers can be very expensive, so I am using a set of regular calipers.
If you use regular calipers, you must take your time to position the bore gauge between the caliper arms just right.
When you find your measurement, DO NOT let the telescoping arms snap back to position.
Hold the arms while you loosen the set screw and let them gently reset.
Inspection Tool Cost
- Machinists Straight Edge → https://amzn.to/4g4fSM1
- Feeler Gauge → https://amzn.to/4hd7qen
- Telescoping Bore Gauges → https://amzn.to/4g5reiE
- Calipers → https://amzn.to/3BRoCXX
Miscellaneous Tools You May Not Have
You will need to use a plastic scraper to clean the mating surfaces. This is a flat razor, but it is plastic.
You will need a spark plug thread follower to true the spark plug threads on the cylinder head. The Motion Pro Torque Wrench Adapter is also needed for the cylinder base nuts because you can’t get anything else on three of the four nuts.
When using the adapter, keep it at a 90-degree angle to your torque wrench to maintain an accurate measurement.
Miscellaneous Tool Cost
- Plastic Scraper → https://amzn.to/40dl2Q1
- Spark Plug Thread Follower → https://amzn.to/42feQcM
- Motion Pro Torque Wrench Adapter → https://amzn.to/4g2Moy8
Rebuild Supplies
Aside from essential parts cleaners and shop towels, you will need molybdenum grease and lithium grease for installation.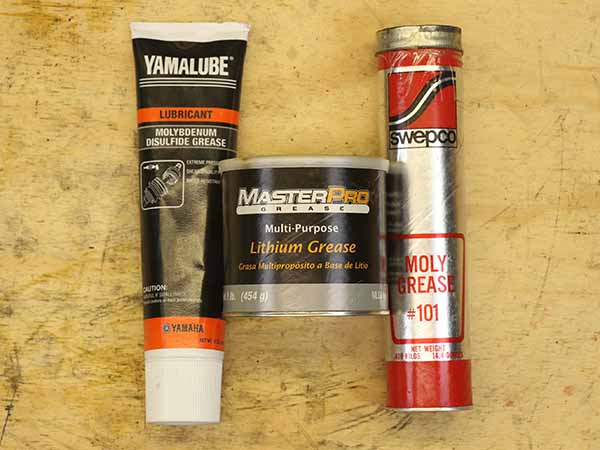 You can find molybdenum grease in the tube at any auto store, but I like to use this Yamalube moly grease simply because the squeeze tube is super convenient.
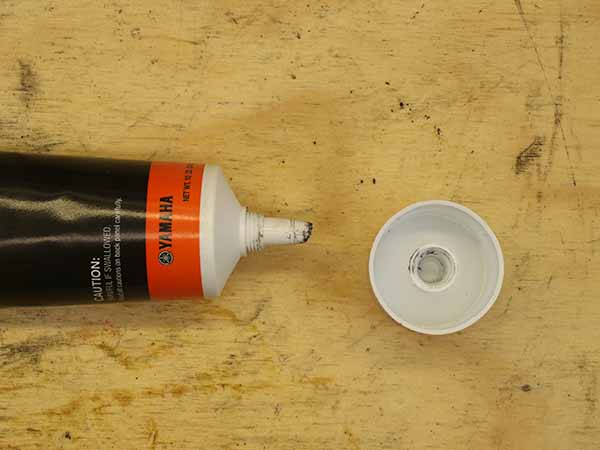 As far as assembly lubricant, I want to use Lucas Assembly Lube. It’s not critical, but I already have it, and I like to use it. You can get away with 2-stroke oil mixed 1 to 1 with transmission fluid.
Top-End Rebuild Supplies
- Moly Grease → https://amzn.to/40eacJw
- Lithium Grease → https://amzn.to/3ChhKTB
Top End Rebuild Parts
As a general rule, I never buy parts before I start unless they are mandatory replacements, like gaskets and O-rings.
For example, unless you are dead set on installing an aftermarket piston, hold off on buying one until you look at your old one. If it’s undamaged and within specs, you can reuse it with new rings and pin clip.
You will need a gasket set (I am using the Tusk Complete Top End Gasket Kit), cylinder alignment dowels(Honda OEM), and an O-Ring for the exhaust valve cap (also Honda OEM).
Top-End Service Parts Cost
- Top End Gasket Kit → https://amzn.to/4jjF2ci
- Cylinder Alignment Dowels → https://amzn.to/3DVxPPm
- Exhaust Valve Cap O-Ring → Included with gasket kit
Precautions
All you need to do is Take Your Time and stuff a shop towel in every hole you open, and your top-end rebuild will go smoothly.
Shop Setup
Make yourself a clean workspace with plenty of room for tools and supplies. Ideally, this workspace can be used for a few days if you can’t do everything at once.
I taped a large trash bag to the top of my workbench to protect the wood.
During inspection and assembly, I used an old hand towel. This protects the components I am working on. It ensures my workspace is free of contaminants, and if I drop a small part, it won’t bounce away.
You will also need access to a hot water source. If all you have is a bathtub or kitchen sink, be ready to clean them thoroughly when you’re done.
2-Stroke Top End Rebuild Time & Cost
It’s hard to say how long a complete top-end rebuild will take, but set aside a full day to complete it.
This service will cost between $20 and $400, depending on the tools you already have and the parts you need.
And if you need to send parts out to be machined or refinished, the cost could be $1,000 or more.
For example, a full cylinder re-plating can cost upwards of $400.
If you have any questions before you start your top-end service, please let me know in the comments or on our Facebook page.
Now, let’s get started! → Part 1: Cylinder Head Removal
Keep Your ’97-’01 CR250 Running Right!


