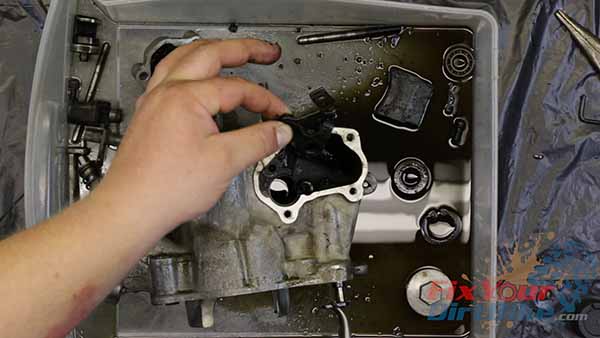
How To Remove The Exhaust Valve On Your 97-01 Honda CR250

The Tools You Will Need
- 4mm Hex Wrench
- Needle-Nose Pliers
- Snap Ring Pliers
Pre-Service Notes
- Start by removing the right crankcase cover.
- I recommend opening the Service & Torque Specs in a new tab for easy reference.
- If you need parts and tools, make sure to buy them here!
- Pictures with captions are after the steps below.
- If you need any help don’t hesitate to ask!
Exhaust Valve Removal
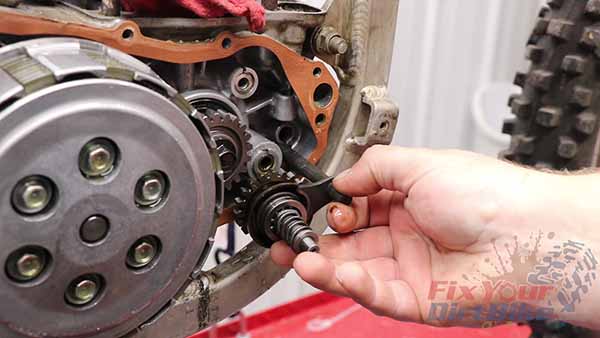
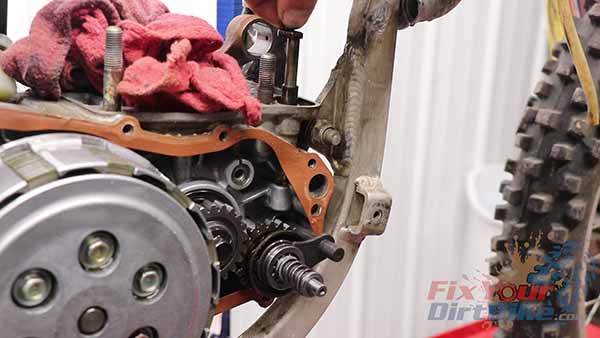
- Remove the pinion shaft and bushing from the top of the crankcase, and remove the governor assembly.
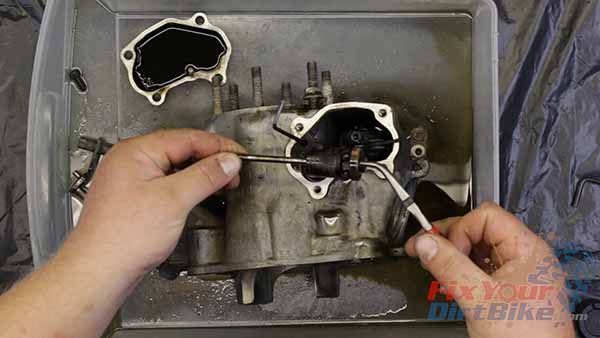
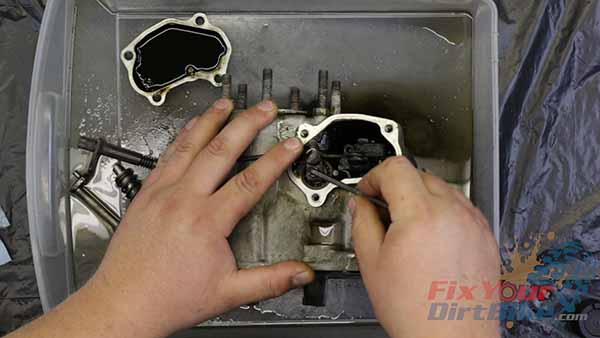
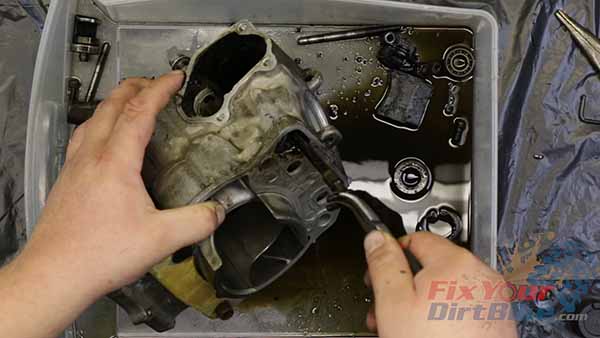
- On the cylinder, disconnect the valve link from the right side sub-exhaust valve.
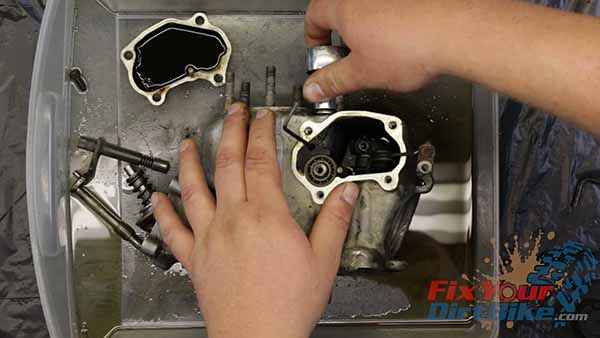
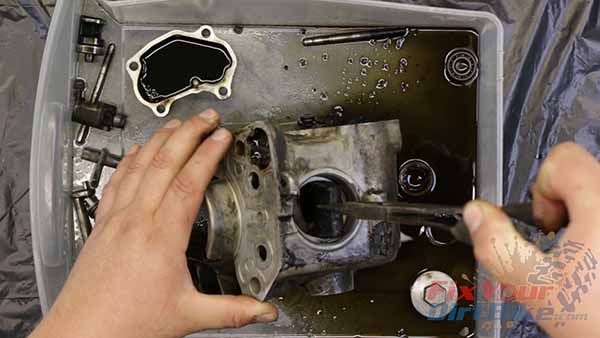
Insert a drift in the hole left of the link, and remove the mounting bolt from the valve. - Back out the valve stopper bolt, and remove the bearing, exhaust valve, the valve shaft, and flap valve shaft.
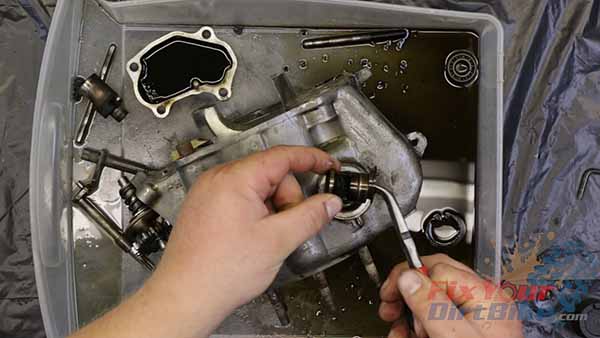
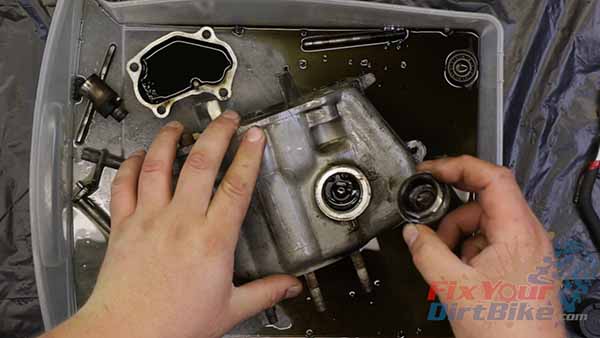
- Remove the left valve cap from the left side of the cylinder.
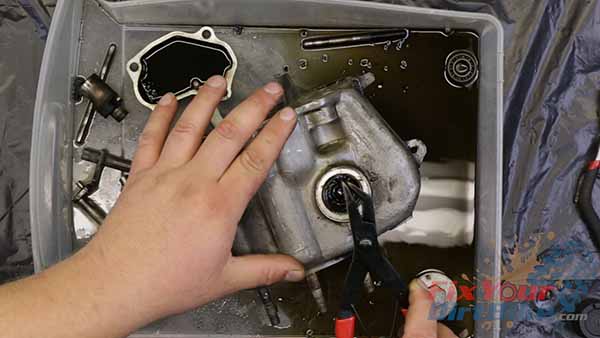
- Remove snap ring, and remove bearing and valve.
- Remove the flap valve from the cylinder. – 1997-1998 – through the exhaust port, 1999-2001 – through the cylinder
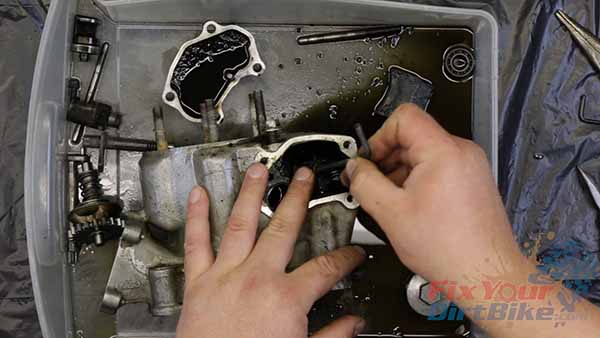
- Remove the driveshaft clip from exhaust valve linkage.
- Pull the driveshaft and bushing from the bottom of the cylinder, and remove the linkage.
Keep Your ’97-’01 CR250 Running Right!
