PART 2 of the step-by-step rebuild for 1998-2001 Showa 47mm suspension forks.
You can find Part 1: Disassembly and Part 3: Installation.
You Can Get Parts And Tools HERE! → https://amzn.to/4h4lDKq
Front Fork Disassembly And Inspection
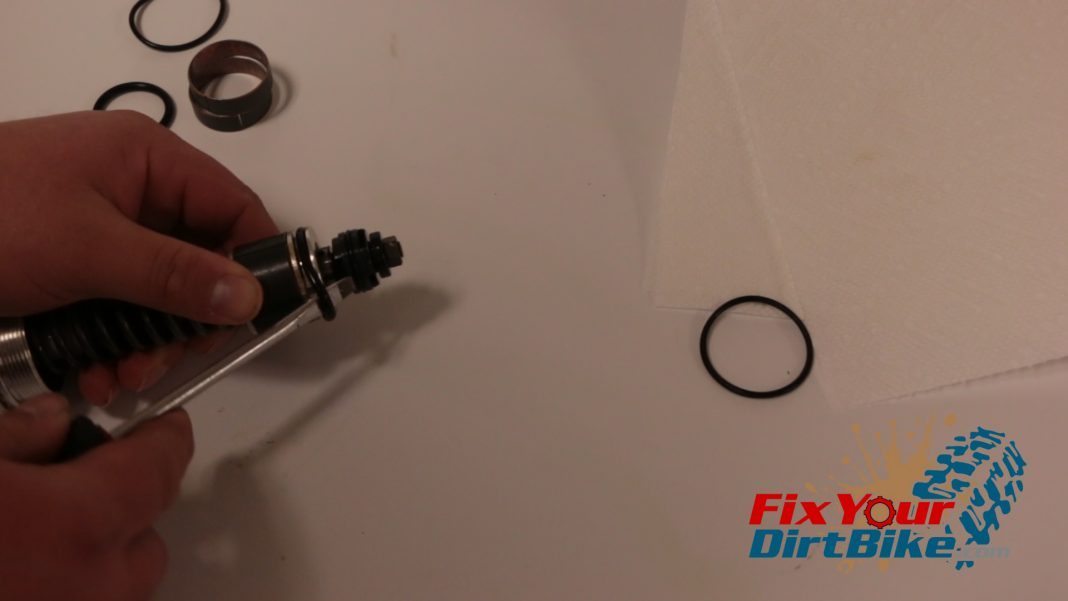
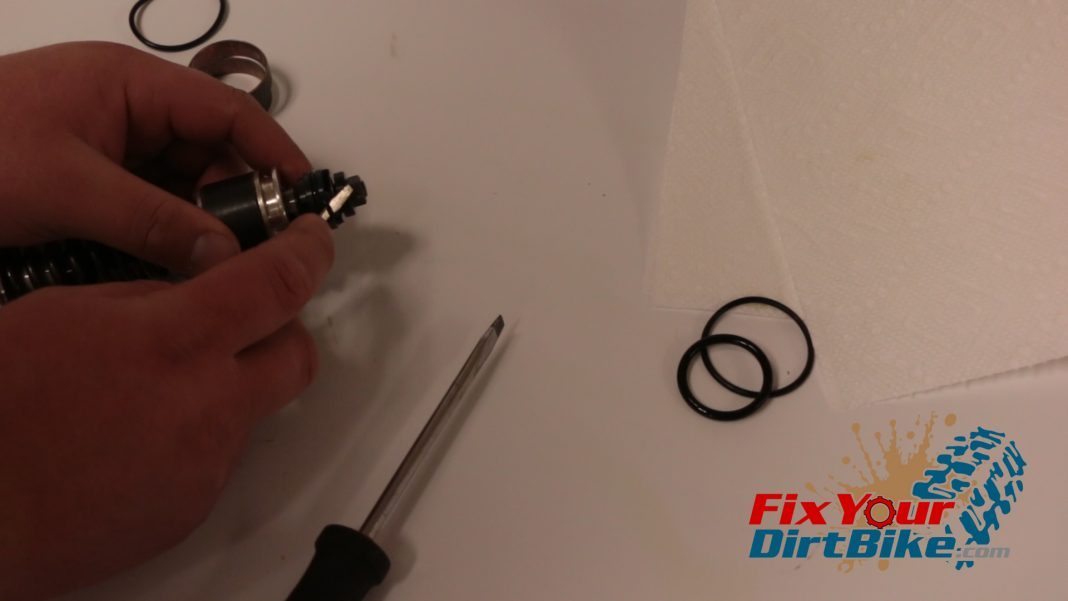
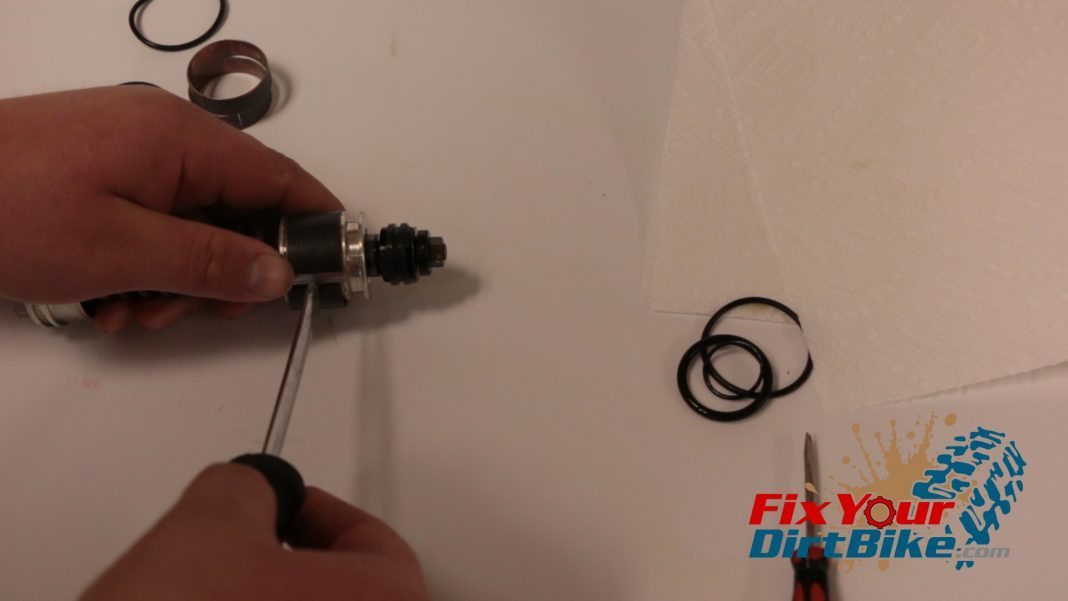
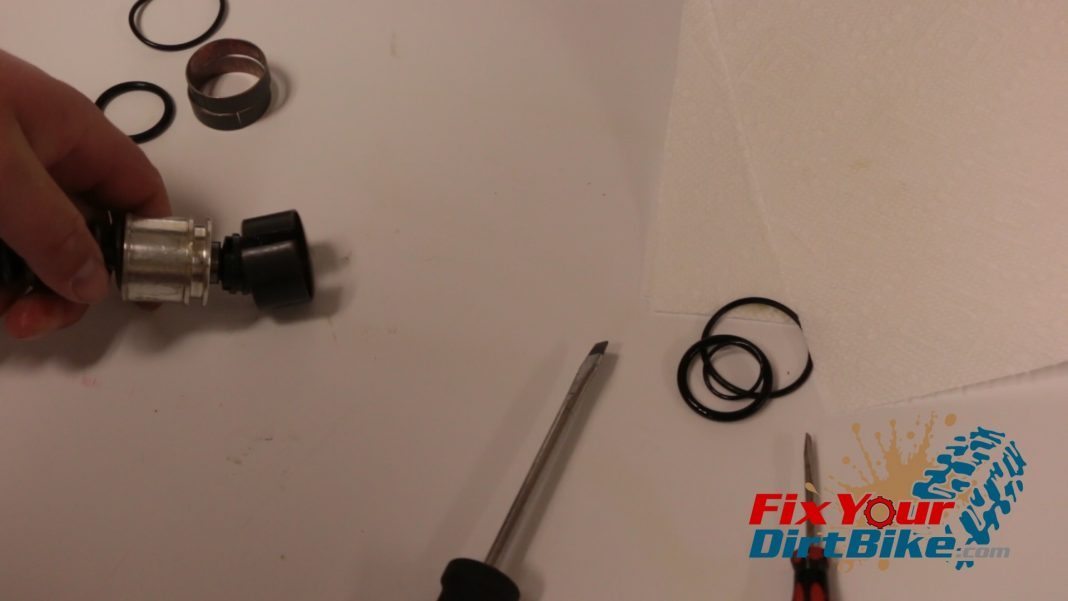
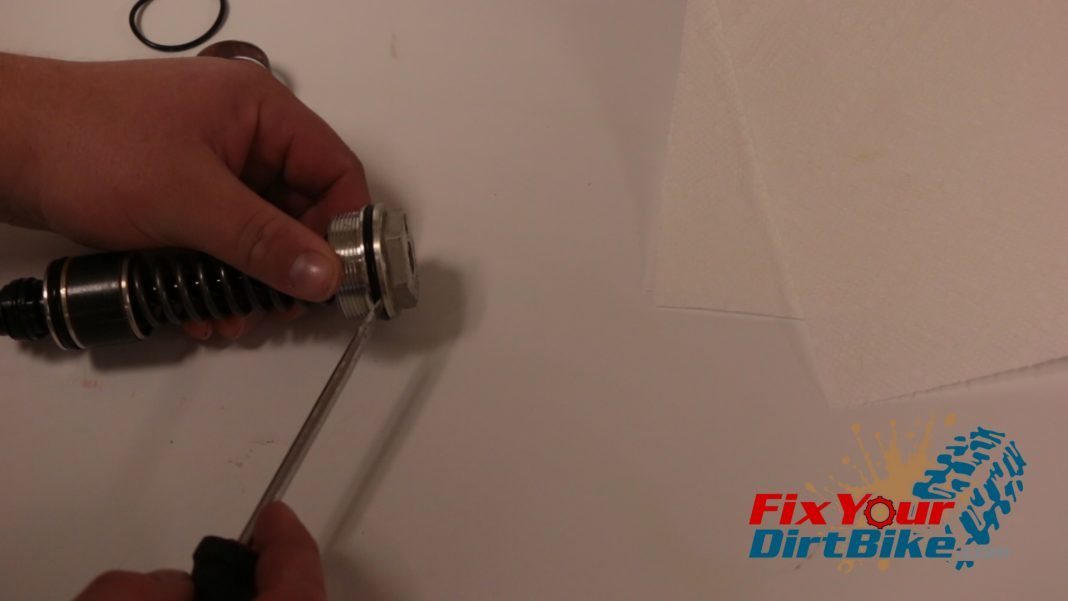
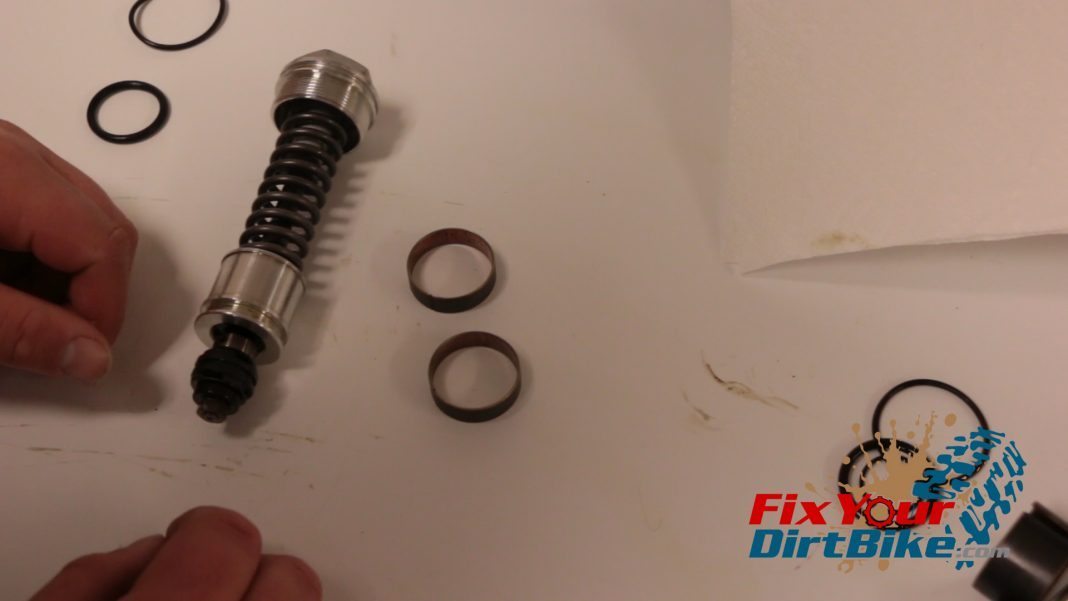
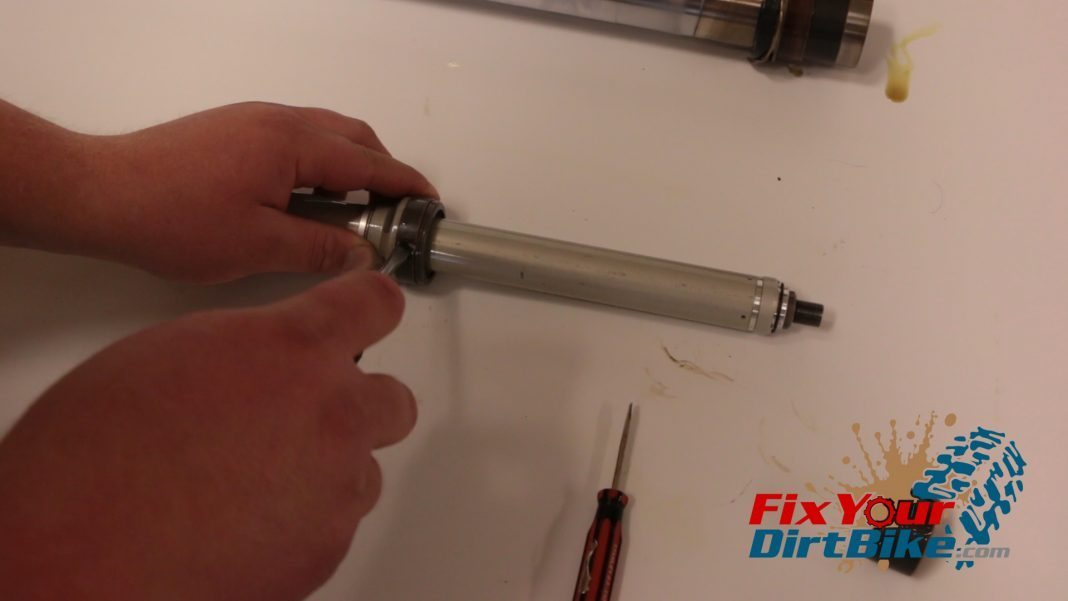
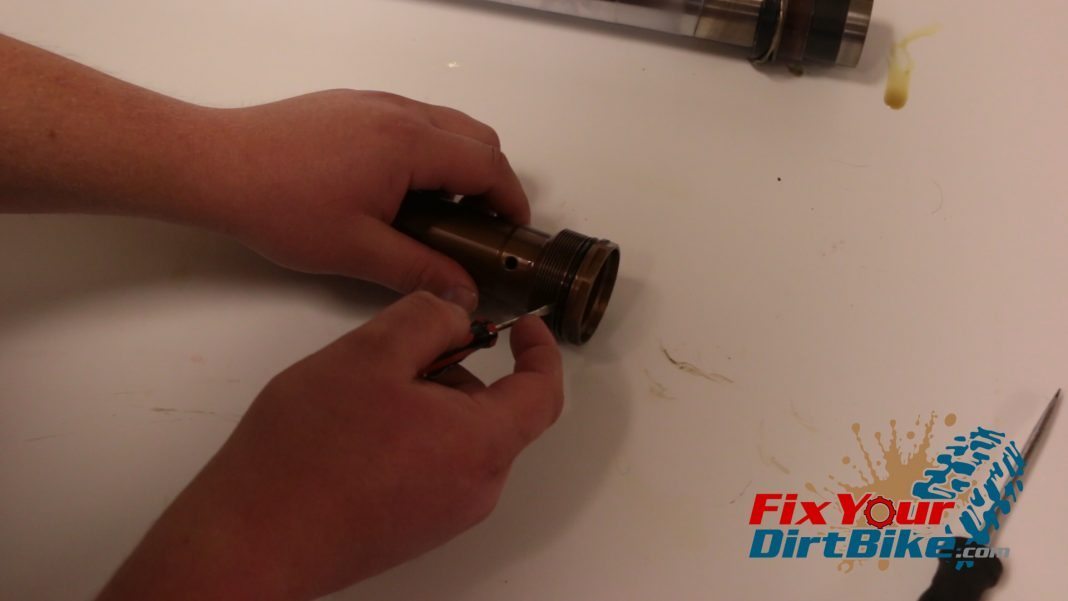
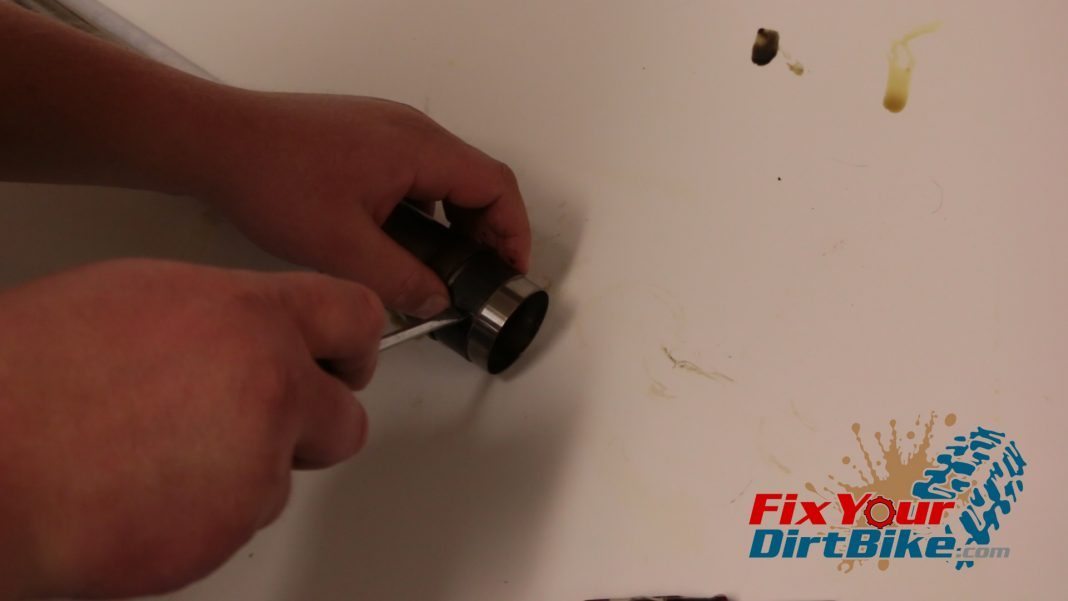
- Step 17: Remove old O-rings and bushing from the fork cap assembly.
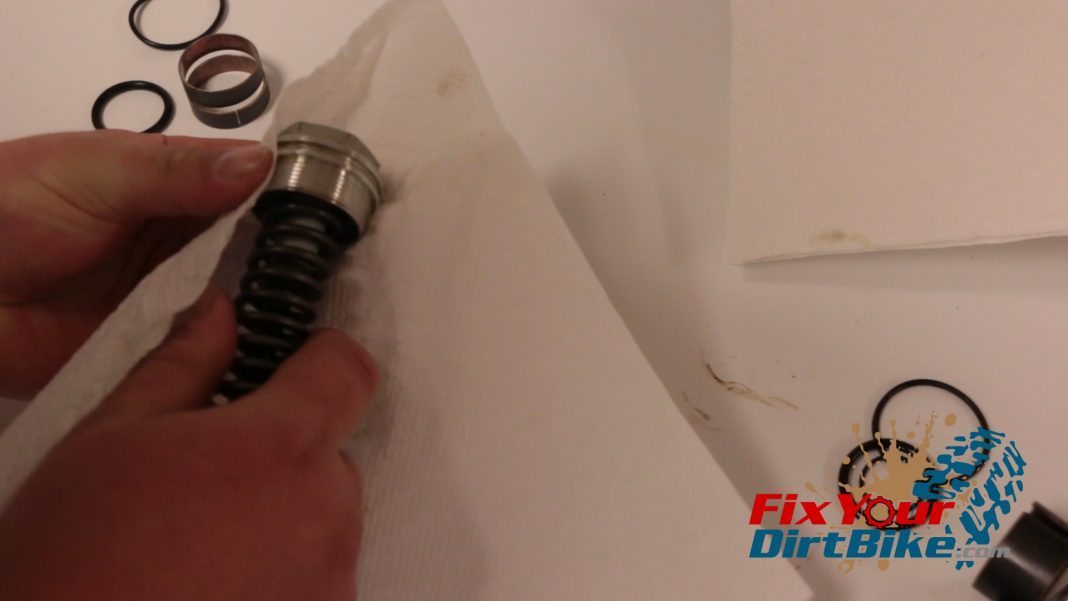
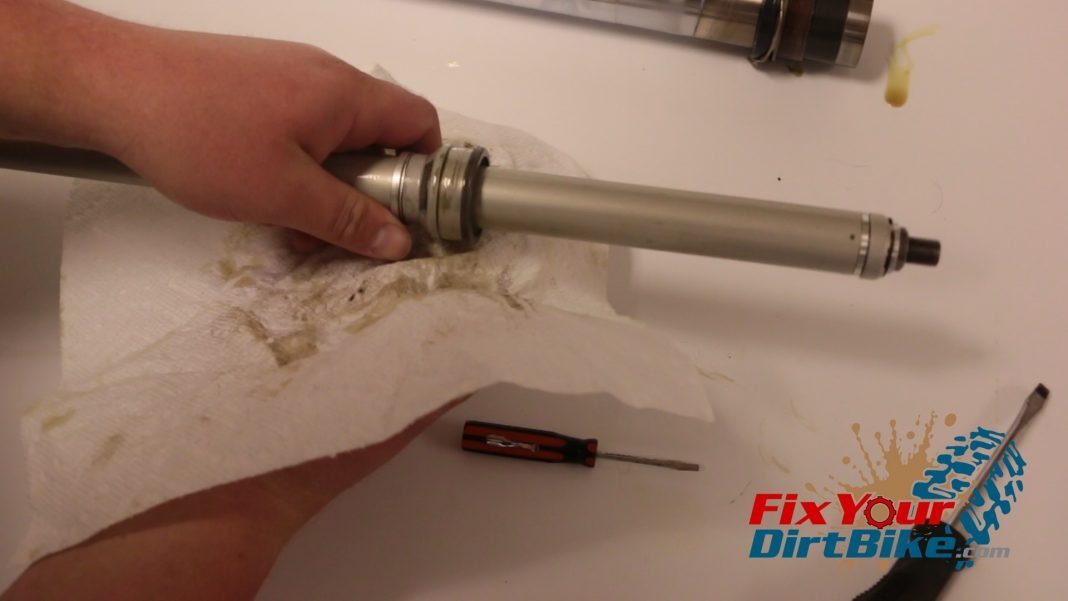
- Step 18: Clean and inspect the fork cap assembly.
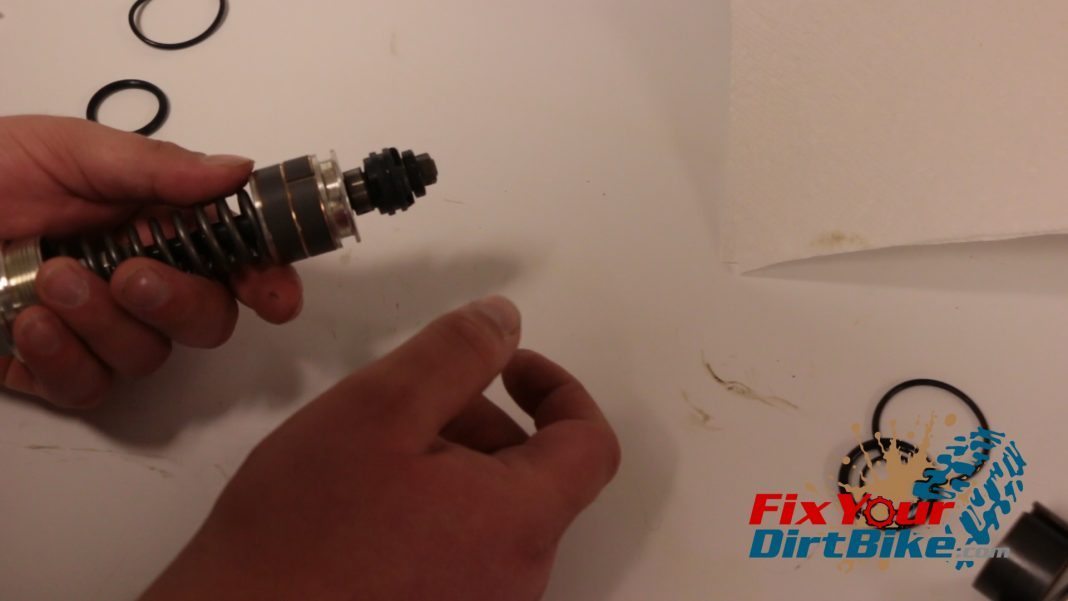
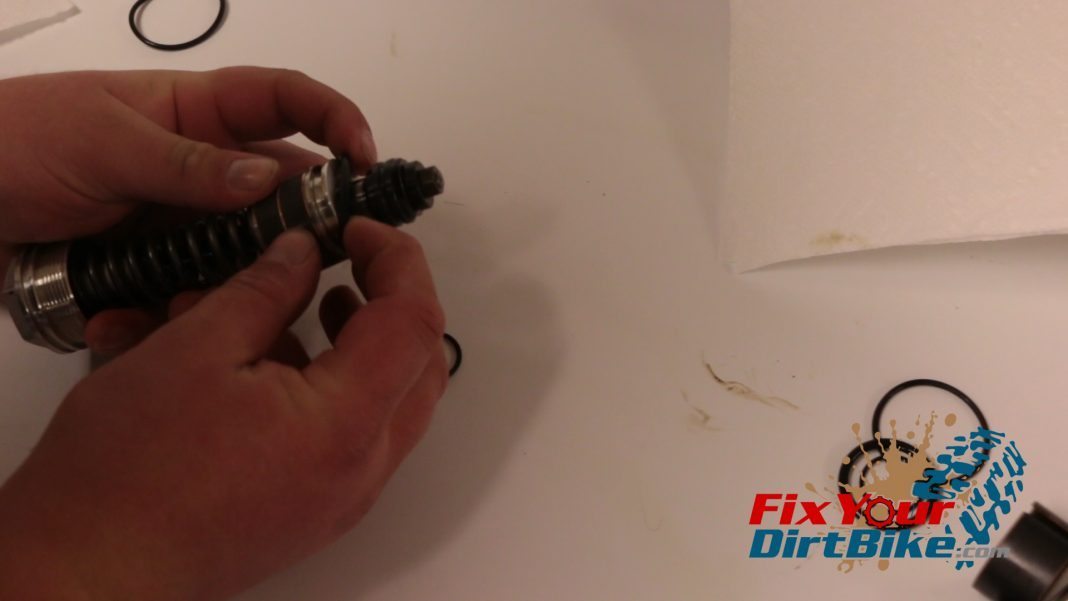
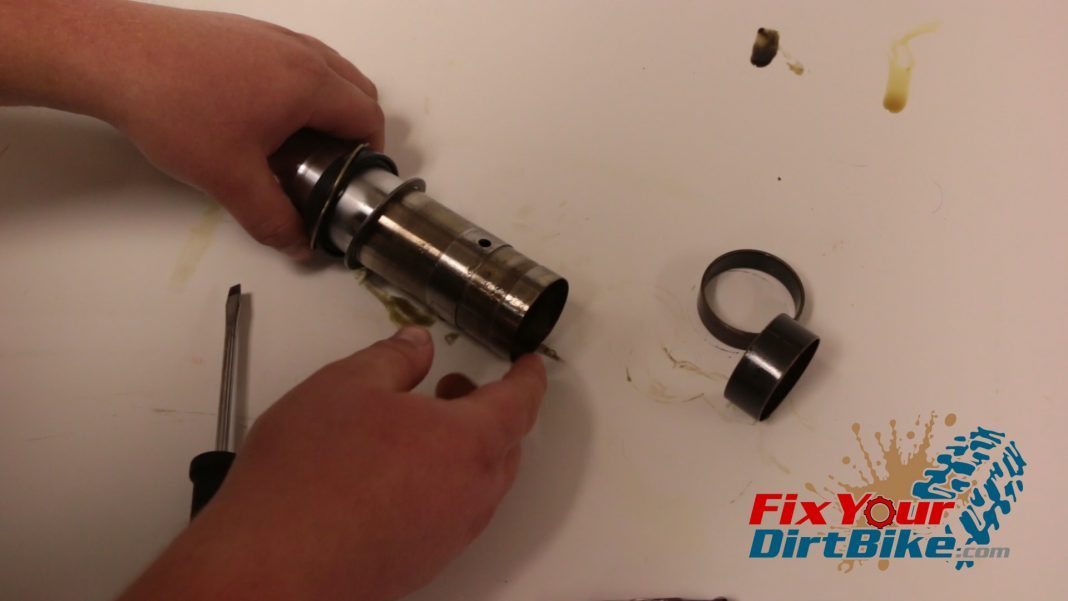
- Step 19: This fork kit does not come with one big bushing. Instead, it comes with two small bushings that equal the size of the old bushing.
- Step 20: Set fork cap assembly bushing seams on opposite sides to prevent oil seepage.
- Step 21: Install new O-rings.
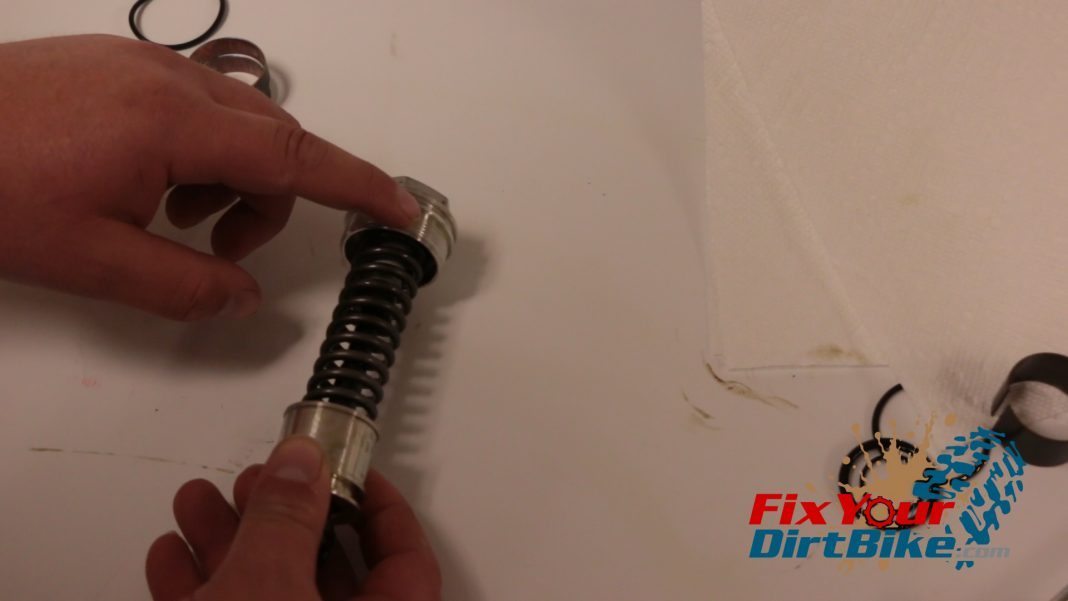
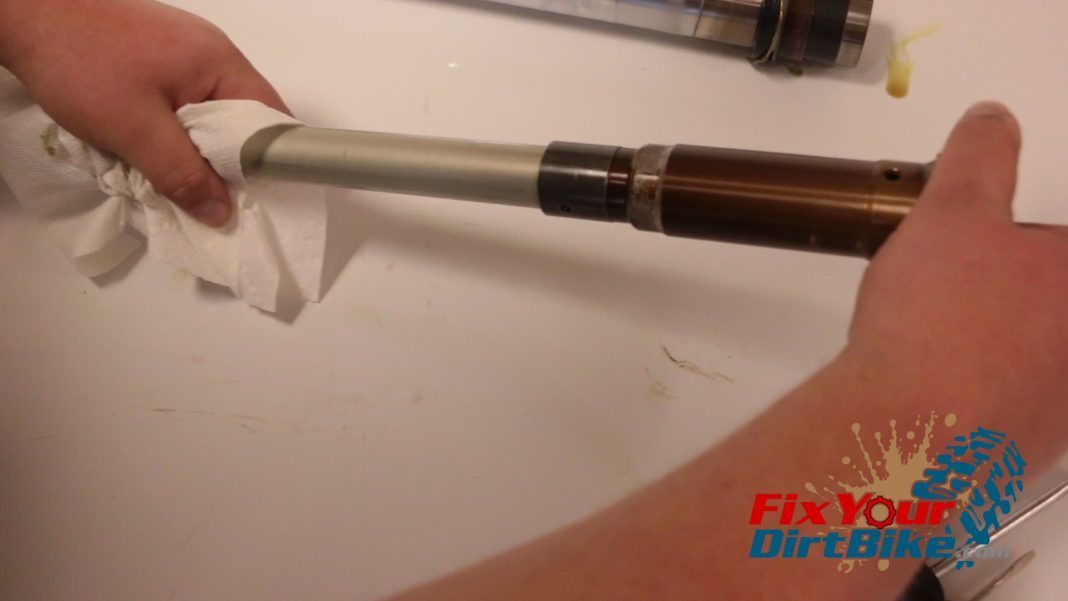
- Step 22: Clean and inspect the fork compression unit (damper).
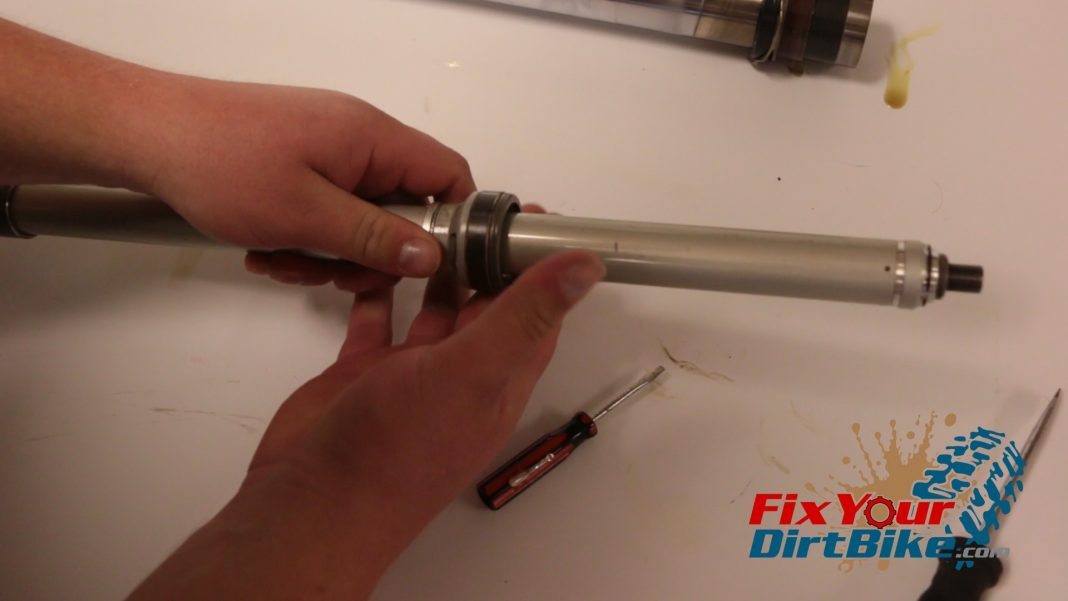
- Step 23: Remove the compression unit bushing.
- Step 24: Clean compression unit bushing groove.
- Step 25: Install new compression unit bushing.
- Step 26: Remove and replace compression unit O-ring.
- Step 27: Remove the fork slider bushing from the slider tube.
- Step 28: Remove other fork seals and bushings.
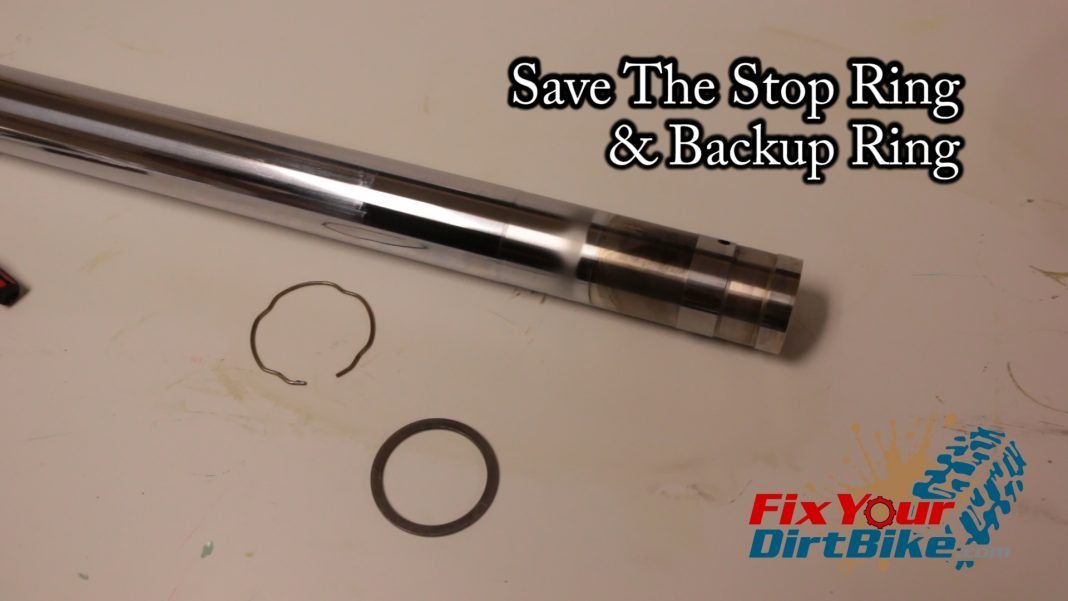
- Step 29: Save the stop ring and backup ring.
Related: Is it time to rebuild your rear suspension swingarm? Here’s how to do it!
Front Fork Assembly
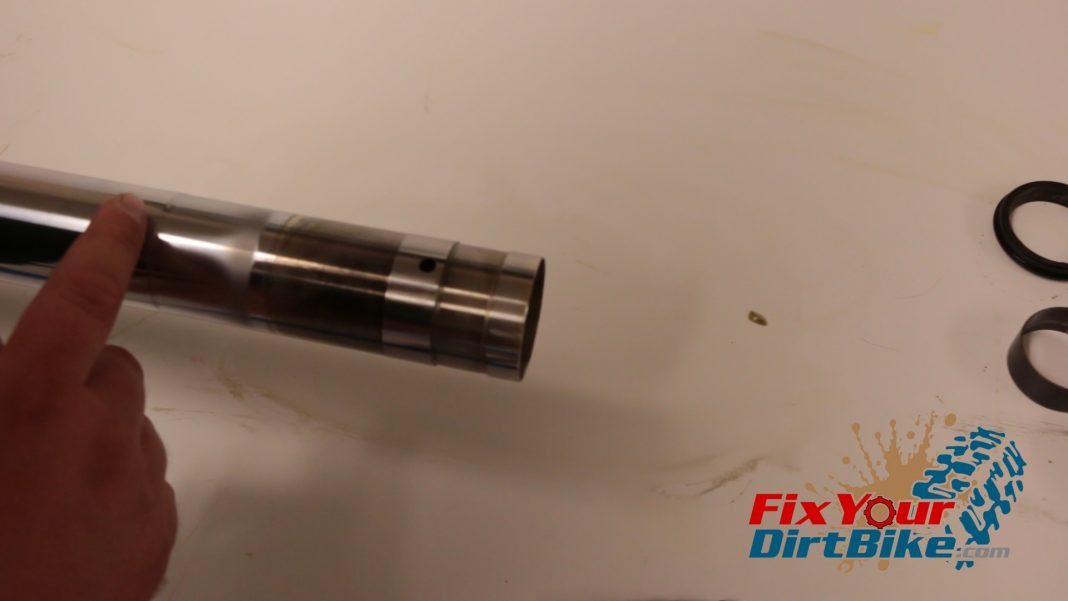
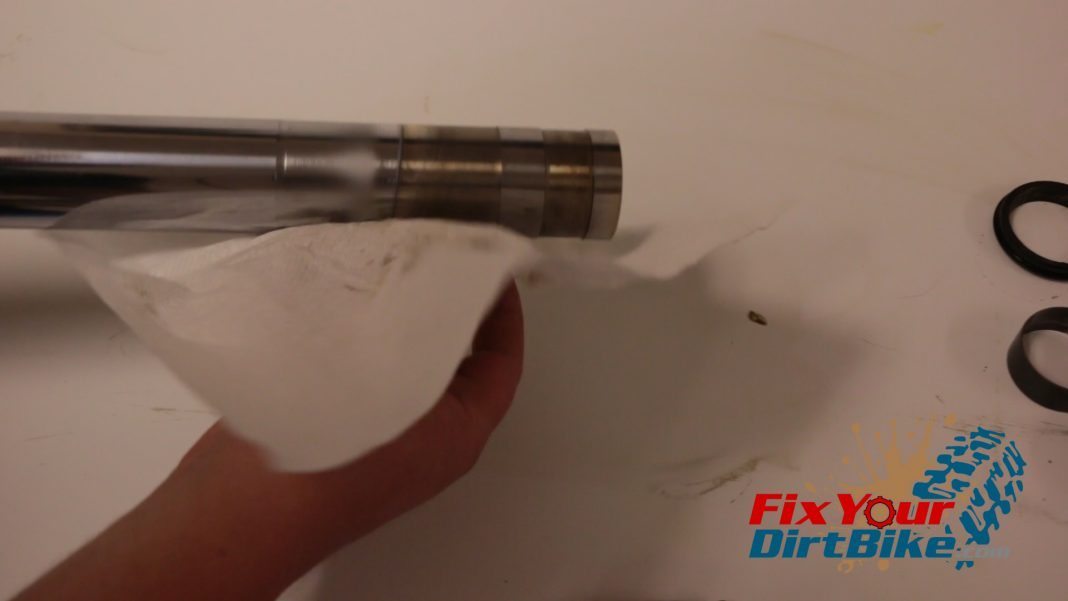
- Step 30: Clean and inspect the fork slider.
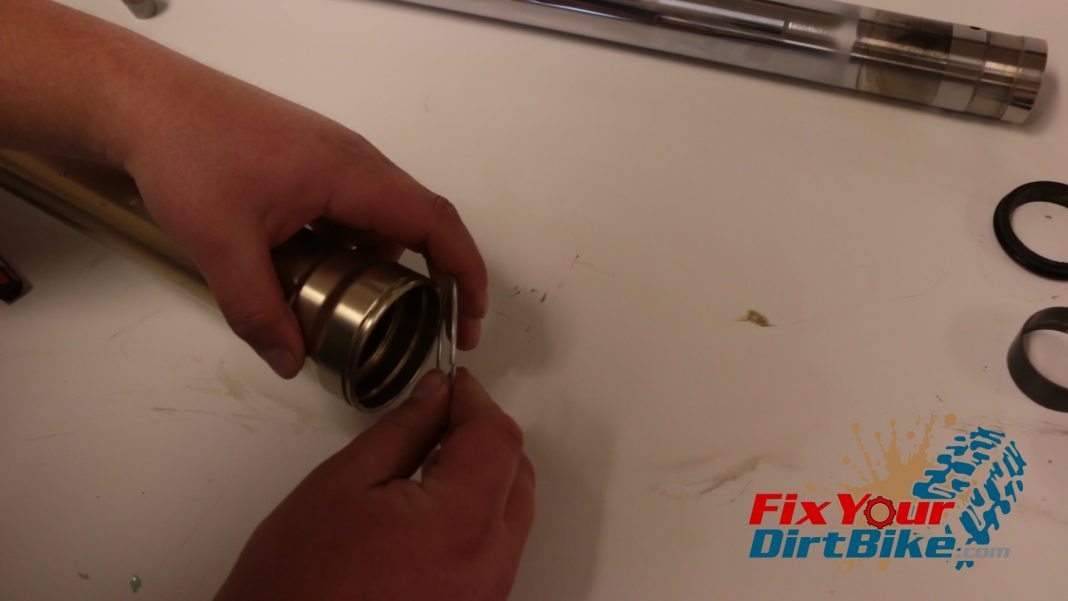
- Step 31: Remove and replace the outer ring.
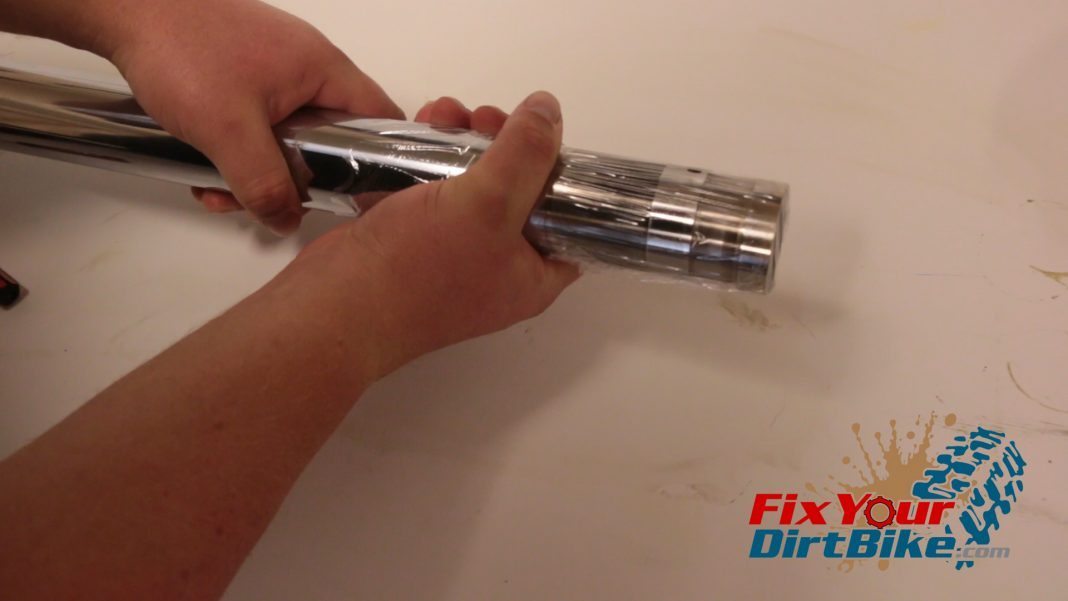
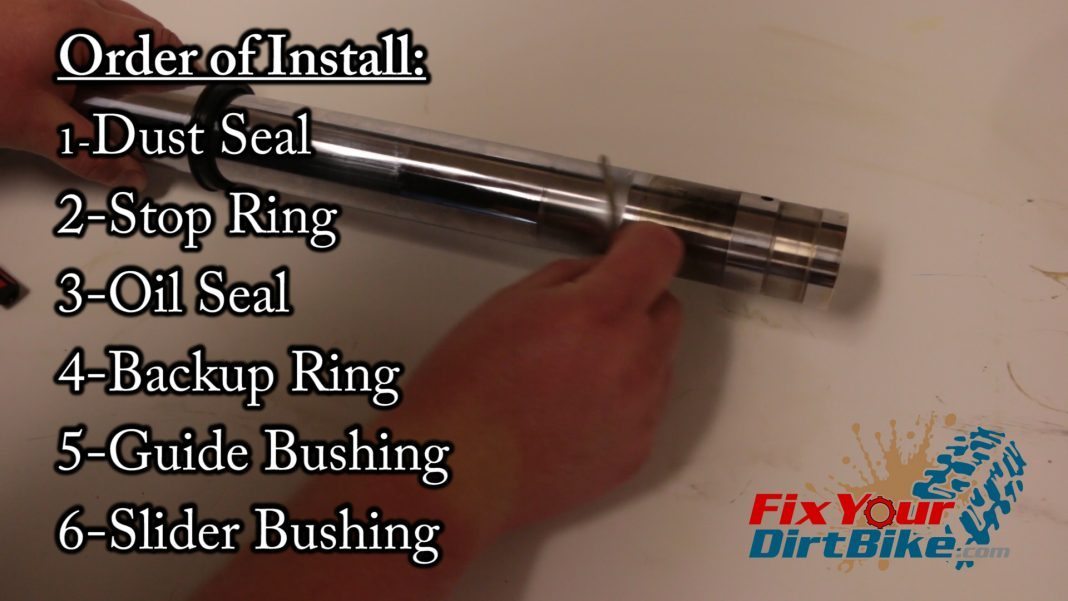
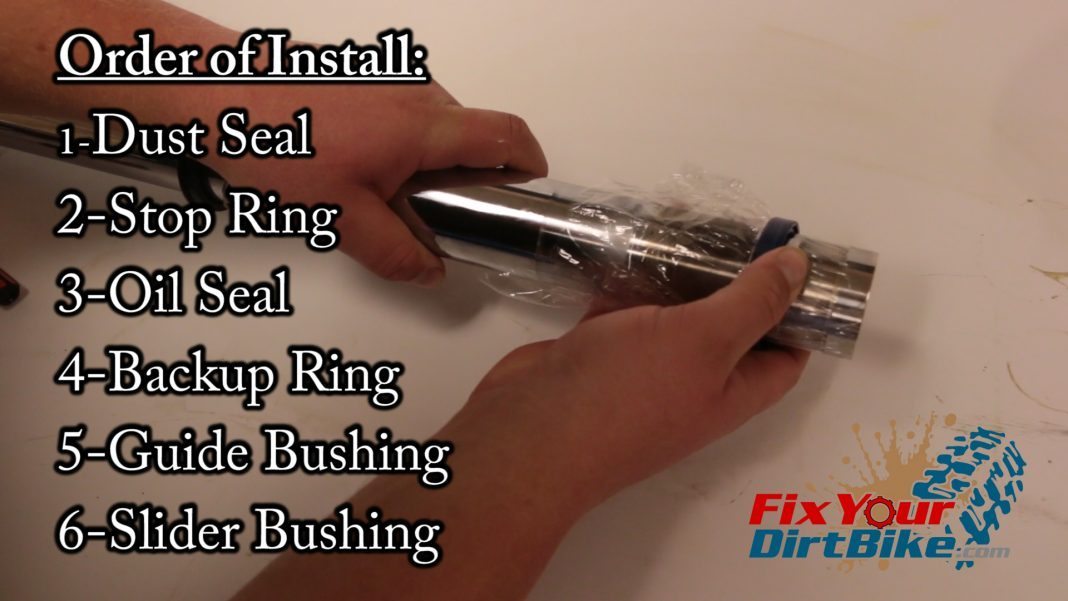
- Step 32: Wrap the fork slider tube in plastic wrap.
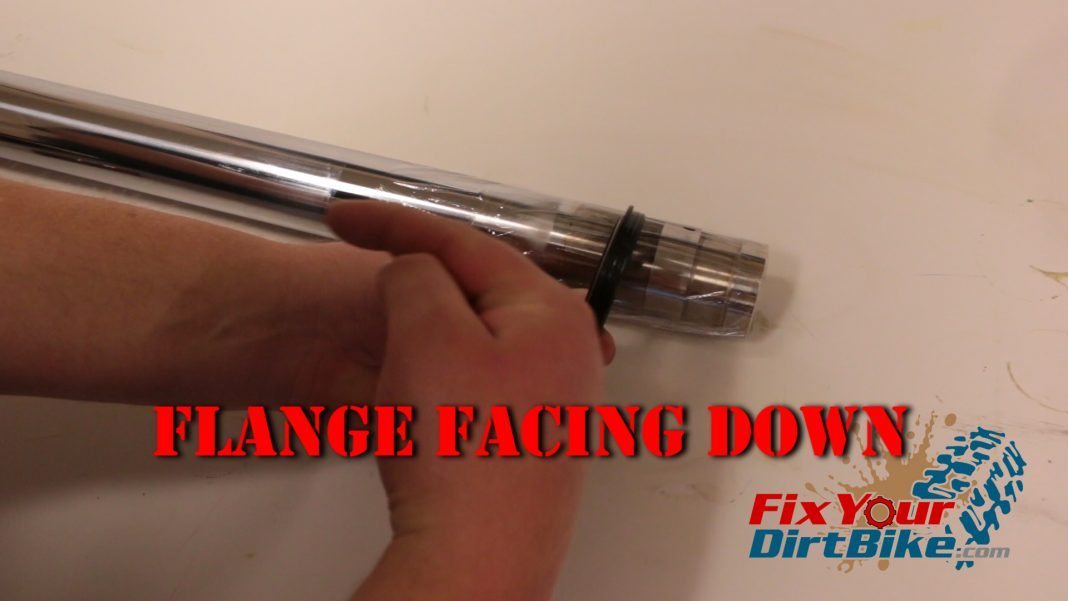
- Step 33: Make sure the dust seal flange is facing down.
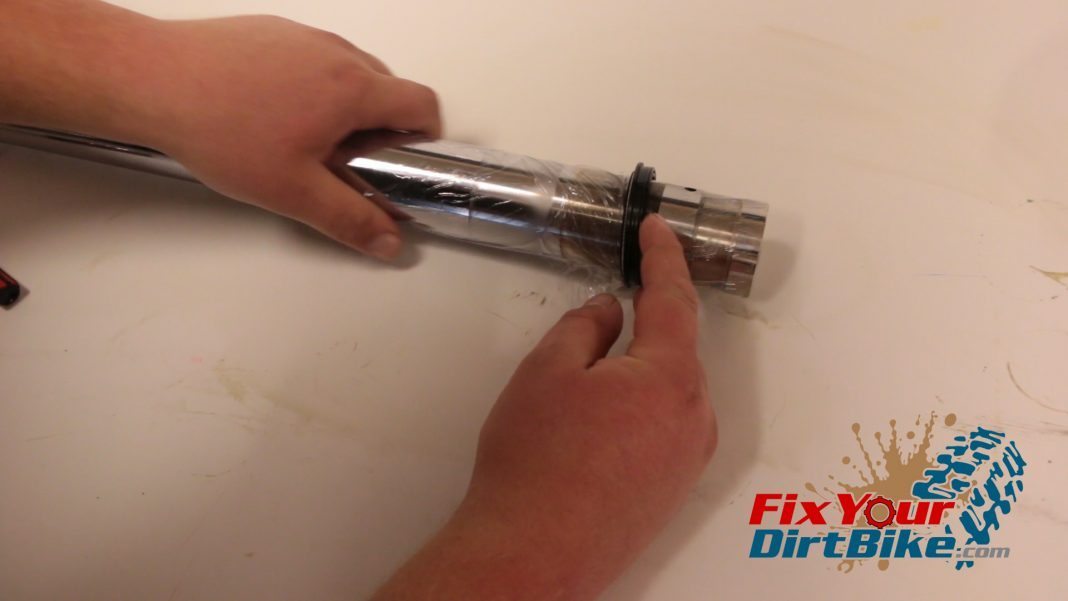
- Step 34: Install the dust seal.
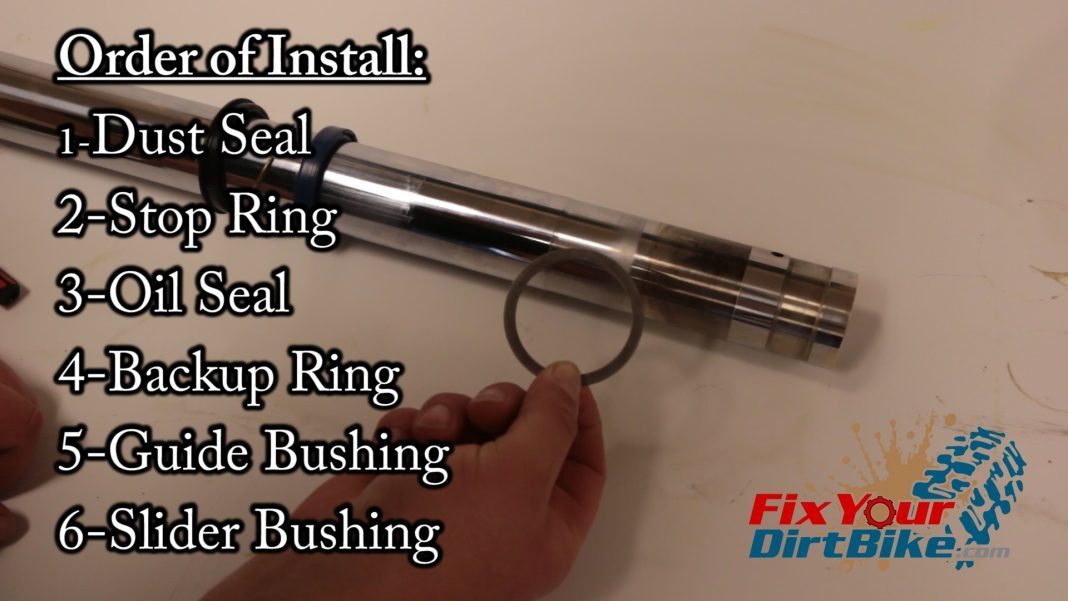
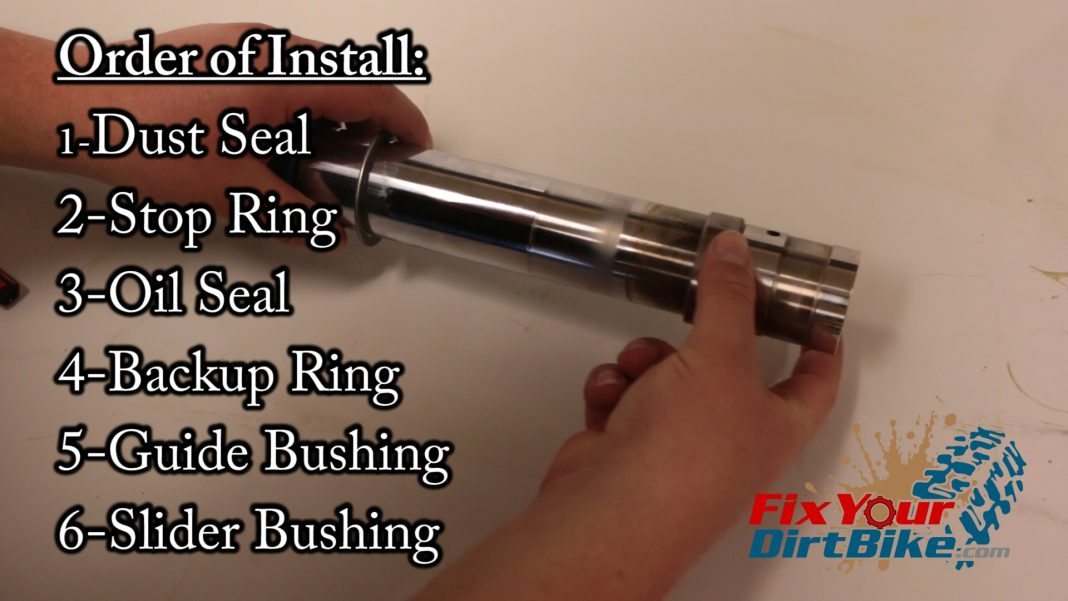
- Step 35: Install the stop ring.
- Step 36: Oil seal directions.
- Step 37: Install the fork oil seal.
- Step 38: Install a backup ring.
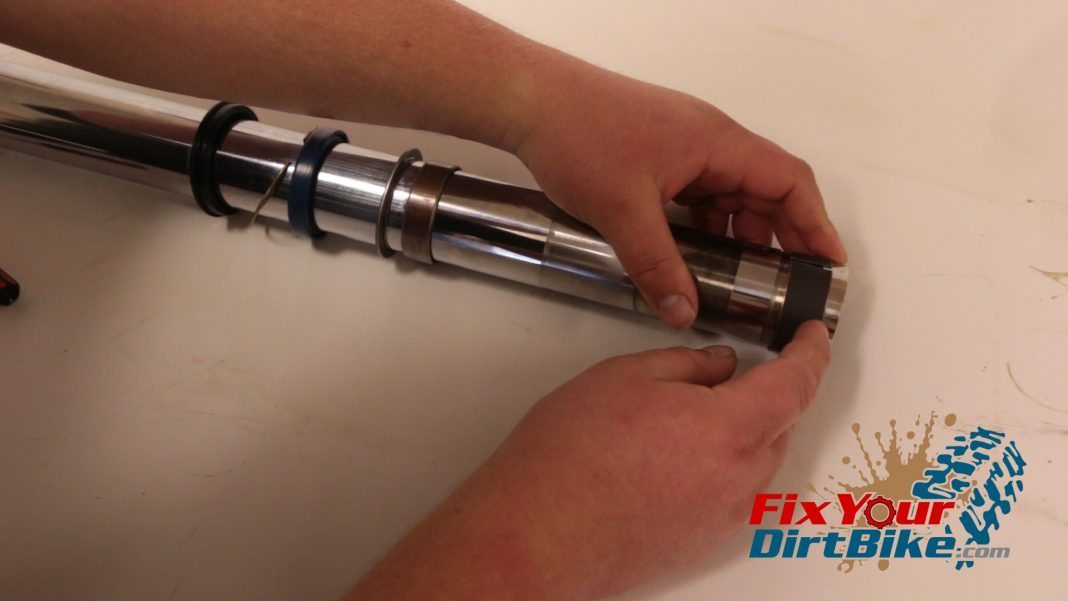
- Step 39: Install guide bushing.
- Step 40: Install fork slider bushing.

If you have any questions or anything to add, please leave them in the comments or on our Facebook page!
97-01 Honda CR250 Front Fork Part 3: Assembly →
Keep Your ’97-’01 CR250 Running Right!
- Service Specification
- Clutch Replacement
- Carburetor Service
- Engine Top End
- Engine Bottom End
- Brakes
- Exhaust
- Front Suspension
- Rear Suspension
- Wheels & Tires
- Kickstarter Inspection
- External Shift Linkage

