1997-2001 Honda CR250 External Shift Linkage Maintenance Part 2: Inspection

0
46
1997-2001-honda-cr250-external-shift-linkage-web-thumb

This is PART 2 of the full step-by-step external shift linkage inspection for your 1997-2001 Honda CR250 Dirt Bike.

You can find Part 1: Removal here, and Part 3: Installation here.

You Can Get Parts And Tools Through Our Partner Links HERE!

Honda CR250 External Shift Linkage Inspection

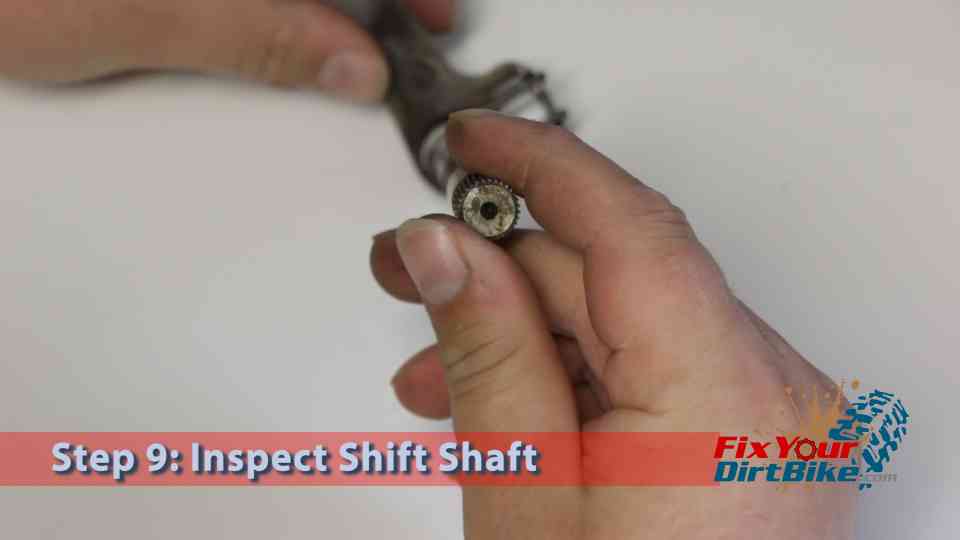
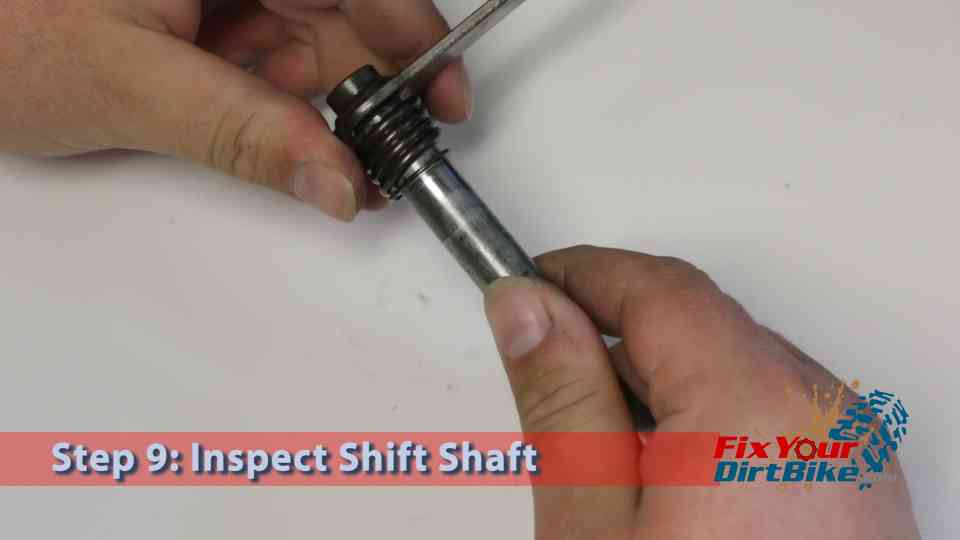
  • Step 9: Inspect the shift shaft.
    • Check the shaft for bend or uneven wear.
    • Check the shift lever splines for pits or cracks.
    • If the spring and snap ring are tight, leave them on the shaft, if they are loose, replace them.
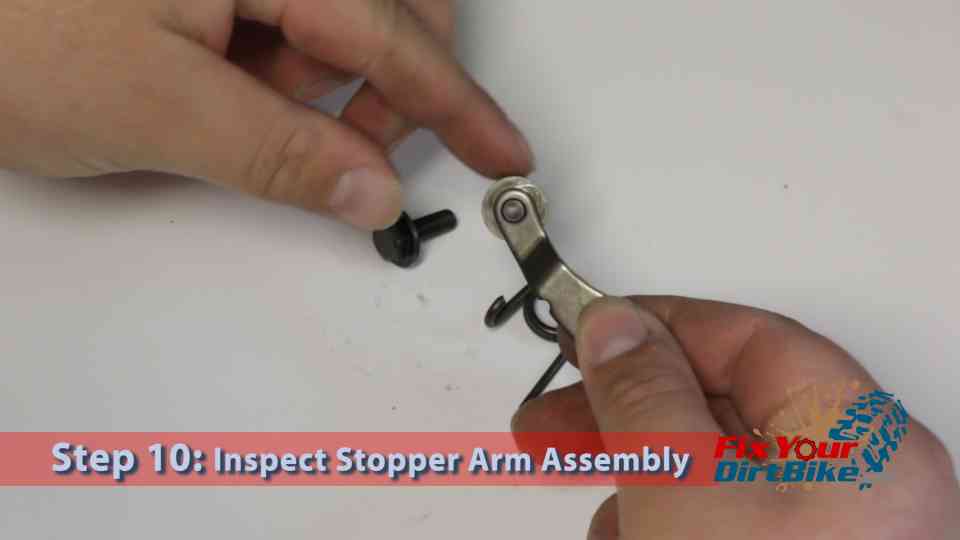
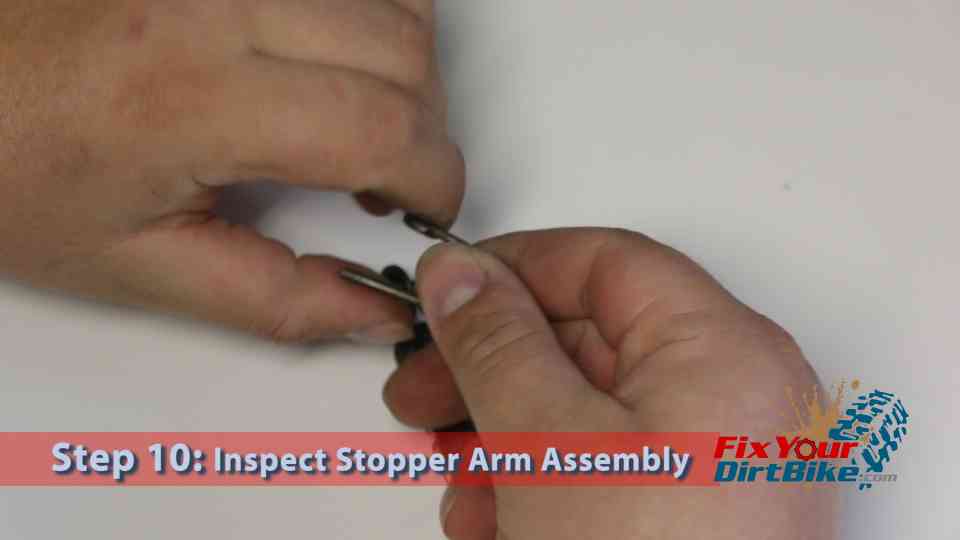
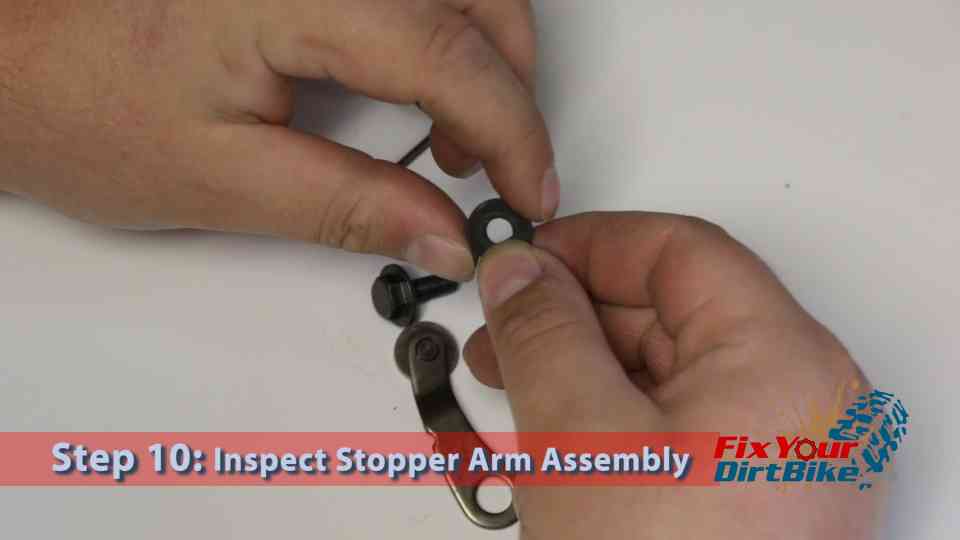
  • Step 10: Inspect the stopper assembly components.
    • Check the stopper arm for bends or cracks.
    • Test the stopper wheel for smooth operation.
    • Check the stopper spring for tension, fractures or uneven wear.
    • Ensure the washer is still flat and smooth.
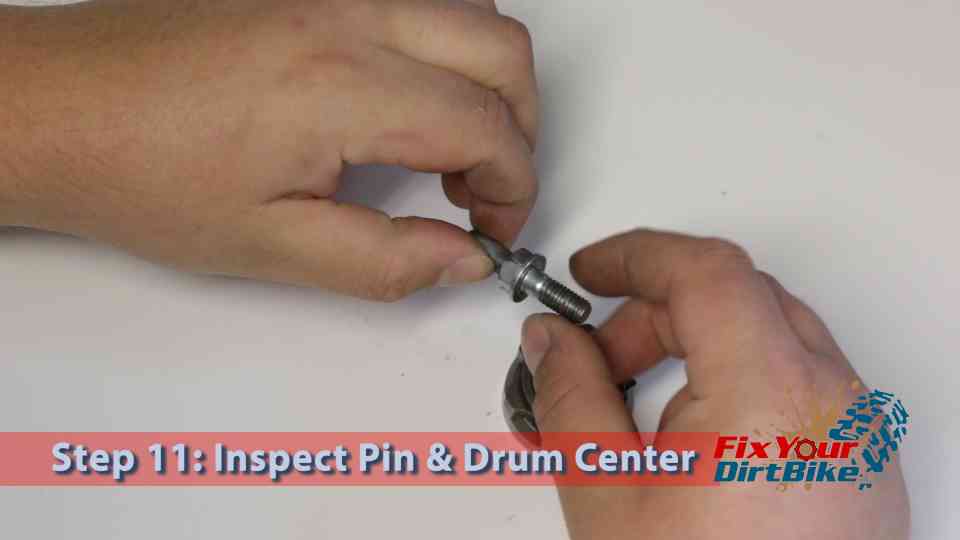
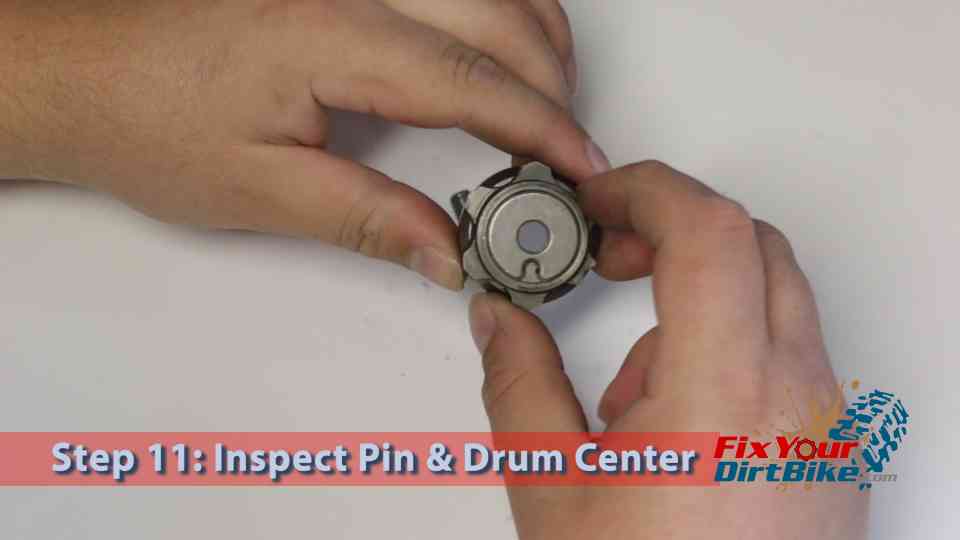
  • Step 11: Inspect the shifter drum and center pin.
    • Check the center pin for bends and the threads for stripping.
    • Check the drum for signs of excessive wear.  If any parts of the drum are worn, it will not operate properly.
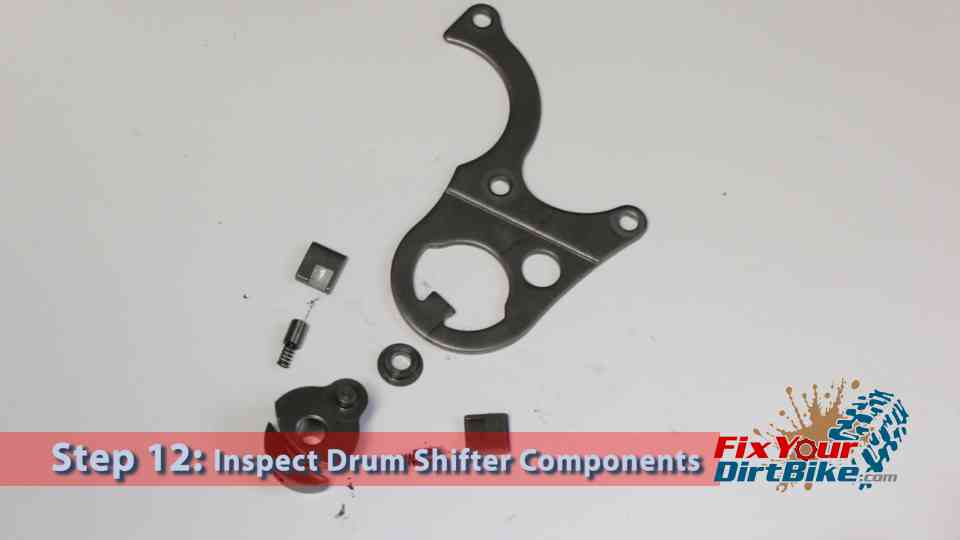
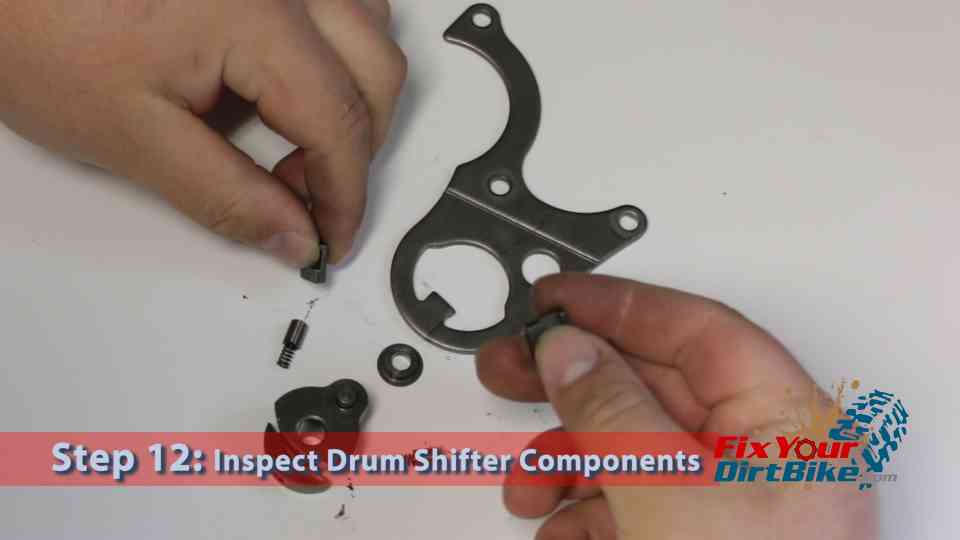
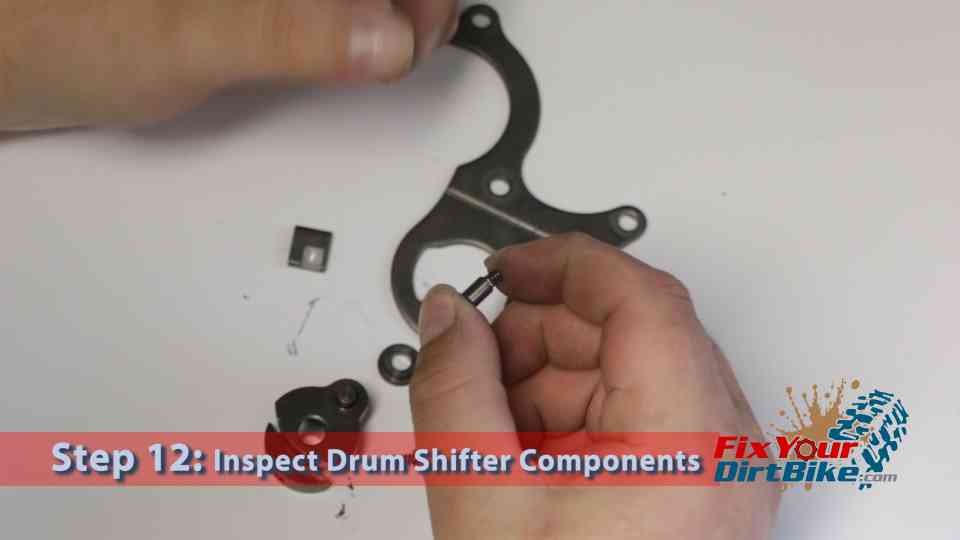
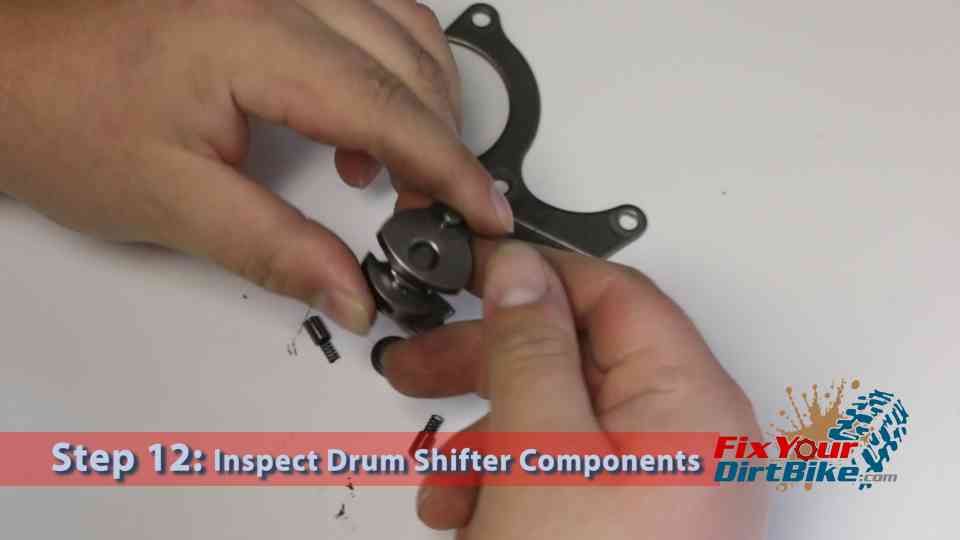
  • Step 12: Inspect the guide plate and drum shifter components.
    • Check the pawls, springs, plungers and drum shifter body for wear. If these components are worn in any way they will need to be replaced.
    • Check the guide plate for warping, cracks, or any signs of fatigue.
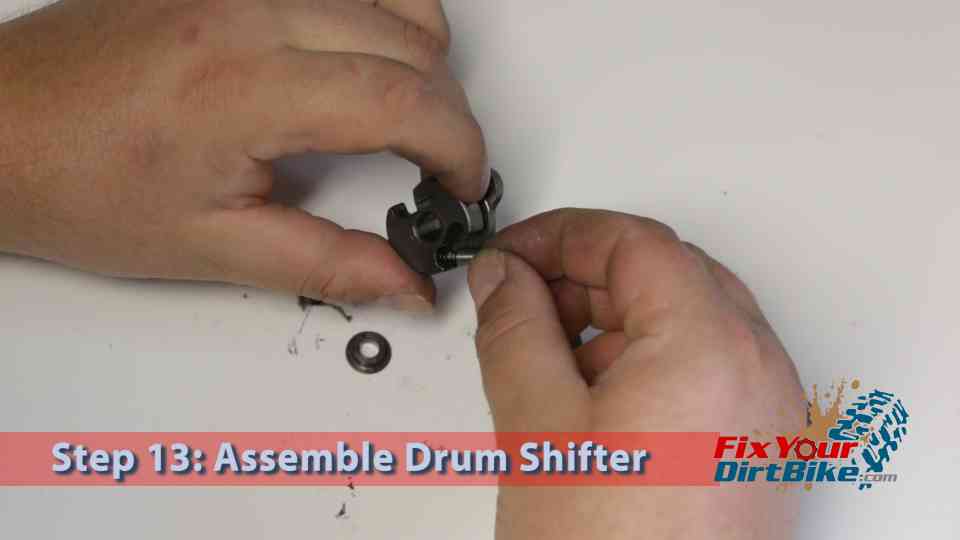
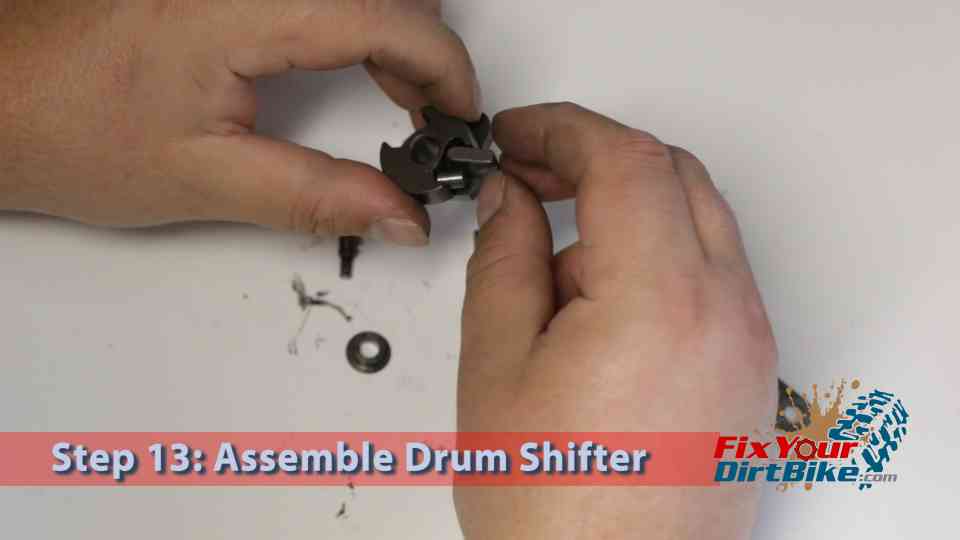
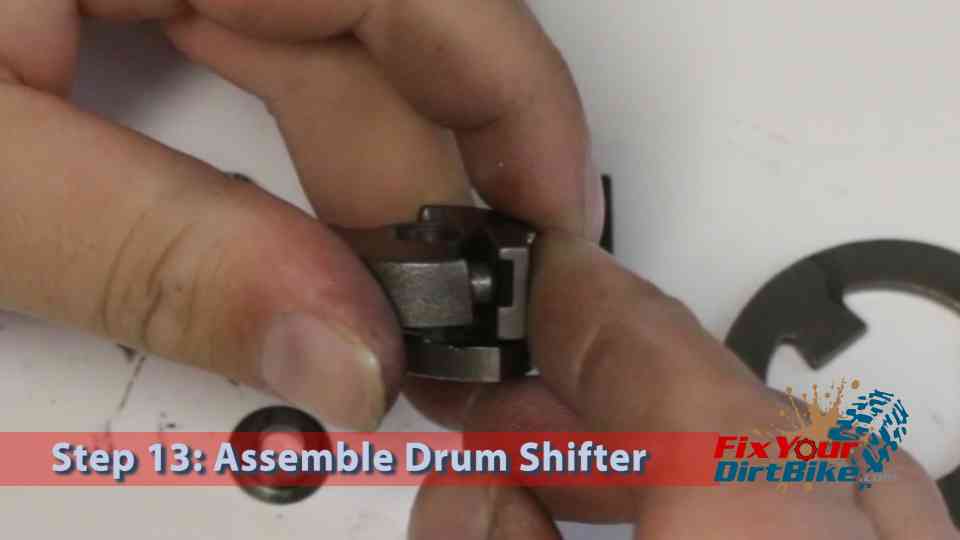
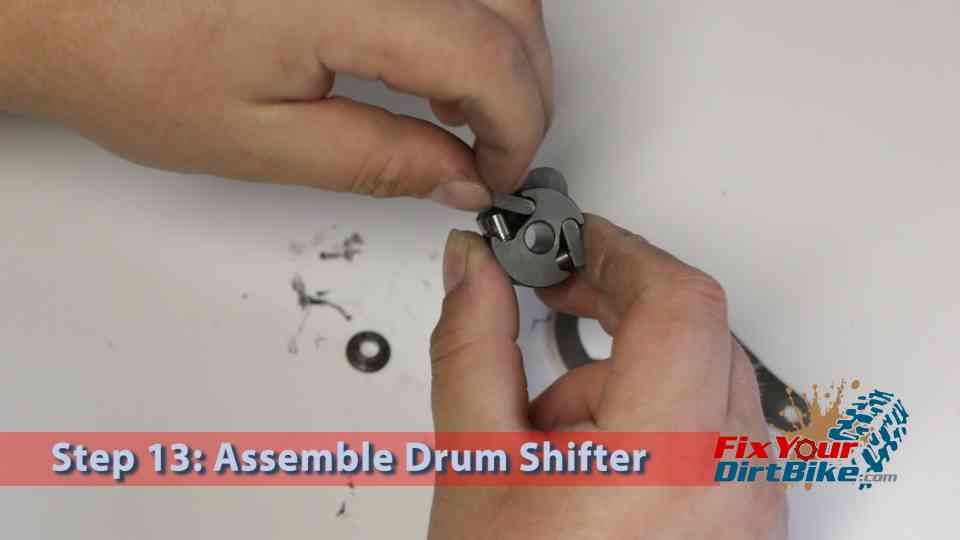
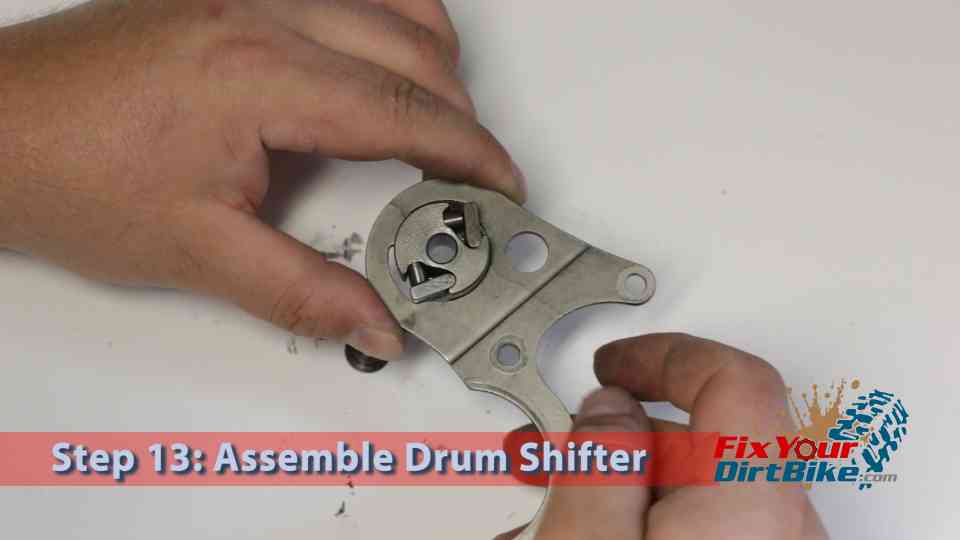
  • Step 13: Assemble the drum shifter.
    • Install the plunger and spring into drum shifter body.
    • Install the pawl with the round end in the drum shifter body, make sure the groove pushes against the plunger.
    • Repeat on the opposite side.
    • Install the drum shifter into the guide plate, the drum shifter assembly should not move with the pawls extended.
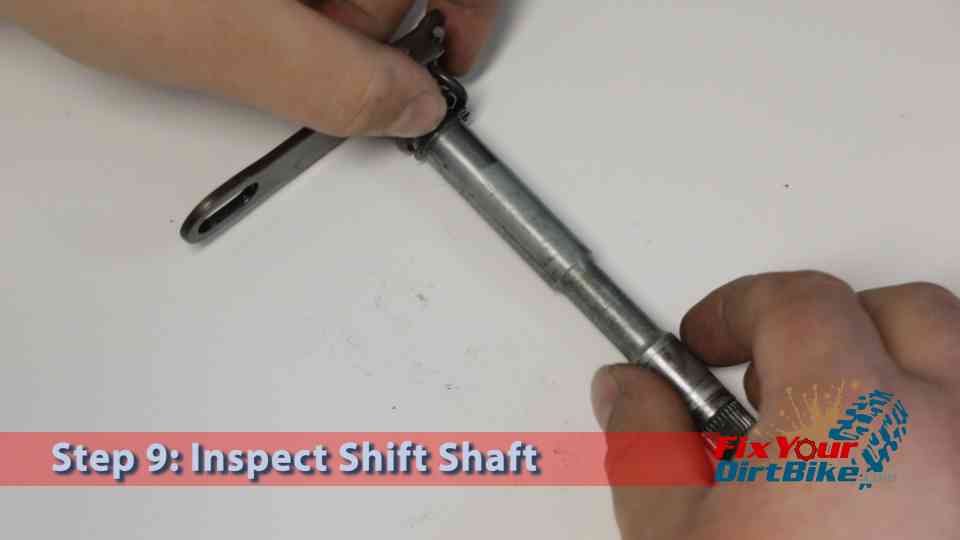
Step 9: Inspect the shift shaft: Check the shaft for bend or uneven wear
Check the shift lever splines for pits or cracks
If the spring and snap ring are tight, leave them on the shaft, if they are loose, replace them
Step 10: Inspect the stopper assembly components: Check the stopper arm for bends or cracks Test the stopper wheel for smooth operation
Check the stopper spring for tension, fractures or uneven wear
Ensure the washer is still flat and smooth
Step 11: Inspect the shifter drum and center pin. Check the center pin for bends and the threads for stripping
Check the drum for signs of excessive wear.  If any parts of the drum are worn, it will not operate properly
Step 12: Inspect the guide plate and drum shifter components:
Check the pawls, springs, plungers and drum shifter body for wear.
If these components are worn in any way they will need to be replaced.
Check the guide plate for warping, cracks, or any signs of fatigue
Step 13: Assemble the drum shifter:
Install the plunger and spring into drum shifter body
Install the pawl with the round end in the drum shifter body, make sure the groove pushes against the plunger
Repeat on the opposite side.
Install the drum shifter into the guide plate, the drum shifter assembly should not move with the pawls extended.
If you have any questions or anything to add, please leave them in the comments or on our FaceBook page!

 97-01 Honda CR250 External Shift Linkage Part 3: Installation →

Keep Your ’97-’01 CR250 Running Right!

Fix Your Dirt Bike Logo

This site uses Akismet to reduce spam. Learn how your comment data is processed.