This Honda CR250 Clutch Inspection is Part 2 of the step-by-step clutch maintenance for your 1997-2001 Honda CR250 Dirt Bike.
You can find Part 1: Removal here, and Part 3: Installation here.
You Can Get Parts And Tools Through Our Partner Links HERE!
You will need to reference the Service & Torque Specs table for the inspection process.
1997-2001 Honda CR250 Clutch Inspection
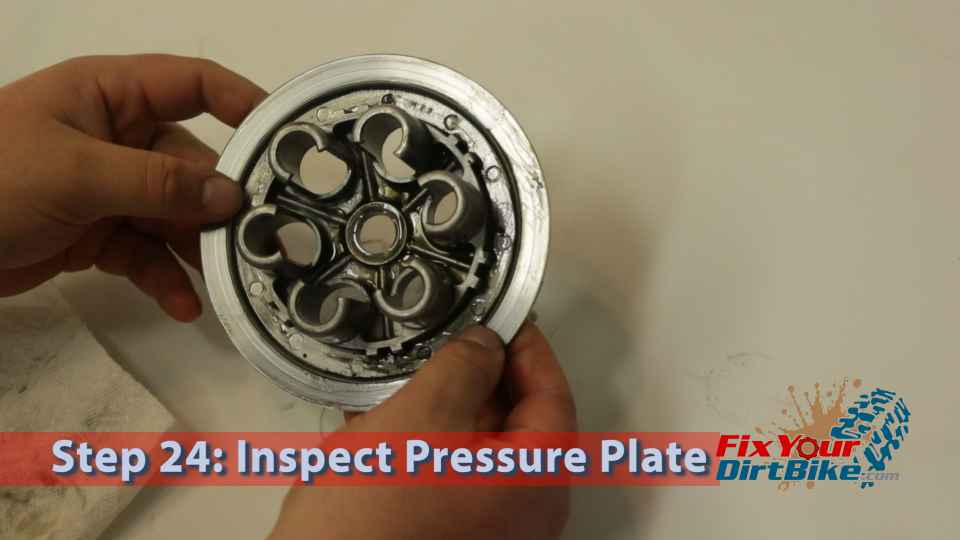
- Step 24: Inspect the pressure plate for warping, cracks, chipping, or any signs of excessive wear.
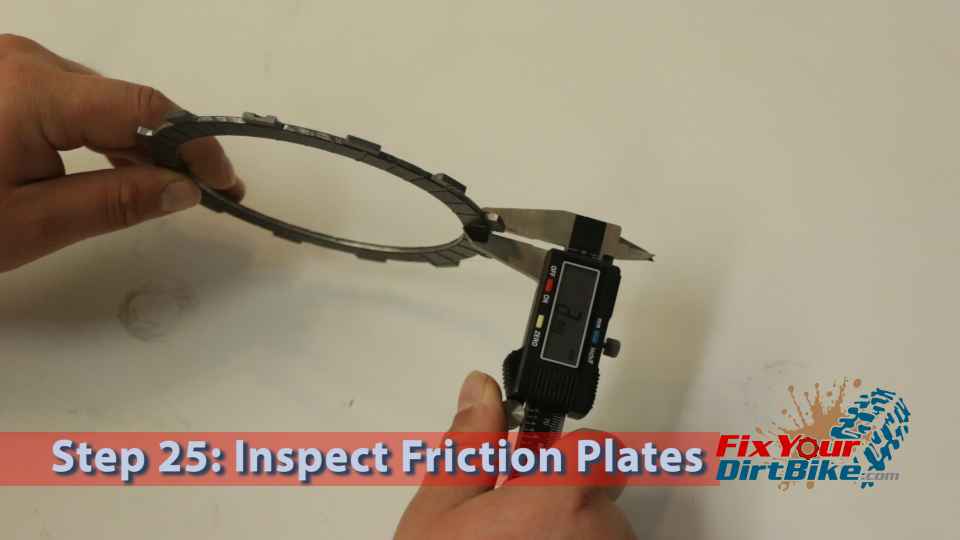
- Step 25: Measure the width of the friction plates with calipers. If they are out of spec (Service Limit 2.85mm), they need to be replaced.
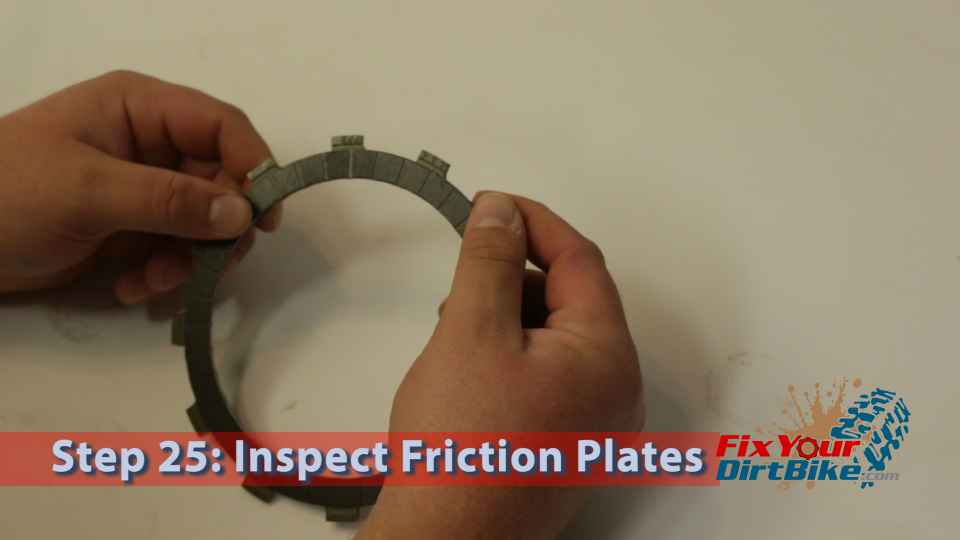
- If the plate is still within spec, check the friction plate tabs for breaks or chips.
- NOTE: You will need calipers. Fortunately, they don’t cost too much, and you can get some through our retail partners HERE.
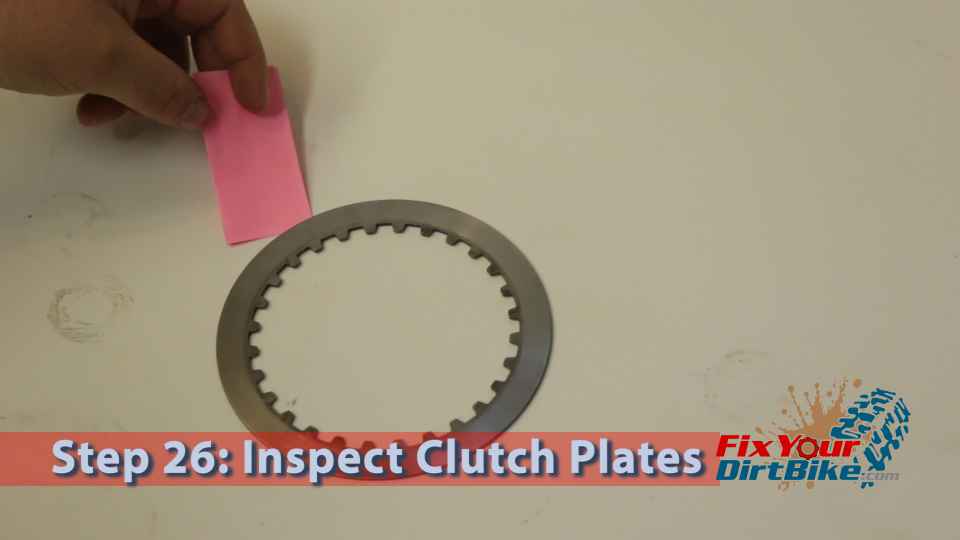
- Step 26: Place the clutch plate on a flat surface, use a piece of glass if you have one.
Fold a piece of paper and try to slide it under the plate.- If the paper slides under on opposite sides of the disc, it is out of spec.
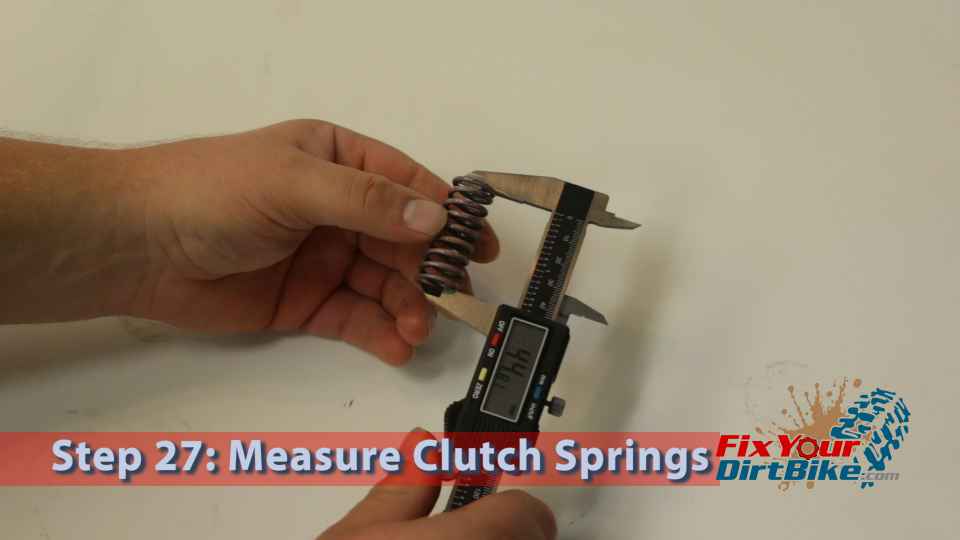
- Step 27: Measure the free length of the clutch springs (Service Limit 44.7mm).
- Hold the spring as lightly as possible while still maintaining a grip with your calipers to get the most accurate reading.
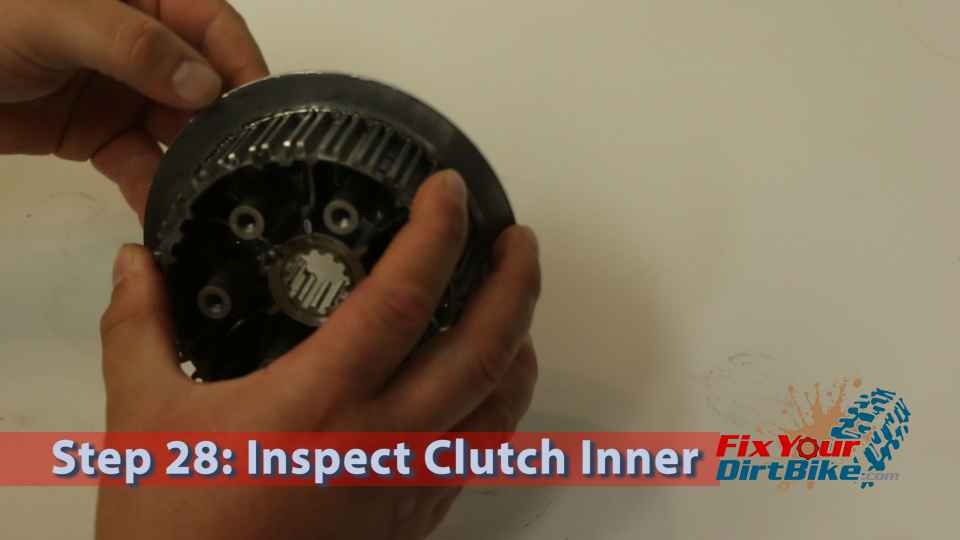
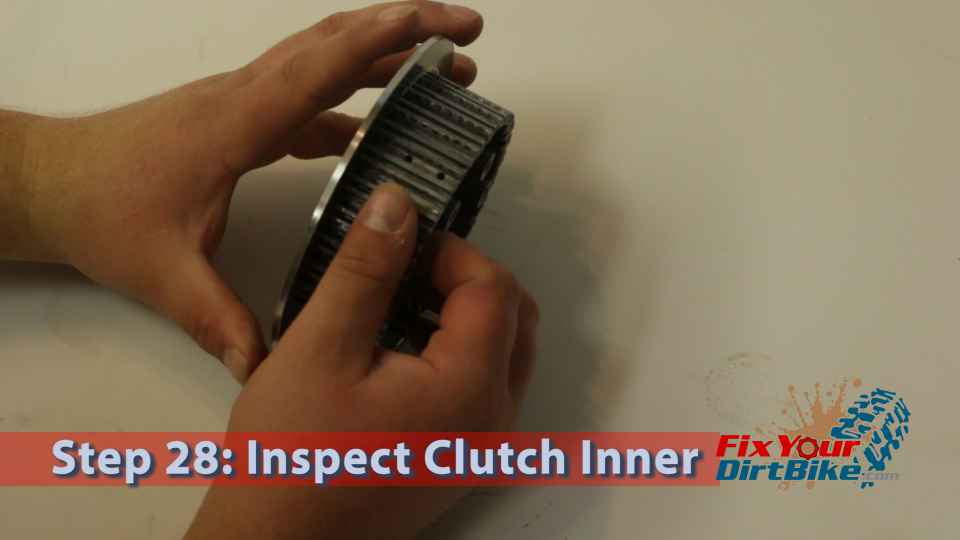
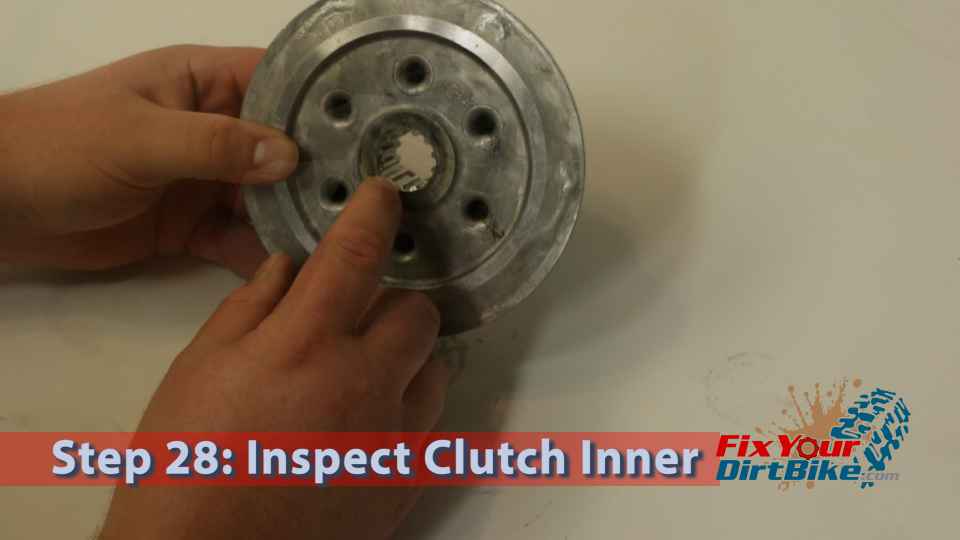
- Step 28: Check the clutch inner splines and teeth. The teeth will be worn where the clutch plates sit.
- This is normal wear and will not affect the clutch operation until it is excessively worn.
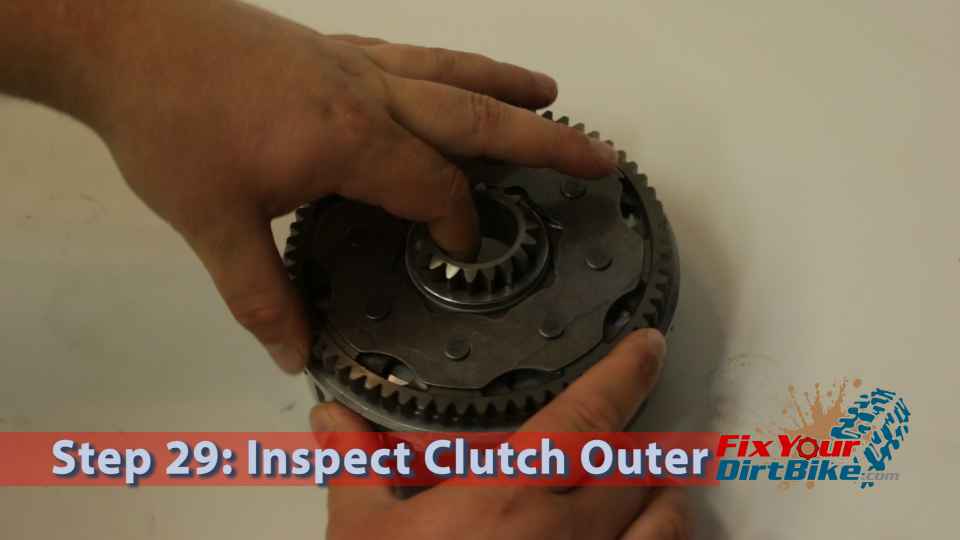
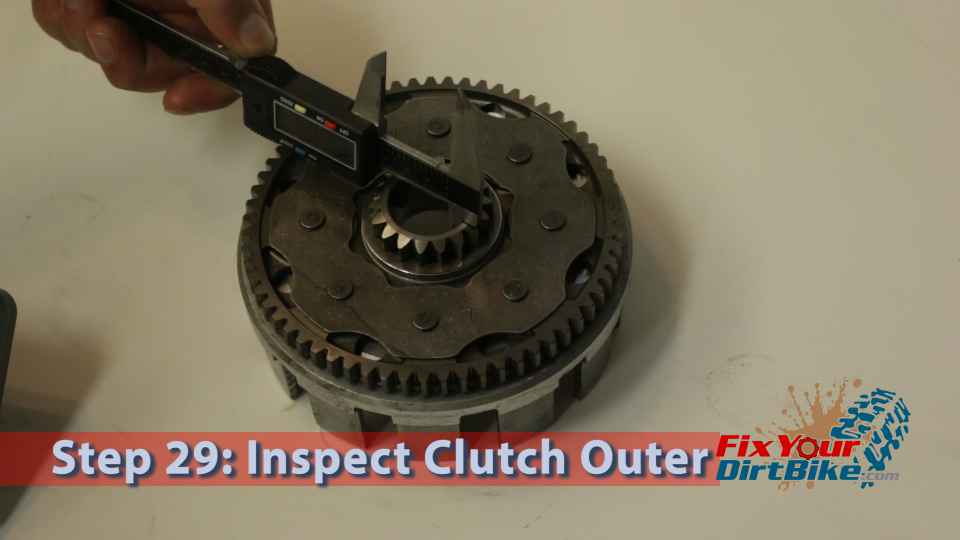
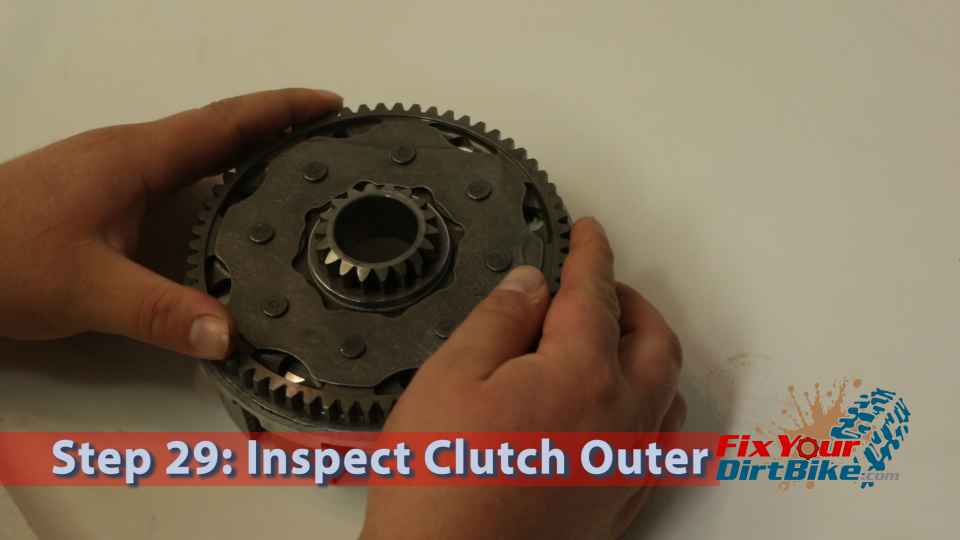
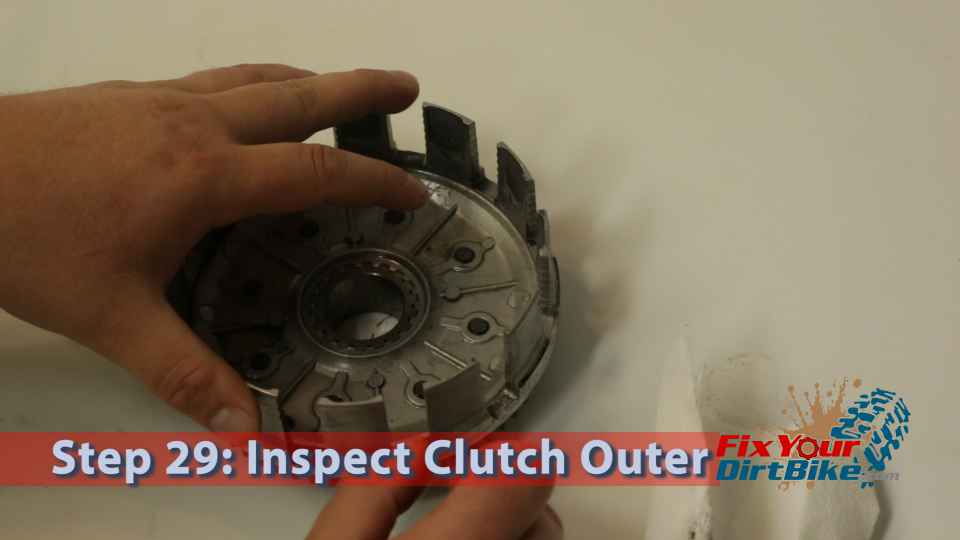
- Step 29: Inspect the clutch outer.
- Check the bore for cracks or burs
- Check the teeth for breaks or uneven wear
- Check the basket slots for smoothness. If you find burns or pits CAREFULLY use a file to remove them
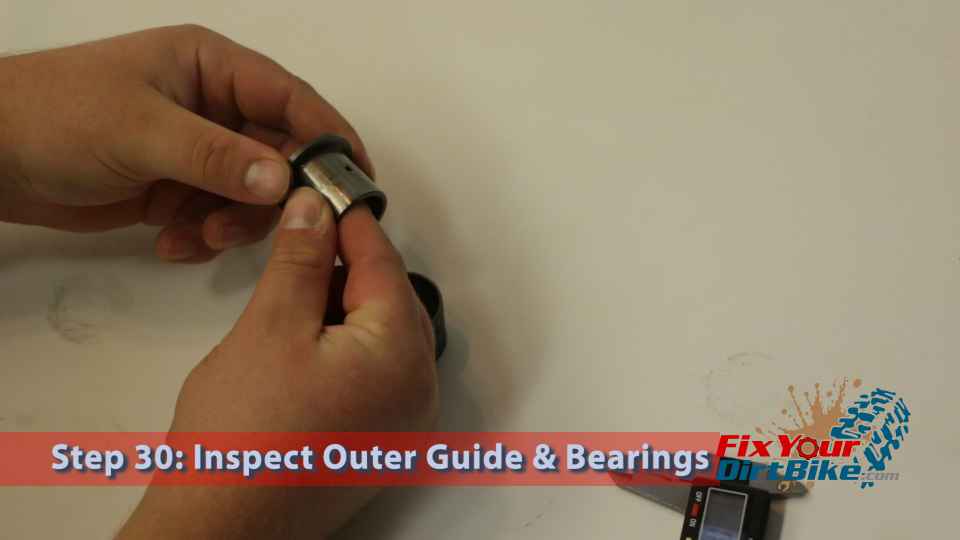
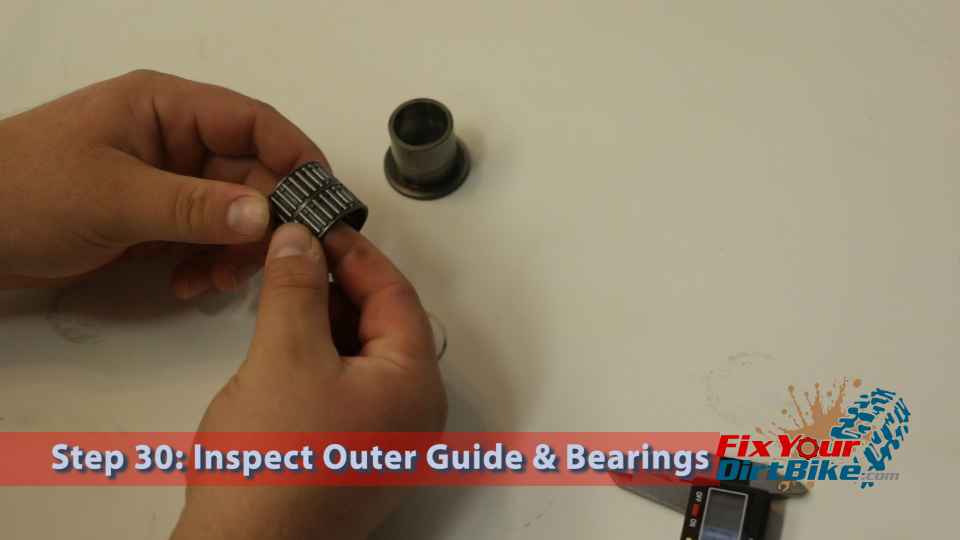
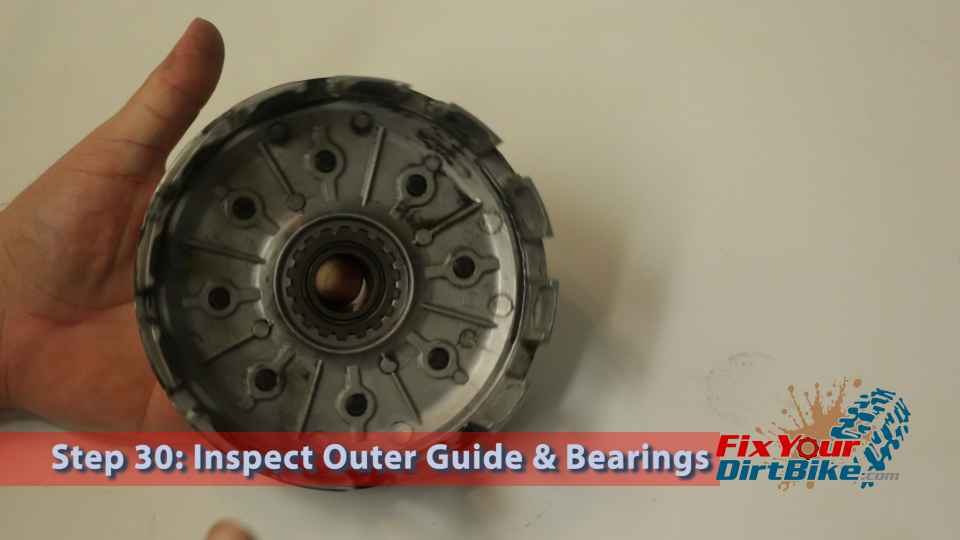
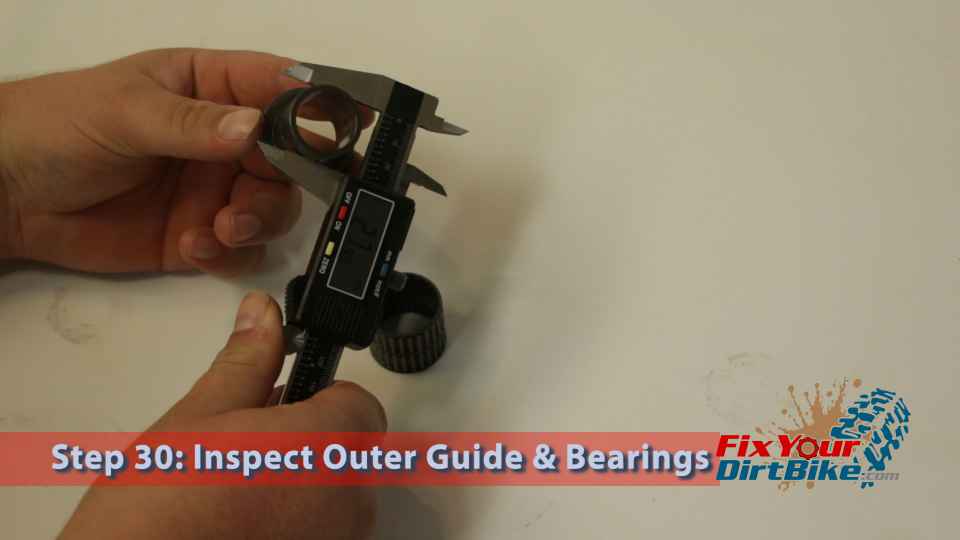
- Step 30: Inspect the clutch outer guide and needle bearing.
- Check the bore for cracks or obvious wear.
- Measure the outside diameter of the guide. (Service Limit 27.97mm)
- Inspect the needle bearing for flat spots and sticking rollers.
- Assemble the clutch outer guide, needle bearing and clutch outer on your finger and spin it to check for smooth operation.
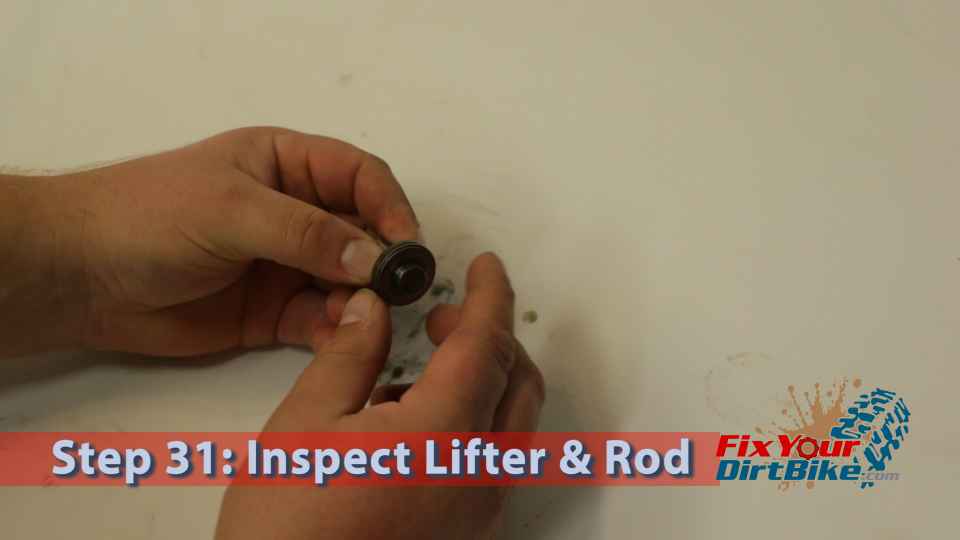
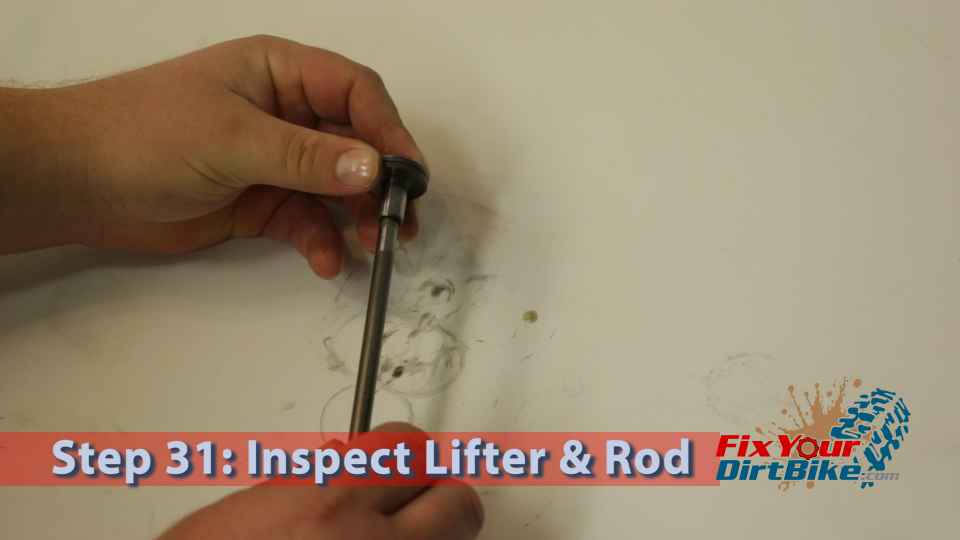
- Step 31: Inspect the clutch lifter and lifter rod.
- Spin both ends of the lifter rod in the lifter to check for smooth operation.
- Look inside the lifter to inspect for flat bearings.
- Spin the top of the lifter to check the bearings for flat spots.
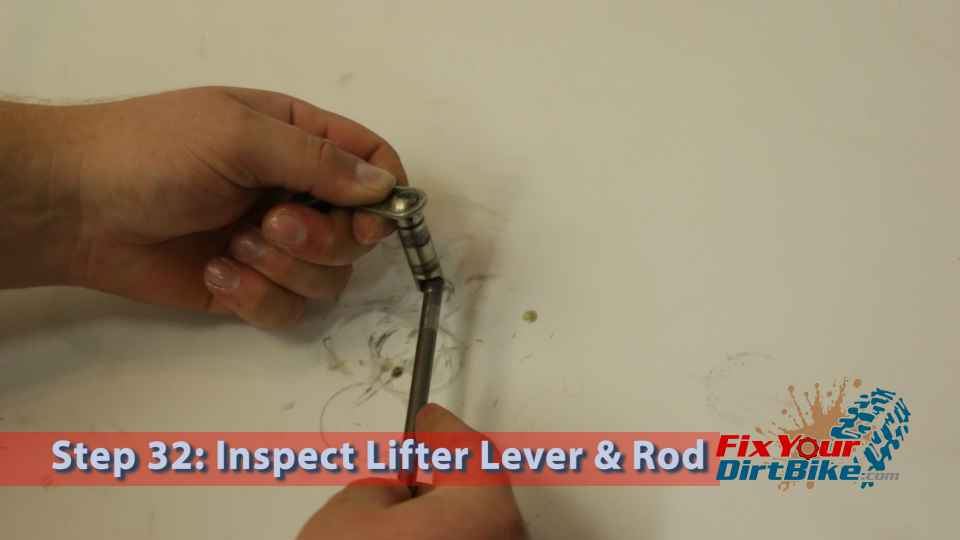
- Step 32: Inspect the lifter lever and rod.
- Check the lifter lever for cracks or warping.
- Check the clutch cable connection hinge for smooth operation.
- Operate the lifter against both ends of the lift rod.
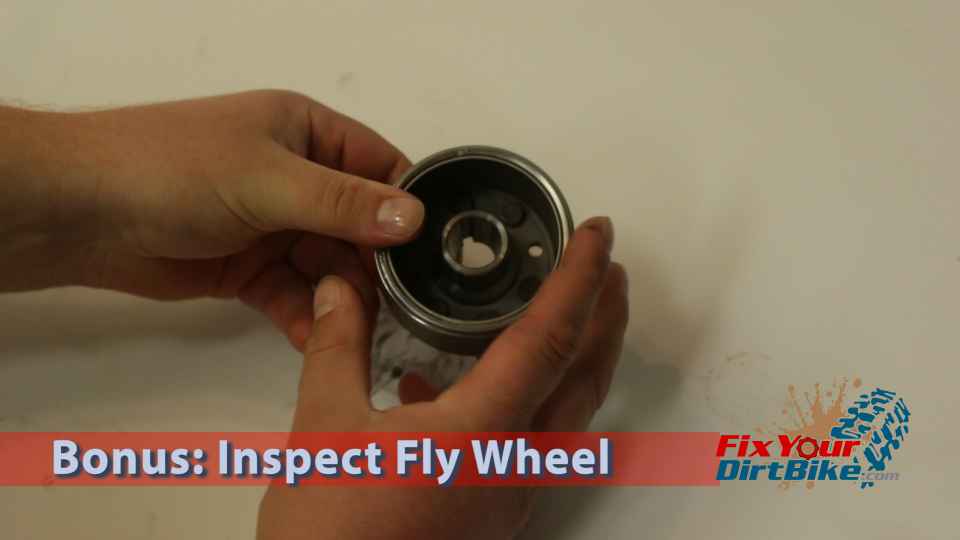
- Bonus: You pulled the flywheel so you might as well check it for cracks or signs of wear. Test the magnetism of flywheel. Only the inside will be magnetized. *If the flywheel has lost its magnetism, it will need to be replaced. (This is a good opportunity to upgrade to a weighted flywheel!)
If you have any questions or anything to add, please leave them in the comments or on our FaceBook page!
1997-2001 Honda CR250 Part 3: Clutch Install →
Keep Your ’97-’01 CR250 Running Right!
