PART 1 of the step-by-step 1997-2001 Honda CR250 clutch maintenance guide.
You can find Part 2: Inspection here and Part 3: Installation here.
When did you last perform a full clutch inspection on youNeedle-Noser motocross or trail Honda CR250?
Common Signs Of A Bad Clutch
Your Clutch might be bad, and you don’t even know it, which could damage other internal parts. If your Clutch does not fully disengage, drags, or slips, you may need to install a replacement clutch pack.
Clutch problems can range from using the wrong oil to a damaged clutch basket. The only way to check for problems is to inspect the Clutch on your CR250 thoroughly.
The Tools You Will Need
- Philips head screwdriver
- 8mm socket – Cover Bolts
- 10mm socket – Clutch Spring Bolts
- 17mm socket – Oil Drain Plug
- 27mm socket – Center Nut
- Pry bar
- Flywheel puller → https://amzn.to/40wZ8IN
- Calipers → https://amzn.to/3BRoCXX
- Foot-pound Torque Wrench → https://amzn.to/3DOqm4B
- Inch Pound Torque Wrench → https://amzn.to/4j9LDpC
- Pro Honda HP trans oil or pro Honda GN4 4-stroke 10w-40 SF/SG engine oil or equivalent. → https://amzn.to/4jhgVes
If you need tools, you can get them HERE → https://amzn.to/4h4lDKq
Replacement Clutch Parts
- New ’97-’01 Honda CR250 Clutch Kit with springs → https://amzn.to/4fWtQPS
- New Crankcase cover gasket → https://amzn.to/3C9FrgQ
- New Water pump gasket → https://amzn.to/4aj2xy1
- New Clutch cover O-ring → https://amzn.to/4gRzww1
I highly recommend using OE parts and gaskets. Aftermarket parts may be cheaper but not of the same quality as the original Honda parts. (However, I wanted to go with a cheaper aftermarket clutch since the Clutch is a wearable part.)
Pre-Service Notes
- Put your bike on a sturdy stand and drain oil and coolant.
- I recommend opening the Service & Torque Specs table in a new tab for easy reference.
- If you need parts and tools, make sure to buy them here.
- Keep track of every bolt and nut; there will be a lot!
- Pictures with captions are after the steps below.
- If you need any help, don’t hesitate to ask!
Related: While your right crankcase cover is off, look at your external shift linkage.
Clutch Removal
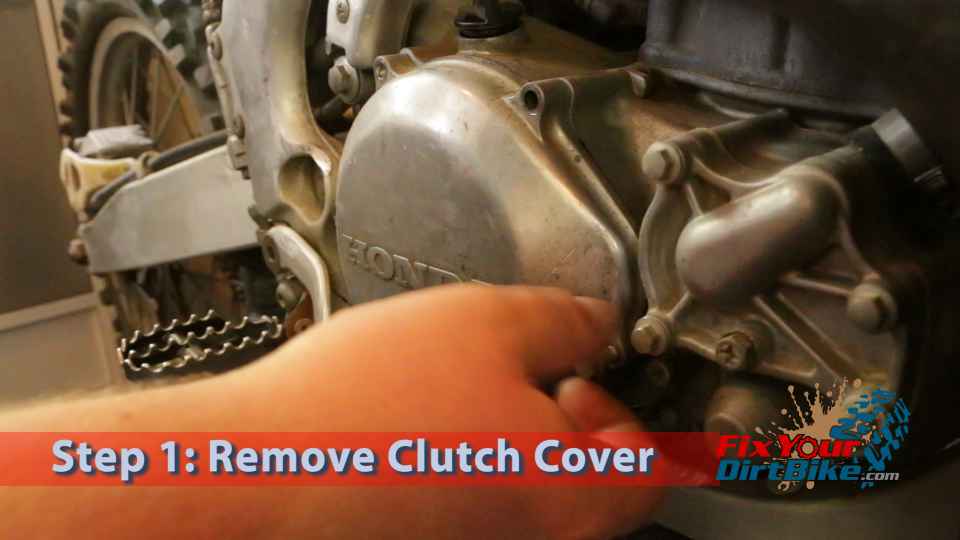
- Step 1: Remove the outer clutch cover
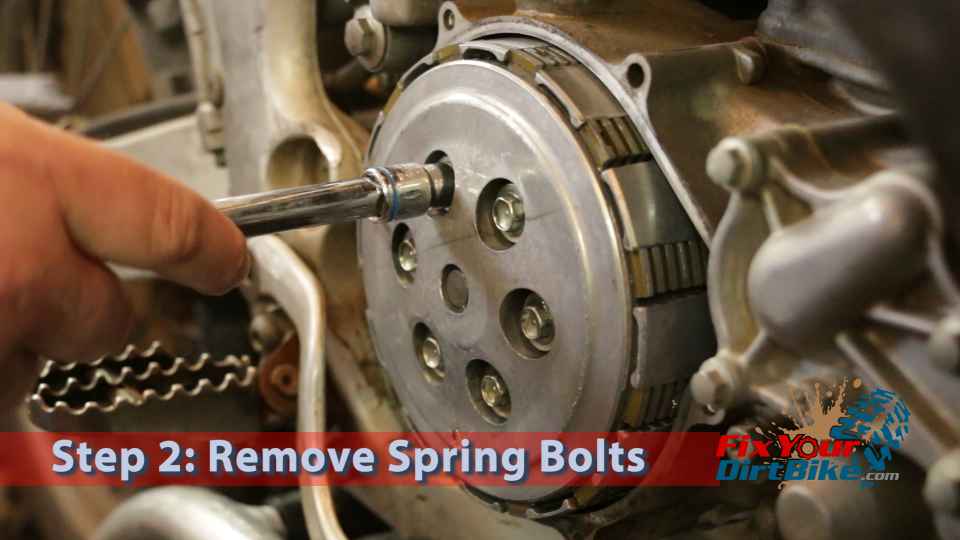
- Step 2: Remove the spring bolts.
- The Clutch will spin freely when in neutral. Put your bike in high gear and secure the rear brake pedal with a ratchet strap.
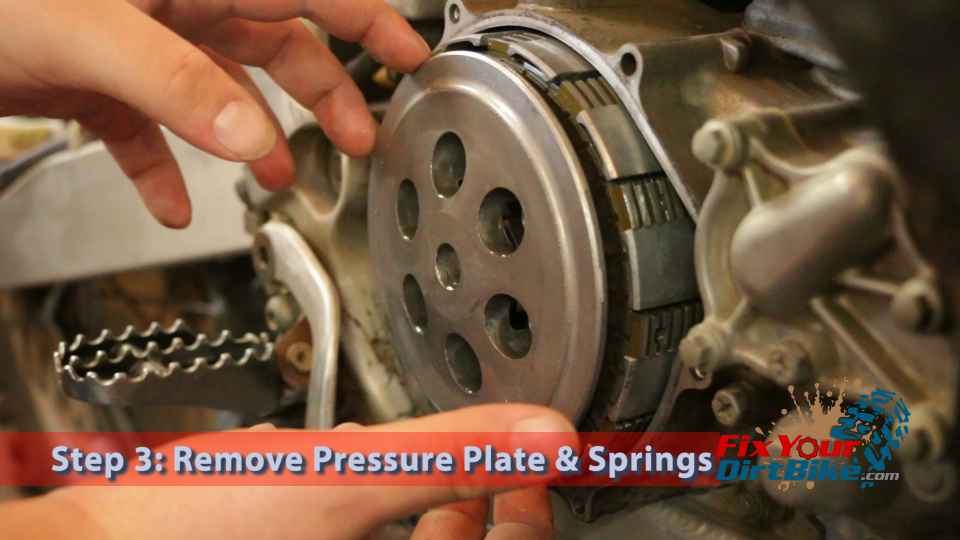
- Step 3: Remove the pressure plate and springs.
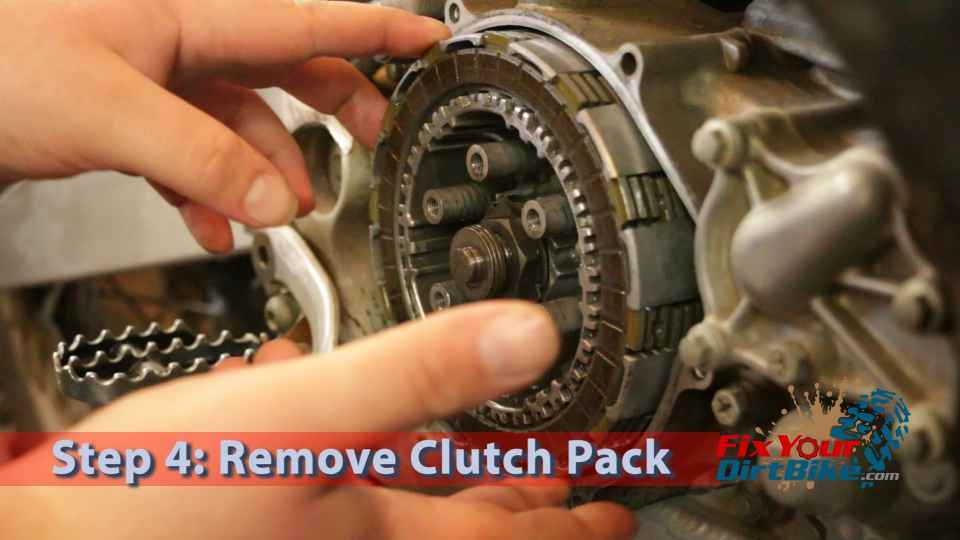
- Step 4: Remove the clutch pack
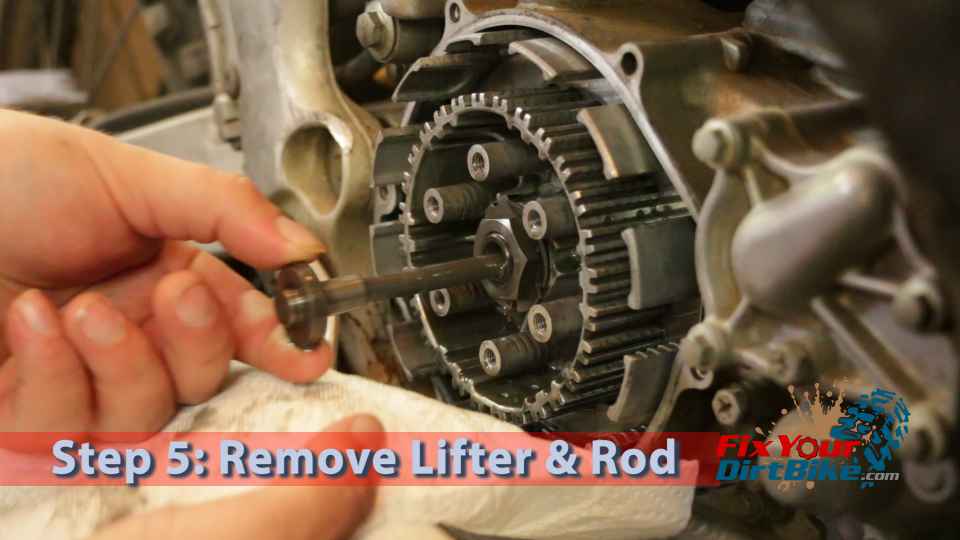
- Step 5: Remove the lifter and lifter rod.
- The lifter and the rod are not connected. If the lifter comes off the rod, you can pull it out with needle-nose pliers.
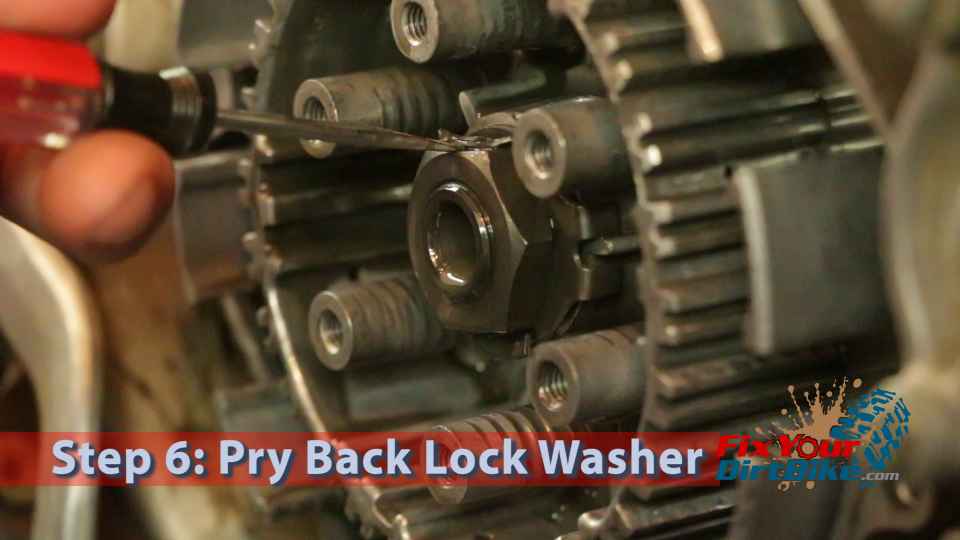
- Step 6: Pry the lock washer tab off of the center nut.
- Use whatever you need to, and the Washer will be discarded.
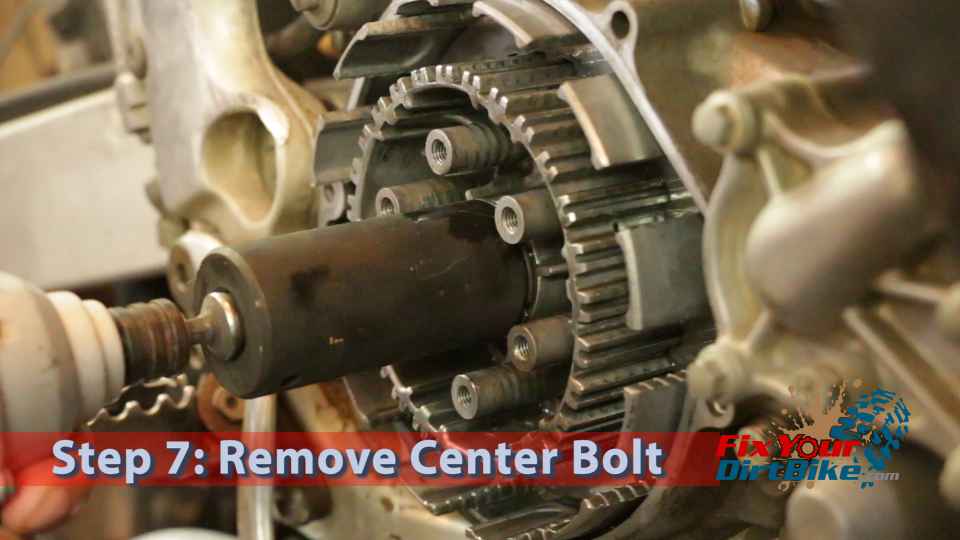
- Step 7: The center bolt is torqued on enough that attempting to loosen it with a socket will turn the rear wheel, even with the brake applied. Either have someone hold the back wheel or use an impact wrench.
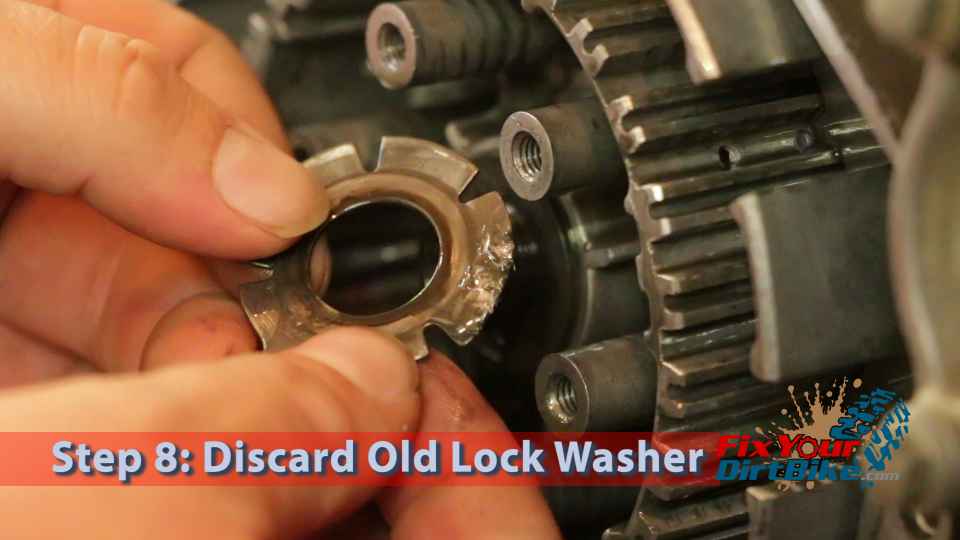
- Step 8: Remove and discard the lock washer.
- Note: If you want to reuse the lock washer, cut off the bent tab and file down the edge.
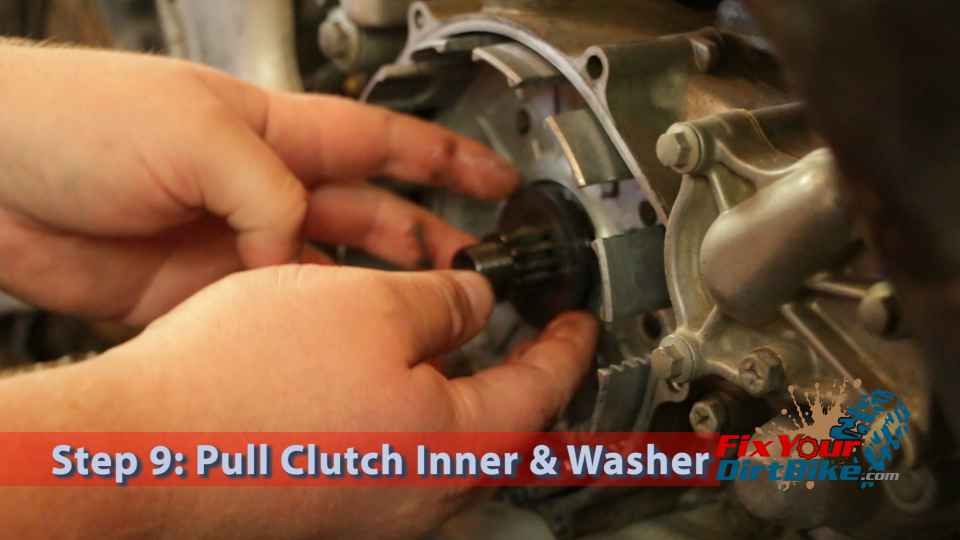
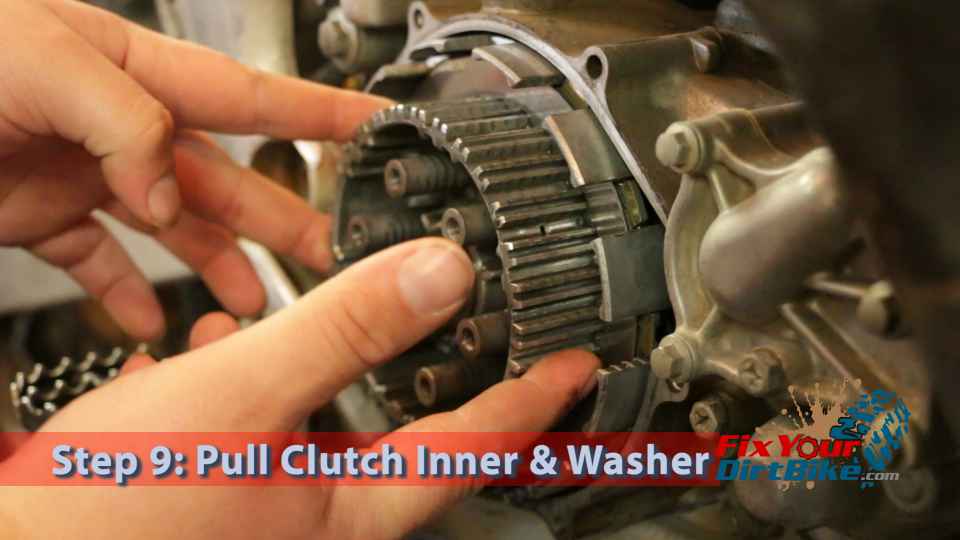
- Step 9: Pull the clutch inner and thrust washer.
- If the Washer is not on the shaft, it may be stuck to the outer back of the Clutch.
- Step 10: Disconnect the coolant line.
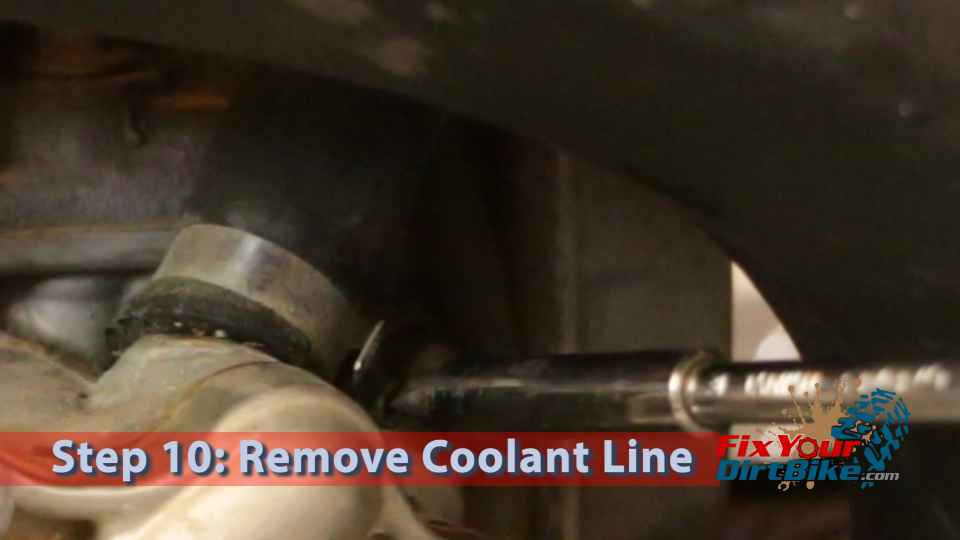
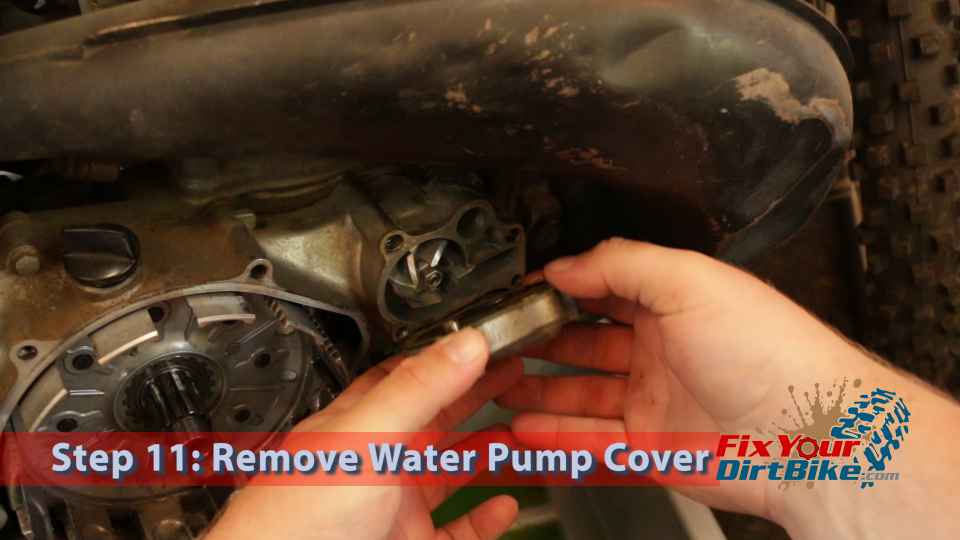
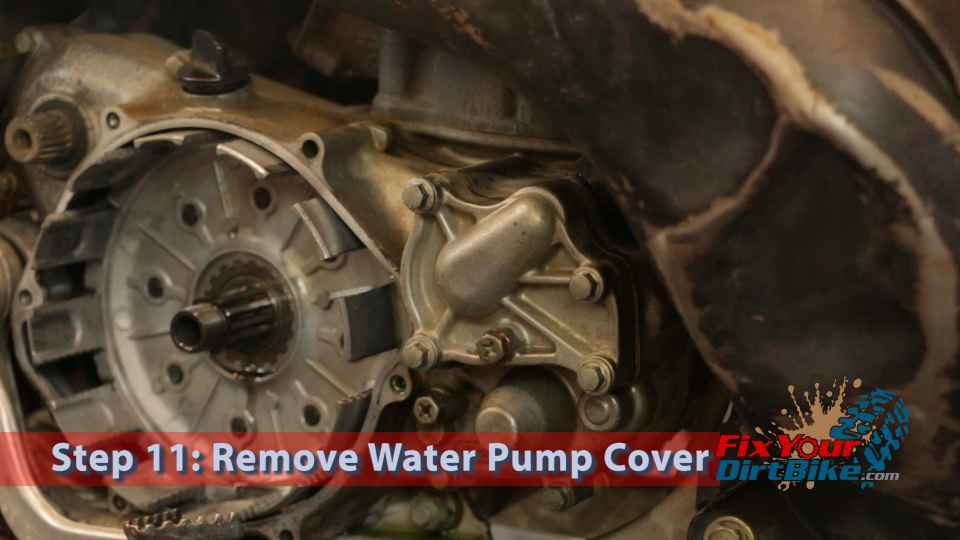
- Step 11: Remove the water pump cover.
- Step 12: Remove the kickstart lever.
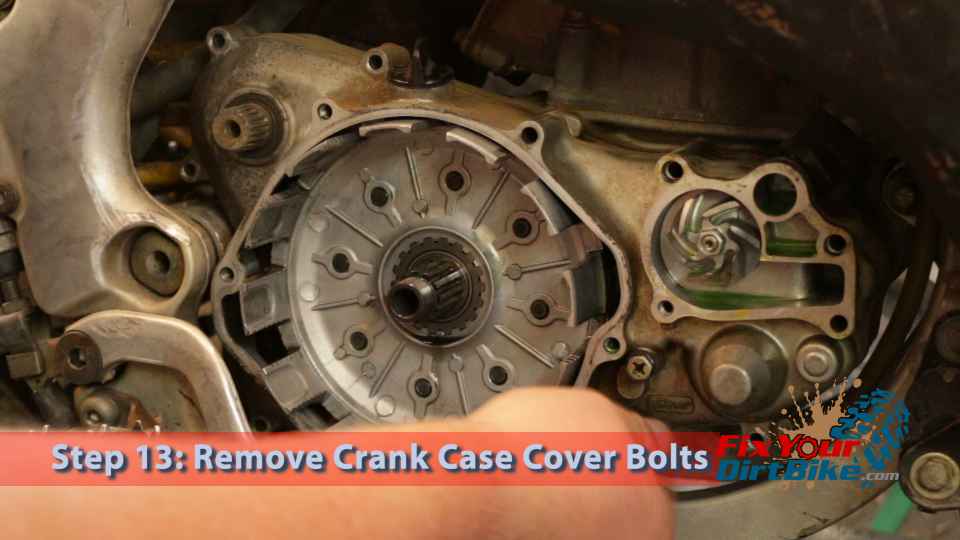
- Step 13: Remove the crank cover bolts.
- Keep track of what bolt goes where!
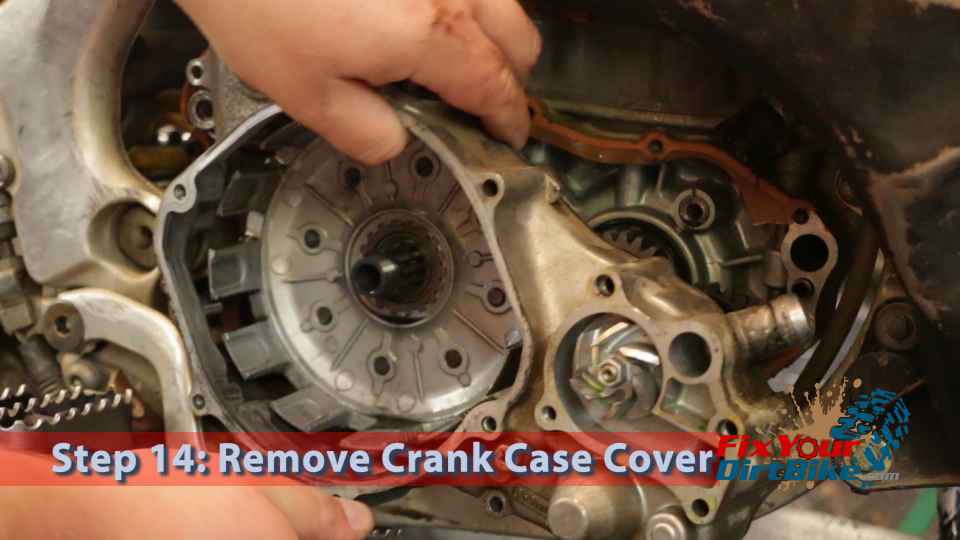
- Step 14: Pull the crankcase cover.
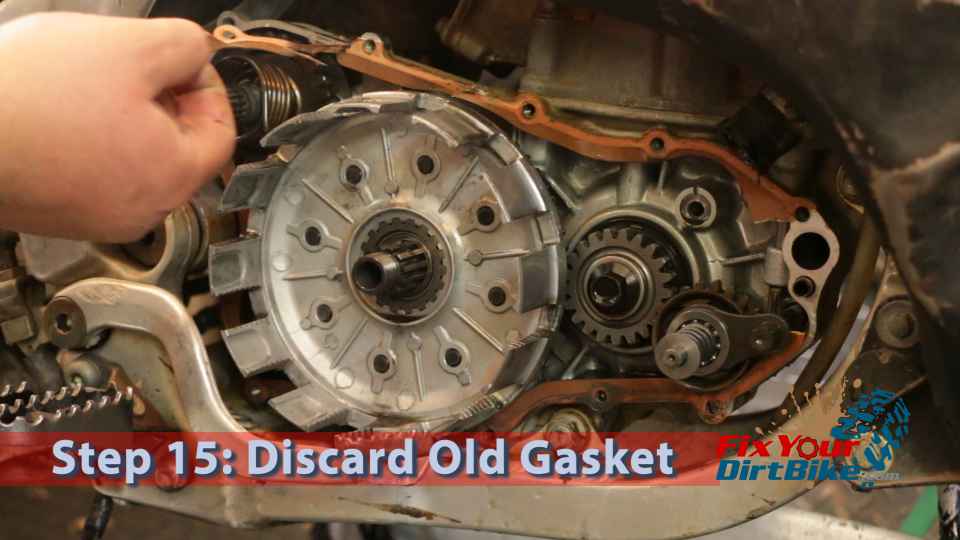
- Step 15: Discard the old crank cover gasket.
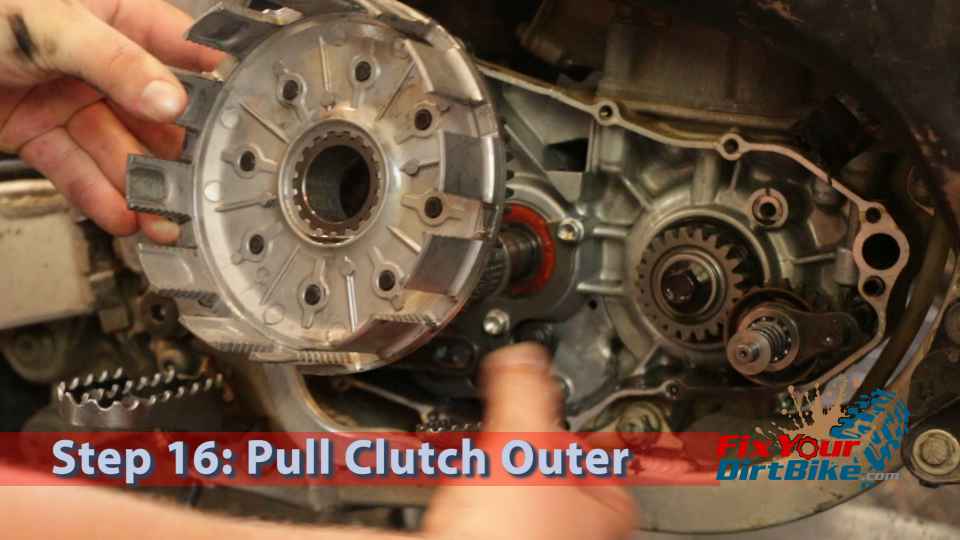
- Step 16: Pull the clutch outer.
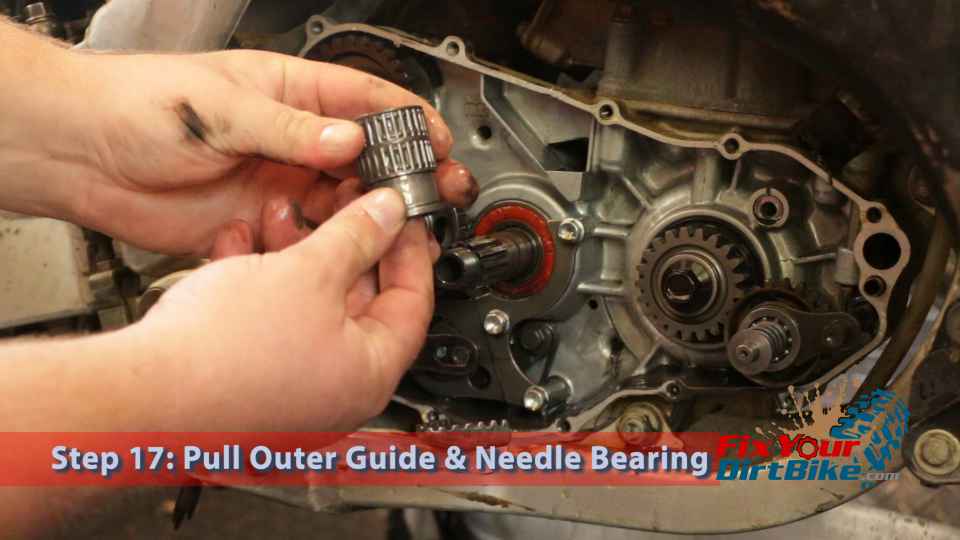
- Step 17: Pull the clutch outer guide and needle bearing.
- The needle bearing is fragile, so keep the two parts together.
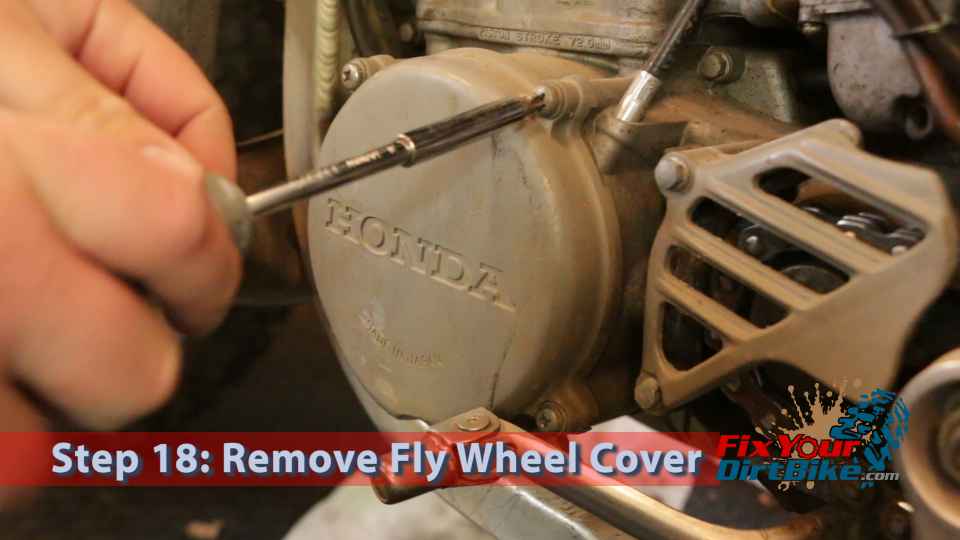
- Step 18: To remove the lifter lever, you must remove the flywheel and stator.
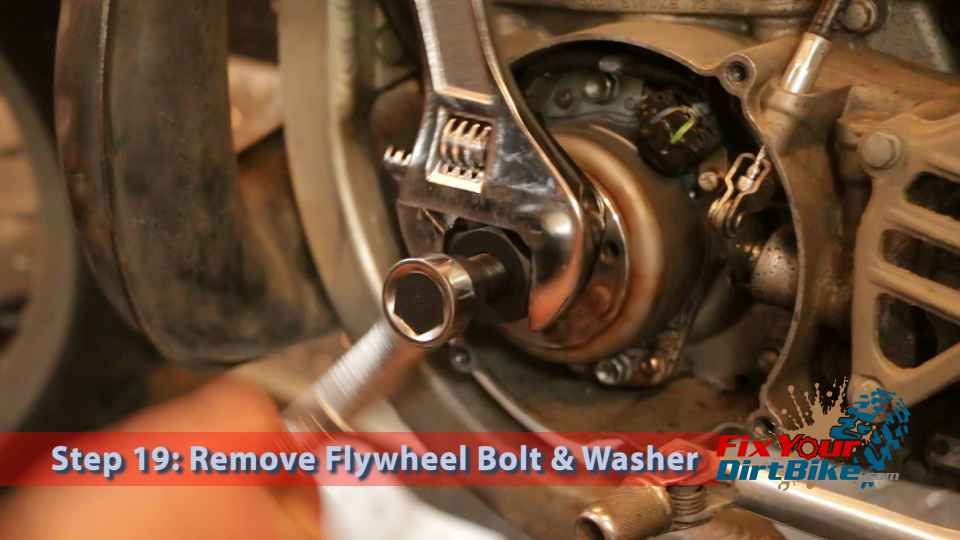
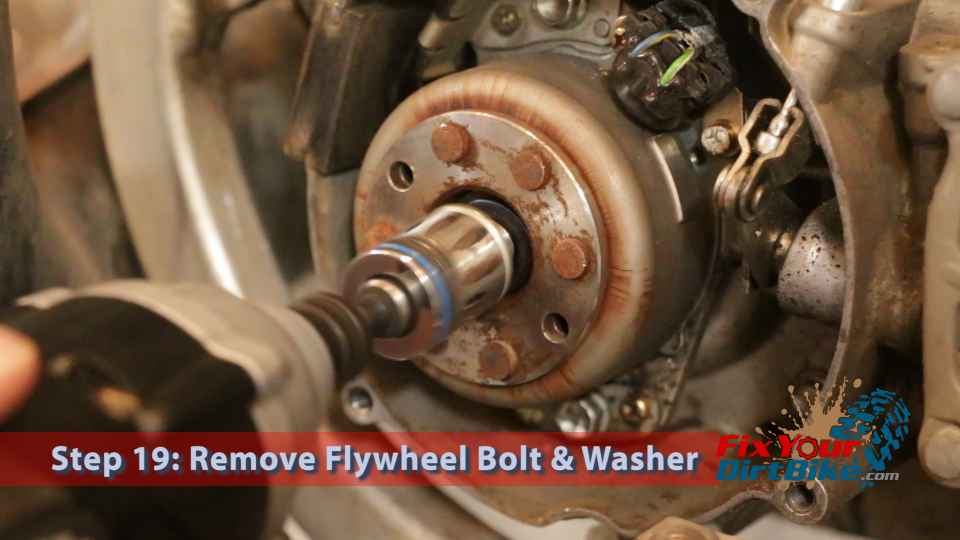
- Step 19: Remove the flywheel bolt and Washer and install the flywheel puller.
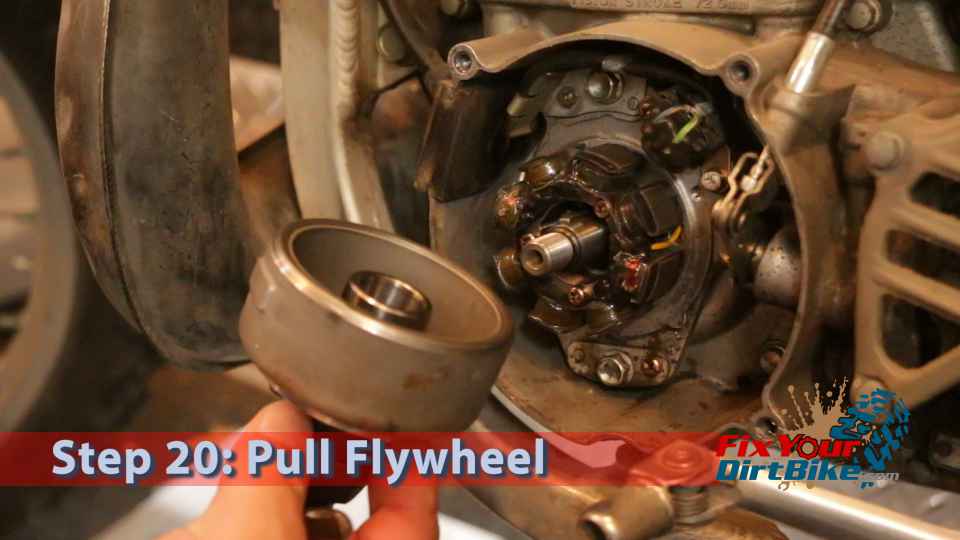
- Step 20: Pull the flywheel.
- The flywheel is magnetized and needs a good pull to remove it.
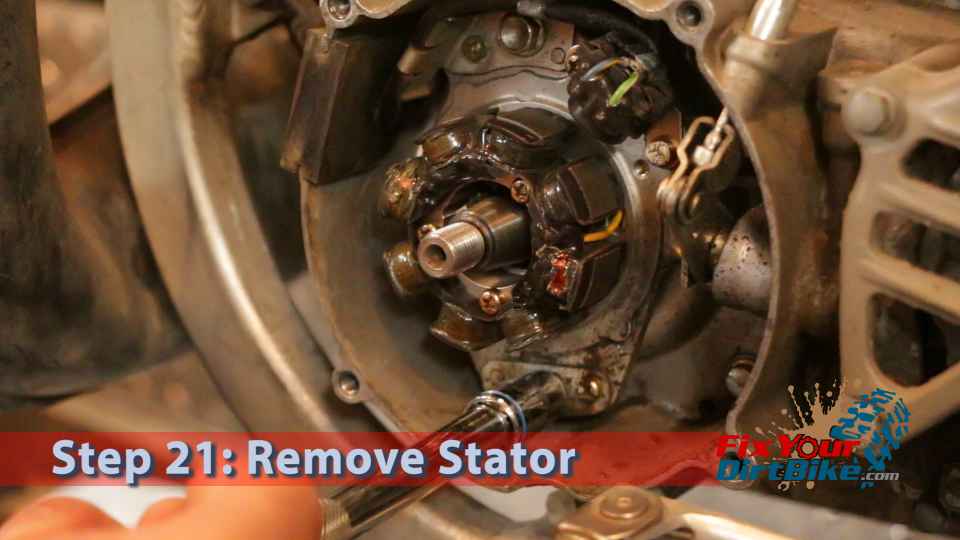
- Step 21: Remove the stator and lay it to the side; there is no need to disconnect it completely.
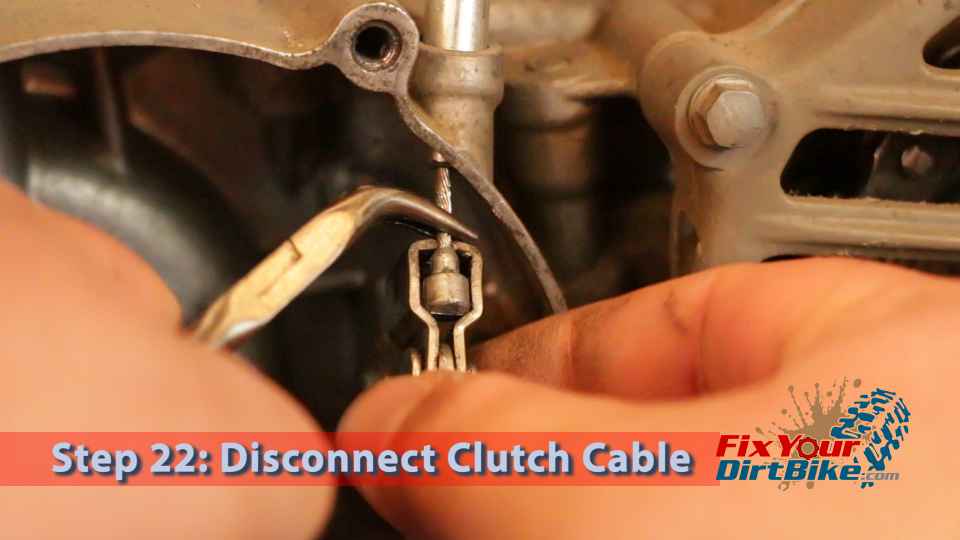
- Step 22: Disconnect the clutch cable.
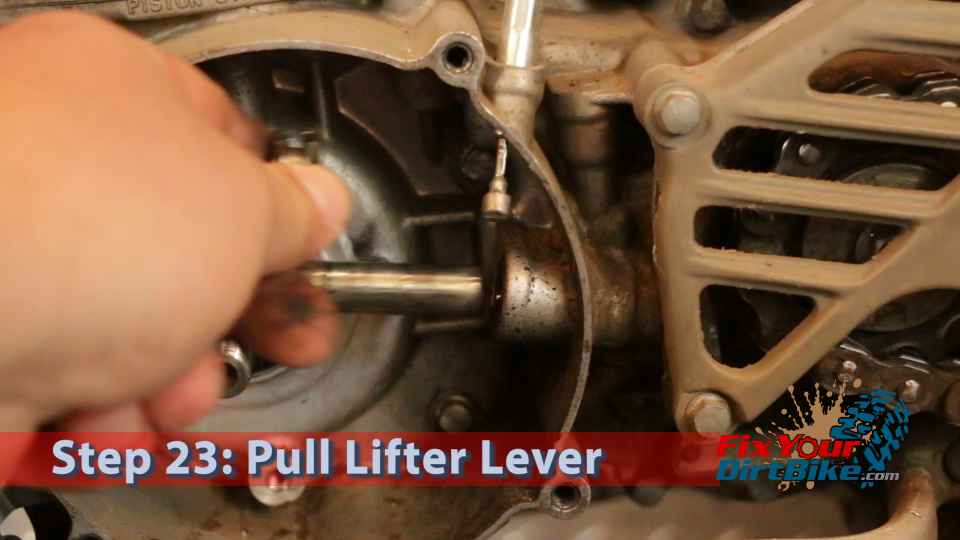
- Step 23: Pull the lifter lever.
If you have any questions or comments, please leave them in the comments or on our Facebook page!
1997-2001 Honda CR250 Part 2: Clutch Inspection →
OEM Honda Part Numbers
Parts
- Pressure Plate – 22351-KZ3-860
- Lifter Needle Bearing – 91001-147-003
- Center Nut – 90235-KA4-000
- Lock Washer – 90461-MAC-741
- Outside Thrust Washer – 90501-ML3-910
- Clutch Inner – 22120-MEN-A00
- Inside thrust washer WASHER, THRUST (23X48)
- Clutch Outer – 22100-KSK-670
- Outer Guide Needle Bearing – 91021-ML3-003
- Clutch Outer Guide – 22106-KS7-000
- Lifter Lever – 22810-KS7-000
Gaskets & O-Rings
- Right Crank Case Cover Gasket – 11395-KZ3-880
- Water Pump Gasket Separator – 19222-KZ3-860
- Water Pump Gasket – 19229-KZ3-880
- Clutch Cover O-ring – 91211-KS7-701
Keep Your ’97-’01 CR250 Running Right!
